实现功能:
1,打开照片,并显示
2,对选择的照片进行Canny边缘检测
3,保存边缘检测之后的结果
一、布局
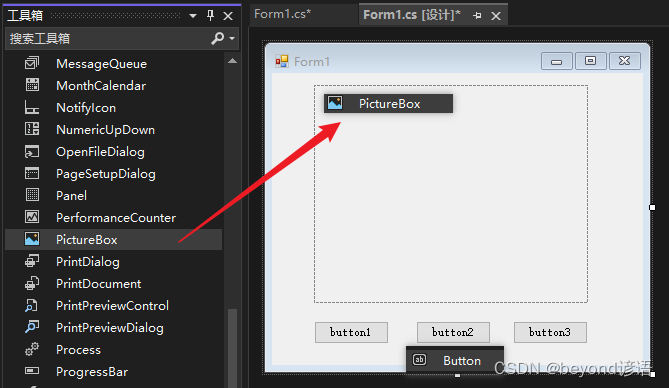
打开在视图下打开工具箱

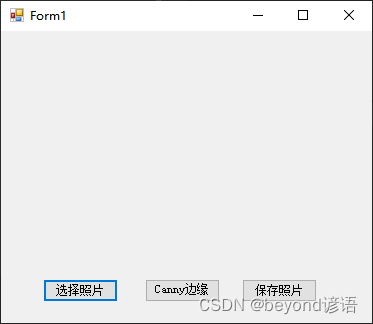
选择一个PictureBox,仨Button
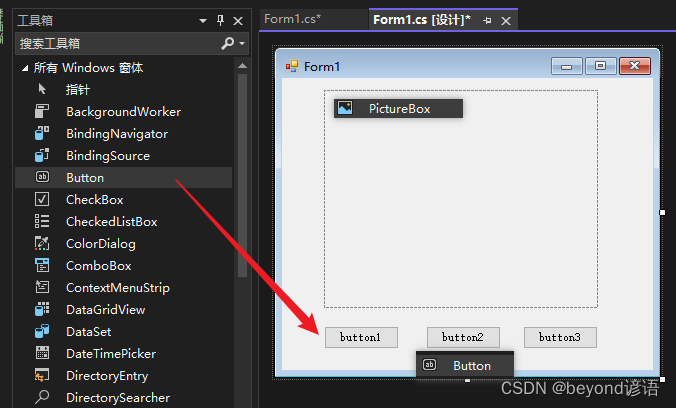
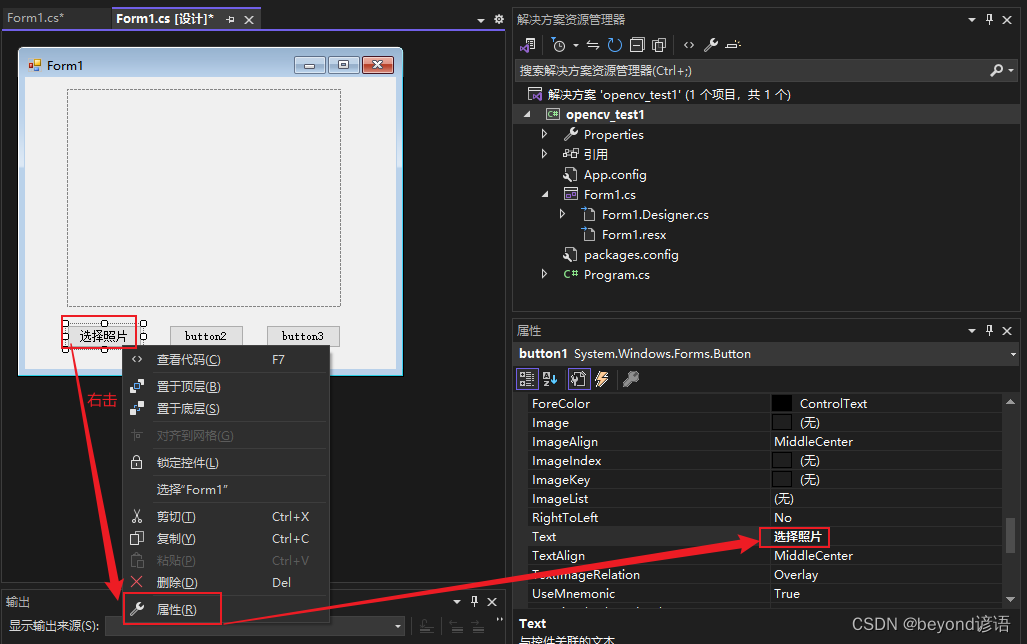
对Button改个名字
仨Button,分别对应三个功能的实现
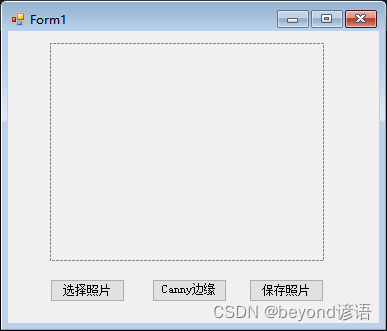
最终的页面如下所示
二、引入命名空间
using System;
using System.Drawing;
using System.Windows.Forms;
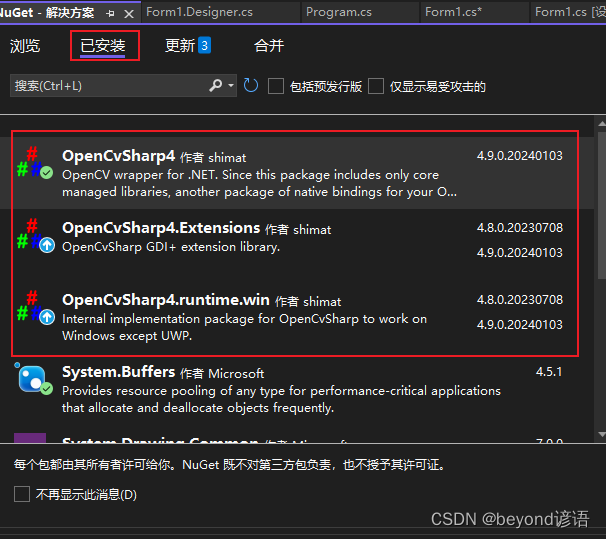
using OpenCvSharp;
using OpenCvSharp.Extensions;

要有这三个哈,没有就去浏览里面搜索下载安装就行
三、选择照片功能
定义全局变量picture用于存放读取的图片的位置
OpenFileDialog file = new OpenFileDialog();
new一个OpenFileDialog 类对象file,用于打开选择图片
OpenFileDialog 类官网API
if (file.FileName != string.Empty)
此时file.FileName就是图片的路径,是一个字符串数据
pictureBox1.Load(file.FileName);
pictureBox1就是布局里面的PictureBox控件名称
参数是图片的路径,这里传入用户选择的图片路径file.FileName
此时就可以将用户选择的照片显示在PictureBox控件上
string picture = ""; // 全局变量存放读取图片的路径
private void button1_Click(object sender, EventArgs e)
{
    OpenFileDialog file = new OpenFileDialog();
    file.InitialDirectory = ".";
    file.Filter = "所有文件(*.*)|*.*";
    file.ShowDialog();
    if (file.FileName != string.Empty)
    {
        try
        {
        	picture = file.FileName;
            this.pictureBox1.Load(file.FileName);
        }
        catch (Exception ex)
        {
            MessageBox.Show(ex.Message);
        }
    }
}
四、Canny边缘检测功能
OpenCV处理的图片都是Mat形式
Mat img1 = new Mat(picture, ImreadModes.Color);
读取用户选择的图片
参数一:图片的路径,picture
参数二:读取图片的形式,ImreadModes.Color三颜色通道的彩色图
Mat gray = new Mat();存放处理图片之后的灰度图
Mat canny = new Mat();存放Canny边缘检测之后的结果图片
Cv2.CvtColor(img1,gray, ColorConversionCodes.RGB2GRAY);
将img1转换为灰度图,输出结果为gray
参数一:输入图像,img1
参数二:输出图像,gray
参数三:转换的操作,ColorConversionCodes.BGR2GRAY,BGR转灰度图
Cv2.Canny(gray, canny, 100, 200);
对gray图像进行Canny边缘检测,输出结果为canny,minVal 为100,maxVal 为200
当然Canny算子还有其他参数,读者可自行拓展学习
参数一:输入图像,gray
参数二:输出图像,canny
参数三:第一个阈值,100
参数四:第二个阈值,200
Bitmap bitmap = canny.ToBitmap();
gray和canny都是Mat类型的数据,要想在PictureBox控件上展示,必须转换为Bitmap类型数据
pictureBox1.Image = bitmap;
此时bitmap为Bitmap类型数据,可以进行在控件上展示
private void button2_Click(object sender, EventArgs e)
{
    Mat img1 = new Mat(picture, ImreadModes.Color);
    Mat gray = new Mat();
    Mat canny = new Mat();

    Cv2.CvtColor(img1,gray, ColorConversionCodes.BGR2GRAY);
    Cv2.Canny(gray, canny, 100, 200);

    Bitmap bitmap = canny.ToBitmap();
    pictureBox1.Image = bitmap;
}
五、保存图片功能
SaveFileDialog save = new SaveFileDialog();
new一个SaveFileDialog 类对象save ,用于选择保存图片的位置
SaveFileDialog 类官网API
pictureBox1.Image.Save(save.FileName);
将PictureBox控件显示的通过Canny算子进行边缘检测之后的照片结果进行保存
private void button3_Click(object sender, EventArgs e)
{
    SaveFileDialog save = new SaveFileDialog();
    save.InitialDirectory = ".";
    save.Filter = "所有文件(*.*)|*.*";
    save.ShowDialog();
    if(save.FileName != string.Empty)
    {
        try
        {
            this.pictureBox1.Image.Save(save.FileName);
        }
        catch (Exception ex)
        {
            MessageBox.Show(ex.Message);
        }
     }
}
六、完整代码
复制的时候记得考虑实际的namespace
namespace opencv_test1跟你的项目名称一致哈
using System;
using System.Drawing;
using System.Windows.Forms;

using OpenCvSharp;
using OpenCvSharp.Extensions;

namespace opencv_test1
{

    public partial class Form1 : Form
    {

        string picture = "";

        public Form1()
        {
            InitializeComponent();
        }

        private void Form1_Load(object sender, EventArgs e)
        {

        }

        private void button1_Click(object sender, EventArgs e)
        {
            OpenFileDialog file = new OpenFileDialog();
            file.InitialDirectory = ".";
            file.Filter = "所有文件(*.*)|*.*";
            file.ShowDialog();
            if (file.FileName != string.Empty)
            {
                try
                {
                    picture = file.FileName;
                    this.pictureBox1.Load(picture);
                }
                catch (Exception ex)
                {
                    MessageBox.Show(ex.Message);
                }
            }
        }


        private void button2_Click(object sender, EventArgs e)
        {
            Mat img1 = new Mat(picture, ImreadModes.Color);
            Mat gray = new Mat();
            Mat canny = new Mat();

            Cv2.CvtColor(img1,gray, ColorConversionCodes.BGR2GRAY);
            Cv2.Canny(gray, canny, 100, 200);

            Bitmap bitmap = canny.ToBitmap();
            pictureBox1.Image = bitmap;
        }


        private void button3_Click(object sender, EventArgs e)
        {
            SaveFileDialog save = new SaveFileDialog();
            save.InitialDirectory = ".";
            save.Filter = "所有文件(*.*)|*.*";
            save.ShowDialog();
            if (save.FileName != string.Empty)
            {
                try
                {
                    this.pictureBox1.Image.Save(save.FileName);
                }
                catch (Exception ex)
                {
                    MessageBox.Show(ex.Message);
                }
            }
        }
    }
}
七、效果展示
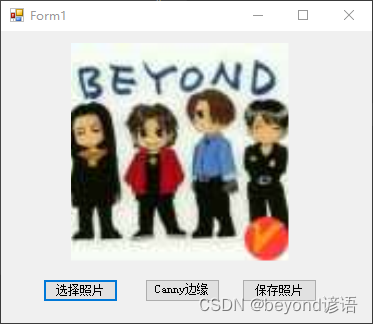
运行效果
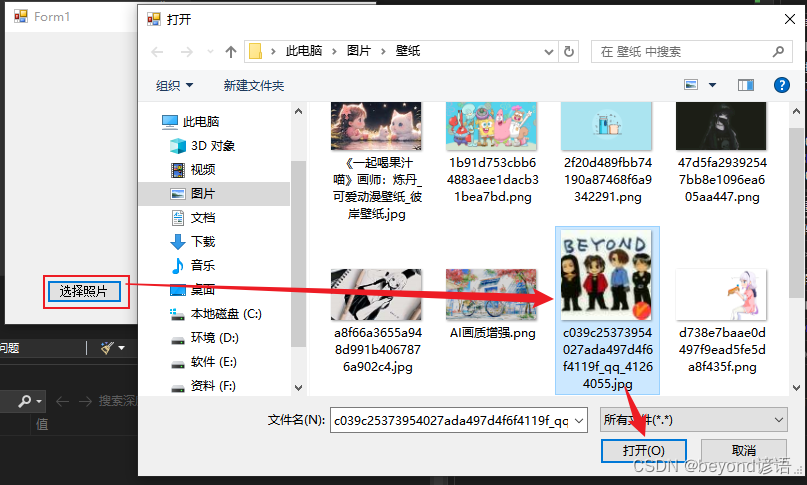
选择照片
Canny边缘检测

保存照片
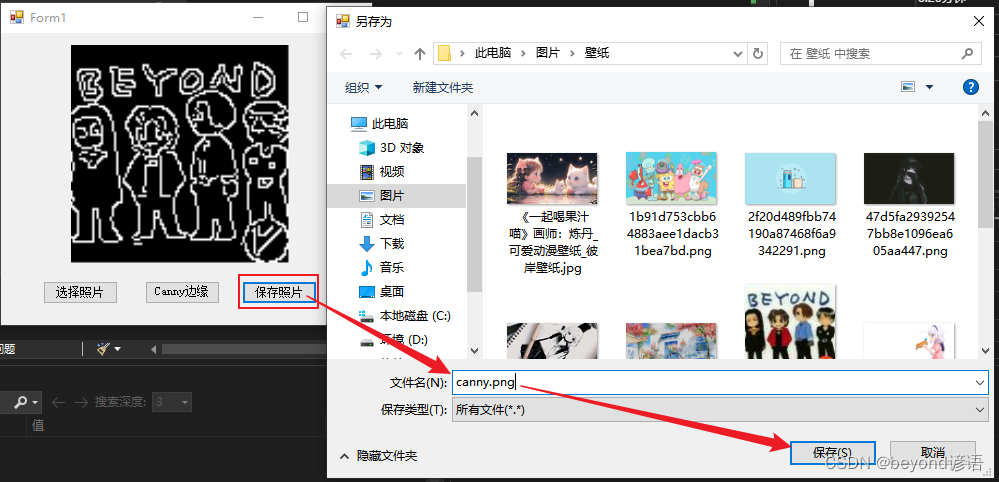
保存效果


