题外话
今天没有题外话
正题
线程创建
首先我们先学习一下,Thread的构造方法
|
|
Thread(Runnable target)分配新的 Thread 对象,用Runnable作为参数传入 |
Thread(Runnable target, String name)分配新的 Thread 对象,用Runnable作为参数传入,并创建线程名称,更方便区分线程 |
Thread(String name)分配新的 Thread 对象,创建线程名称 |
1.创建一个类去继承Thread创建线程
代码详解
//创建一个MyThread类去继承Thread
class  MyThread extends Thread
{
//重写Thread中的run方法
    @Override
    public void run() {
        System.out.println("Hello Thread");
    }
}
public class ThreadDemo01 {
    public static void main(String[] args) {
创建一个线程t
        Thread t=new MyThread();
调用start方法,去启动线程
        t.start();

    }
}
2.实现Runnable接口
代码详解
//创建MyRunnable类实现Runnalbe
class MyRunnable implements Runnable
{
//重写run方法
    @Override
    public void run() {
        while (true)
        {
            System.out.println("hello thread");
//新增休眠sleep方法1000毫秒,try,catch捕捉异常
            try {
                Thread.sleep(1000);
            }
            catch (InterruptedException e)
            {
                e.printStackTrace();
            }
        }

    }
}

public class ThreadDemo02 {
    public static void main(String[] args) {
//建立一个t线程,传入Runnable
        Thread t=new Thread(new MyRunnable());
//启动线程t
        t.start();
    }
}
3.匿名内部类
代码详解
public class ThreadDemo03 {
    public static void main(String[] args)  {
//创建Thread匿名内部类
        Thread t=new Thread()
        {
//重写run方法
            @Override
            public void run() {
                while (true) {
                    System.out.println("Hello Thread");

                    try {
                        Thread.sleep(1000);
                    } catch (InterruptedException e) {
                        throw new RuntimeException(e);
                    }
                }
            }
        };
//启动线程
        t.start();
        while (true) {
            System.out.println("Hello main");

            try {
                Thread.sleep(1000);
            } catch (InterruptedException e) {
                throw new RuntimeException(e);
            }
        }
    }
}
4.使用Runnable匿名内部类
代码详解
public class ThreadDemo04 {
    public static void main(String[] args) {
匿名内部类创建Runnable子类对象
        Thread t=new Thread(new Runnable() {
            @Override
            public void run() {
                while (true) {
                    System.out.println("Hello Thread");
                    try {
                        Thread.sleep(1000);
                    } catch (InterruptedException e) {
                        throw new RuntimeException(e);
                    }
                }
            }

       });
//启动线程
        t.start();
        while (true)
        {
            System.out.println("Hello main");
            try {
                Thread.sleep(1000);
            } catch (InterruptedException e) {
                throw new RuntimeException(e);
            }
        }
    }
}
5.lambda表达式创建Runnable子类对象
代码详解
public class ThreadDemo05 {
    public static void main(String[] args) {
//lambda表达式创建Runnable子类对象
        Thread t=new Thread(()->
        {
        while (true)
        {
            System.out.println("Hello thread");
            try {
                Thread.sleep(1000);
            } catch (InterruptedException e) {
                throw new RuntimeException(e);
            }
        }
        });
//启动线程
        t.start();
        while (true)
        {
            System.out.println("Hello main");
            try {
                Thread.sleep(1000);
            } catch (InterruptedException e) {
                throw new RuntimeException(e);
            }
        }
    }
}
到这里大家只需要知道这五种创建线程的基本方式即可
线程中断
public void interrupt()
1.如果被调用线程为阻塞状态(sleep,wait,join等),被调用线程会立即退出阻塞状态,并且抛出一个InterruptedException异常
2. 如果线程处于正常活动状态,那么会将该线程的中断标志设置为 true,该线程继续运行不受影响
这个方法并不是直接中断线程,而是通知应该中断了,但是是否中断还是要看被调用线程状态
正确线程中断代码详解
我们需要
public static boolean interrupted()
这个方法去判断线程是否中断,中断返回true,否则返回false
测试当前线程是否已经中断
public static void main(String[] args) throws InterruptedException {
//lambda表达式创建Runnable子类
    Thread t=new Thread(()->
    {
//判断中断标志
    while (!Thread.interrupted())
    {
        System.out.println("Hello thread");
        try {
            Thread.sleep(1000);
        } catch (InterruptedException e) {
//再次中断至上个中断标记
            Thread.currentThread().interrupt();
        }

    }
    });
//启动线程
    t.start();
//休眠3秒
    Thread.sleep(3000);
//尝试中断线程
    t.interrupt();

}
线程等待
方法 说明
public void join0 等待线程结束
public void join(long millis )等待线程结束,最多等millis毫秒
public void join(long millis, int nanos) 同理,但可以更高精度纳秒
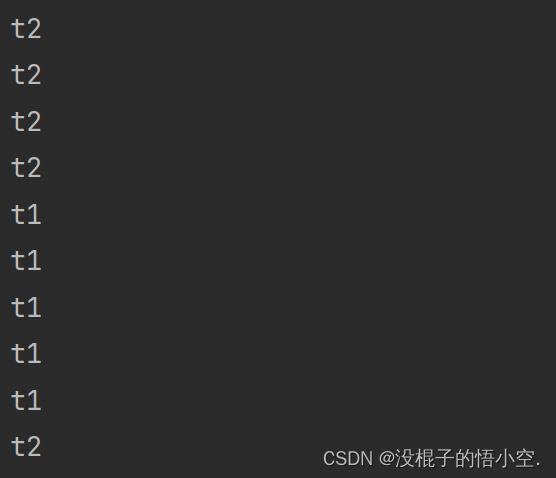
线程是抢占式调度,当有两个线程的时候,会各自调度线程
像下面代码,运行的时候t1和t2打印的顺序是随机的,看两个线程哪个调度执行更快就会更快打印

给大家看看几组运行截图

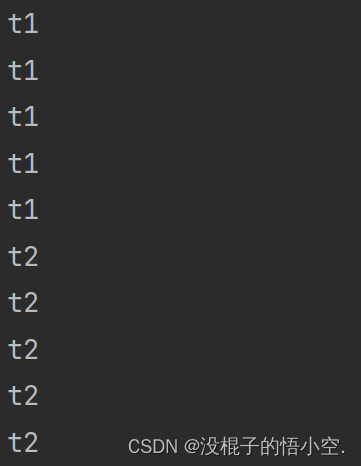
我们在t2线程中加入了t1.join,只需要记住在谁里面调用谁就后走,谁被调用谁就先走,这里我们在t2中调用t1.join,所以t1先走,t2等t1运行结束再走(如下图)
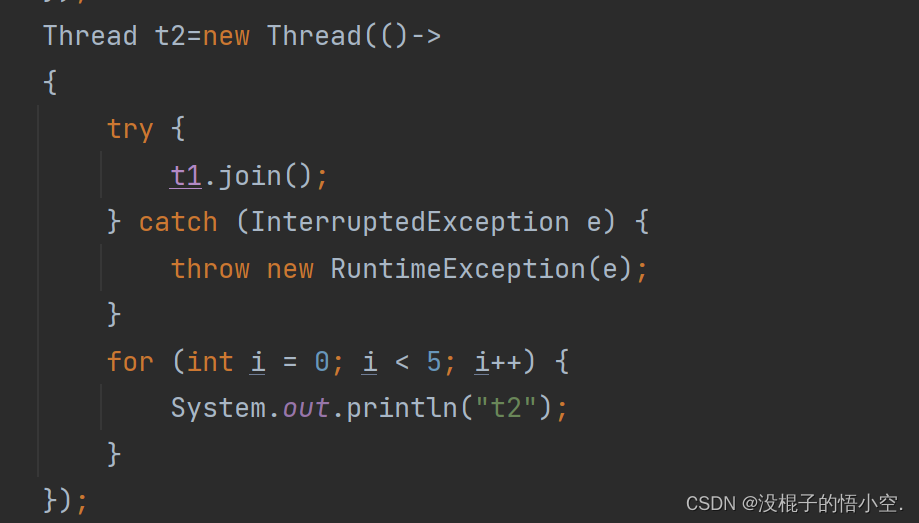
运行截图
线程休眠
public static void sleep(long millis)
public static void sleep(long millis, int nanos)
在你要执行的程序之前输入即可进入休眠,这个⽅法只能保证实际休眠时间是大于等于参数设置的休眠时间的。
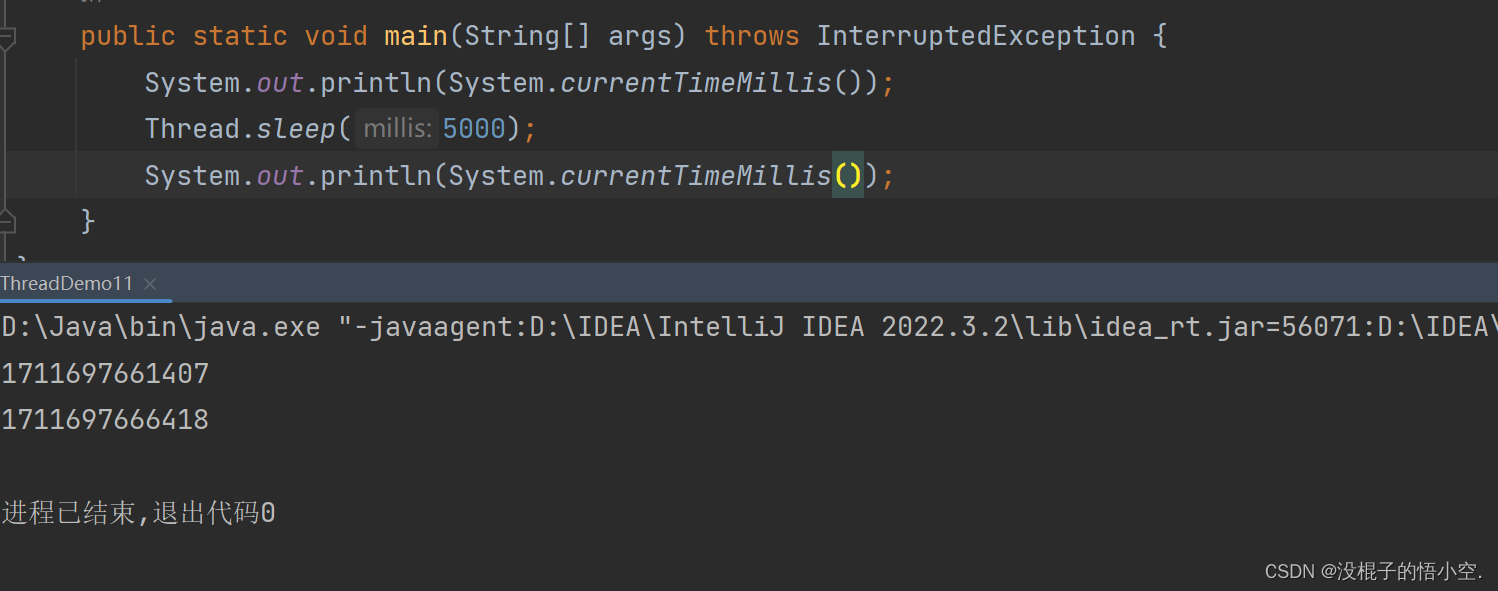
可以看到我们这里是存在一些误差的,这都是正常现象
获取线程实例
我们可以通过Thread.currentThread()去返回对当前执行线程对象的引用
利用Thread的属性 .getName()就可以获取当前执行线程对象的引用的名字
未命名线程系统会默认命名,从0开始

我们测试下上图代码

最开始是main首先执行,打印t1,执行时默认名是Thread-0,然后t1线程执行结束,随后执行的是main.
小结
本篇文章到此结束


