众所周知,Stable Diffusion WebUI 使用 GPU 模式运行。
一:检查自己显卡 打开任务管理器或者win+R 输入dxdiag 查看自己显卡状态
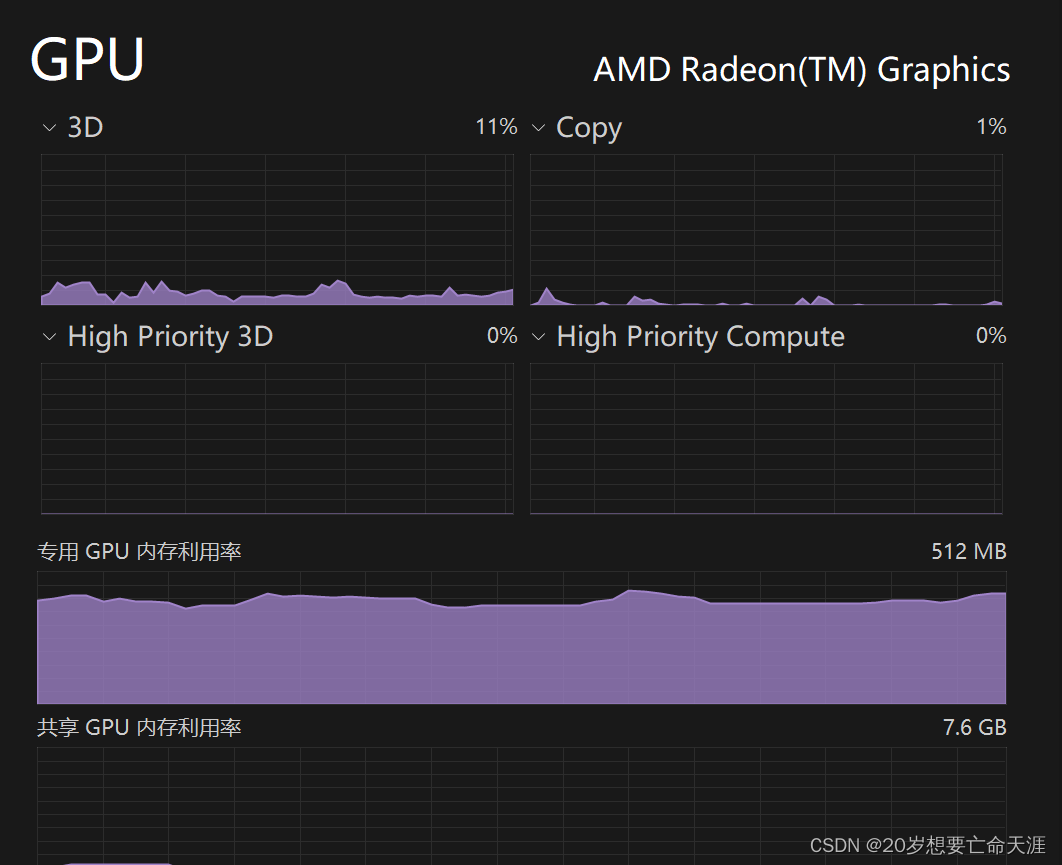
很明显一般轻薄本只会带有集显,不能满足stable diffusion要求所以我们可以使用cup来运行stable diffusion
在Stable Diffusion Webui根目录文件夹下有 webui-user.sh可以让我们进行自定义配置所以我们可以添加以下shell脚本配置让我们cpu来运行
Linux或者MAC
export CUDA_VISIBLE_DEVICES =- 1 #将gpu设置为不可见
export COMMANDLINE_ARGS=" -- use-cpu all -- no-half -- precision full -- skip-torch-cuda-test"
Windows
set CUDA_VISIBLE_DEVICES =- 1 #将gpu设置为不可见
set COMMANDLINE_ARGS=" -- use-cpu all -- no-half -- precision full -- skip-torch-cuda-test"
配置后,设备就可以使用cpu来运行stable diffusion,当然速度肯定会比gpu运行慢很多,同样取决于cpu的性能,但是作为新手用来学习是足够的了!希望对你有帮助
Windows下载部署本地使用stable diffusion
1.python环境 https://www.python.org/ 官方推荐使用3.10.9不是最新版bug较少比较兼容。
查看配置环境变量win11/10 : 控制面板--系统和安全--系统--高级系统设置--系统--环境变量--Path[即为python环境变量]
2.git Git
下载git64位

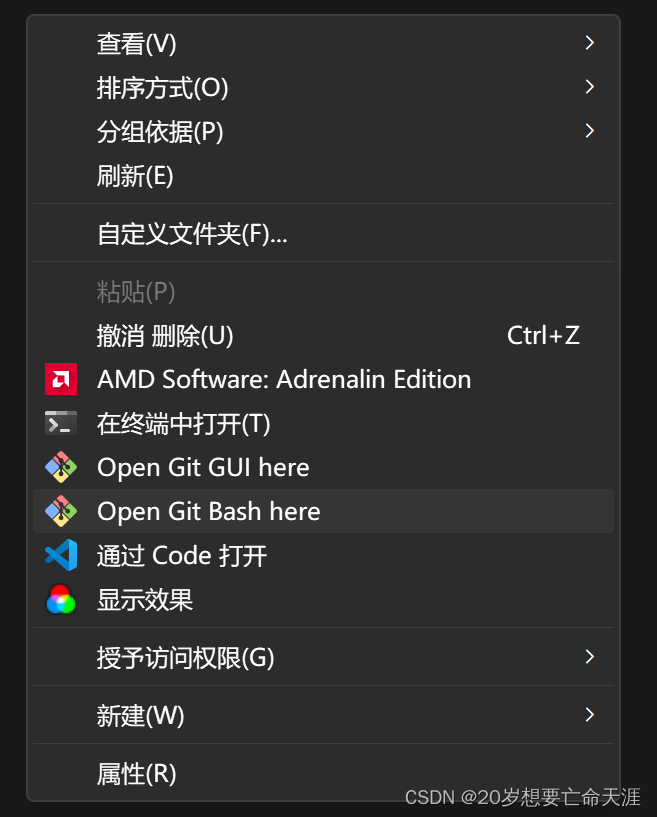
3.选择本地磁盘空间(不少于25G)创建纯英文名称文件夹,鼠标右键[ open git bash here]
git clone GitHub - AUTOMATIC1111/stable-diffusion-webui: Stable Diffusion web UI
或者使用powershell Set-ExecutionPolicy Unrestricted 再次输入
git clone GitHub - AUTOMATIC1111/stable-diffusion-webui: Stable Diffusion web UI
亦可
4.安装完成后 在文件夹中找到 webui-user.bat右键选择 编辑添加优化 --xformers
后运行。


