备考ICA----Istio实验1—Istio部署和Bookinfo
打算2024年4月份考Istio的ICA认证,系统的再把Istio相关功能的实验再摸排一遍
本套实验环境如下
| 序号 | 软件 | 版本 |
|---|---|---|
| 1 | Ubuntu | Ubuntu 20.04.6 LTS |
| 2 | Kubernetes | v1.29.2 |
| 3 | kubeadm | v1.29.2 |
| 4 | Istio | 1.20.3 |
| 5 | Envoy | 1.20.3 |
candidate@master:~$ kubectl get nodes
NAME     STATUS   ROLES           AGE   VERSION
master   Ready    control-plane   10d   v1.29.2
node1    Ready    <none>          10d   v1.29.2
node2    Ready    <none>          10d   v1.29.2
1. Istio安装部署
1.1 下载Istio
https://github.com/istio/istio/releases
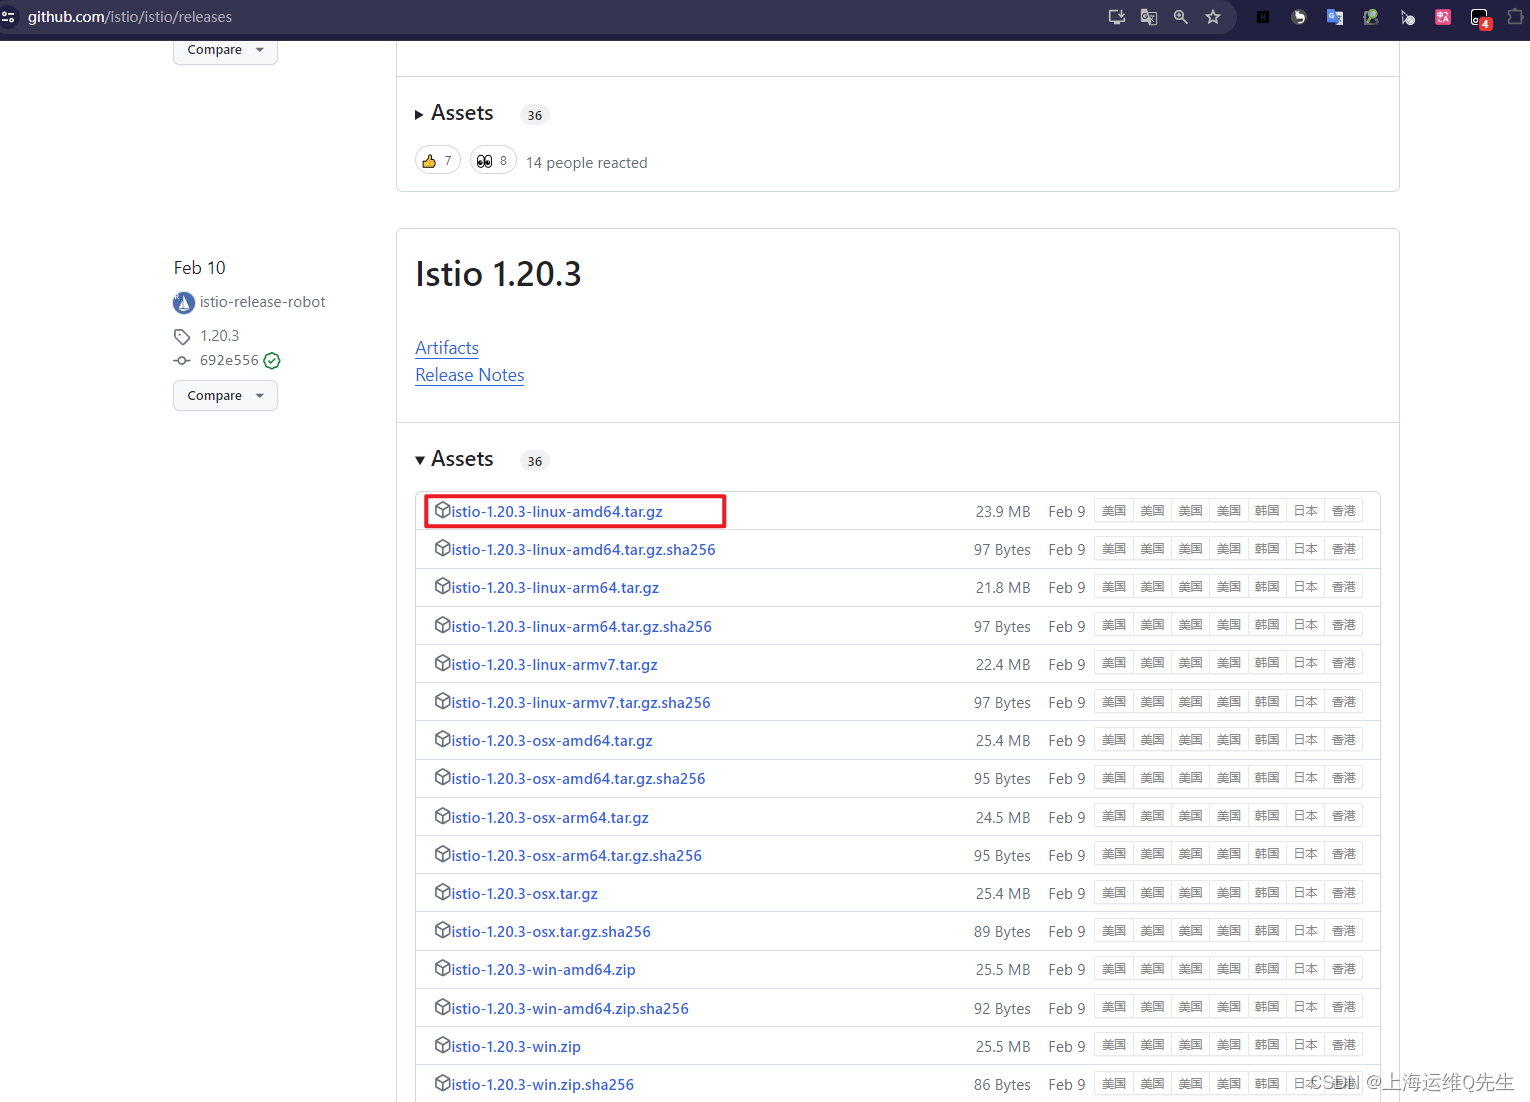
或在服务器上下载此链接
wget https://github.com/istio/istio/releases/download/1.20.3/istio-1.20.3-linux-amd64.tar.gz
将压缩包上传到master服务器,并解压
tar xf istio-1.20.3-linux-amd64.tar.gz
ln -sf  istio-1.20.3 istio
export VERSION=istio
echo "PATH=$PATH:$PWD/$VERSION/bin" >> ~/.bash_profile
echo "source <(istioctl completion bash)" >> ~/.bash_profile
source ~/.bash_profile
istioctl x precheck
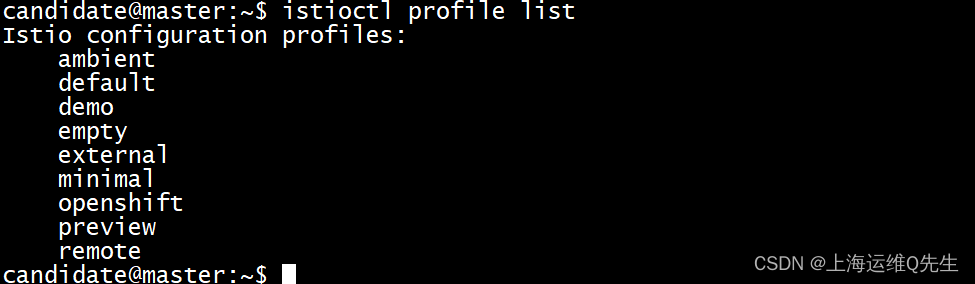
1.2 Istio Profile
Istio内置Profile说明
| Profile | 含义 |
|---|---|
| ambient | 一种新的架构替代方案, 它不再依赖Envoy SideCar作为服务网格.从而减少了高达90%的系统开销,同时简化操作并提高其应用程序性能.目前还在Alpha阶段 |
| default | 根据 IstioOperator API 的默认设置启用组件。建议将此配置文件用于生产部署和多集群网格中的主集群。您可以通过运行命令 istioctl profile dump 来显示默认设置。 |
| demo | 旨在展示资源需求适中的 Istio 功能的配置。它适用于运行 Bookinfo 应用程序和相关任务。这是随快速入门说明一起安装的配置。 |
| empty | 什么都不部署,用作自定义配置的基本配置文件 |
| external | external Profile 用于将流量从 Istio 网格中的服务发送到网格外部的服务。当你的应用程序需要与网格外的服务进行通信时,可以使用 external Profile。 |
| minimal | 与defalt profile相同,但仅安装控制平面组件.这允许使用单独的配置文件配置控制平面和数据平面组件 |
| Openshift | 用于红帽Openshift,对Openshift有相关优化 |
| preview | 预览profile包含实验性功能.这是为了探索Istio的新功能,不保证稳定性,安全性和性能.主要用来测试新功能 |
| remote | 用于配置由外部控制面或多集群网格主集群中的控制面管理的远程集群。 |
以上内容来自于:https://istio.io/latest/docs/setup/additional-setup/config-profiles
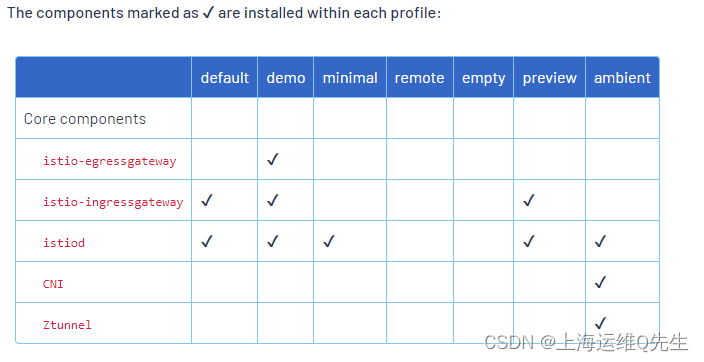
可用profile比较
1.3 安装Istio
因为我们后面测试Bookinfo所以安装demo Profile
istioctl install --set profile=demo -y

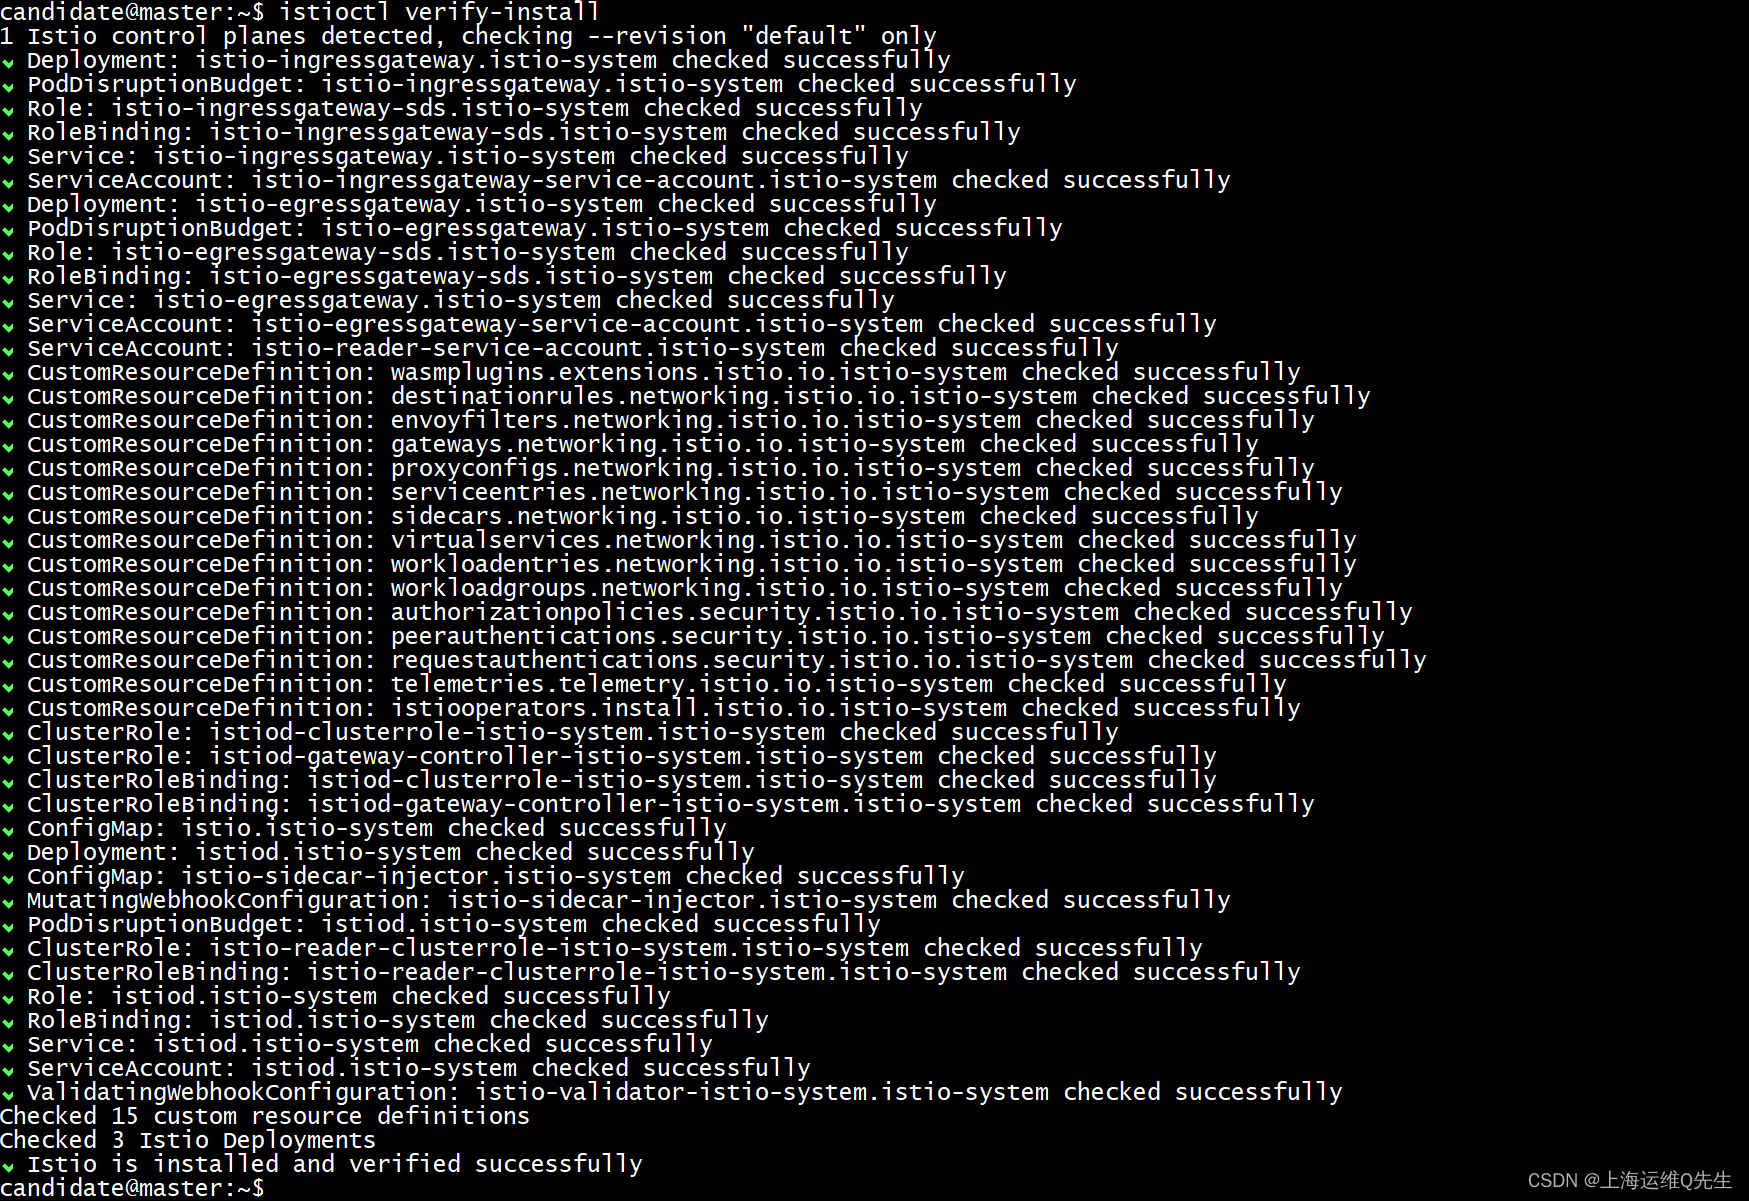
1.4 验证安装
没有报错即为正常
istioctl verify-install
确认istio-system命名空间中pod和svc的状态都为正常,其中istio-ingressgateway的External-ip为metallb提供
kubectl get pods,svc -n istio-system

2. Bookinfo部署
2.1 Istio使用default namespace
istioctl analyze

kubectl label namespace default istio-injection=enabled

这样istio就会自动给default namespace中的pod加上Envoy SideCar
2.2 部署Bookinfo示例
kubectl apply -f istio/samples/bookinfo/platform/kube/bookinfo.yaml
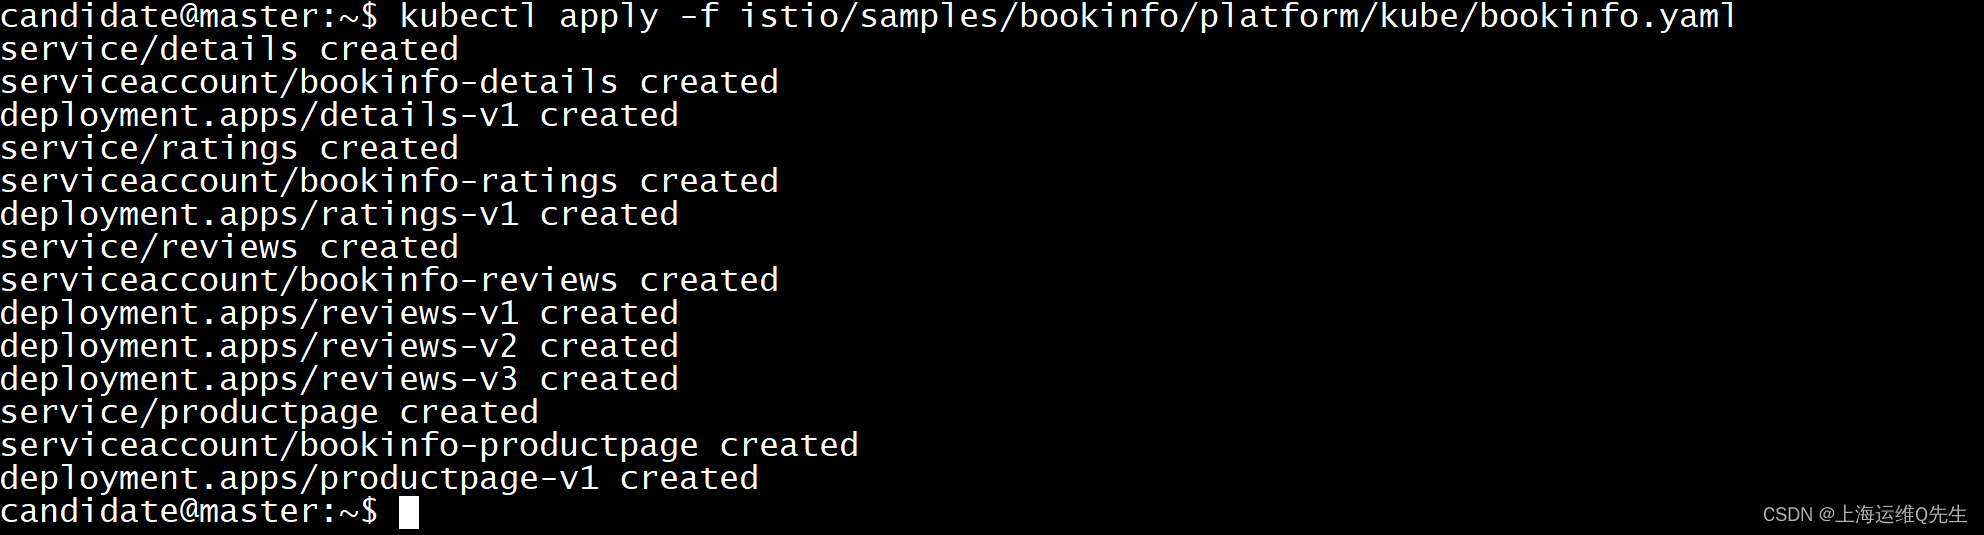
kubectl get pods,svc
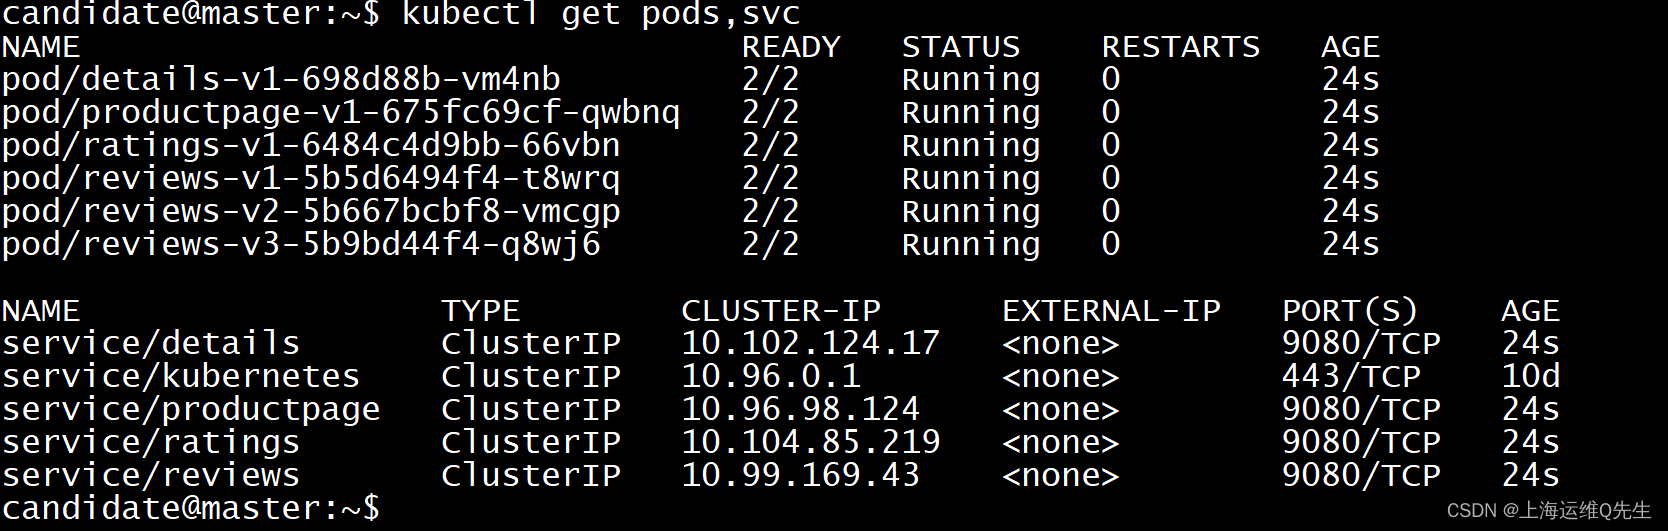
此时Istio sidecar随Pod启动被部署
2.3 Bookinfo暴露外部访问
kubectl apply -f istio/samples/bookinfo/networking/bookinfo-gateway.yaml
文件内容如下
apiVersion: networking.istio.io/v1alpha3
kind: Gateway
metadata:
  name: bookinfo-gateway
spec:
  # The selector matches the ingress gateway pod labels.
  # If you installed Istio using Helm following the standard documentation, this would be "istio=ingress"
  selector:
    istio: ingressgateway # use istio default controller
  servers:
  - port:
      number: 8080
      name: http
      protocol: HTTP
    hosts:
    - "*"
---
apiVersion: networking.istio.io/v1alpha3
kind: VirtualService
metadata:
  name: bookinfo
spec:
  hosts:
  - "*"
  gateways:
  - bookinfo-gateway
  http:
  - match:
    - uri:
        exact: /productpage
    - uri:
        prefix: /static
    - uri:
        exact: /login
    - uri:
        exact: /logout
    - uri:
        prefix: /api/v1/products
    route:
    - destination:
        host: productpage
        port:
          number: 9080

此时会有3个版本的reviews,通过刷新可以刷新出不同版本的reviews
reviews:v1
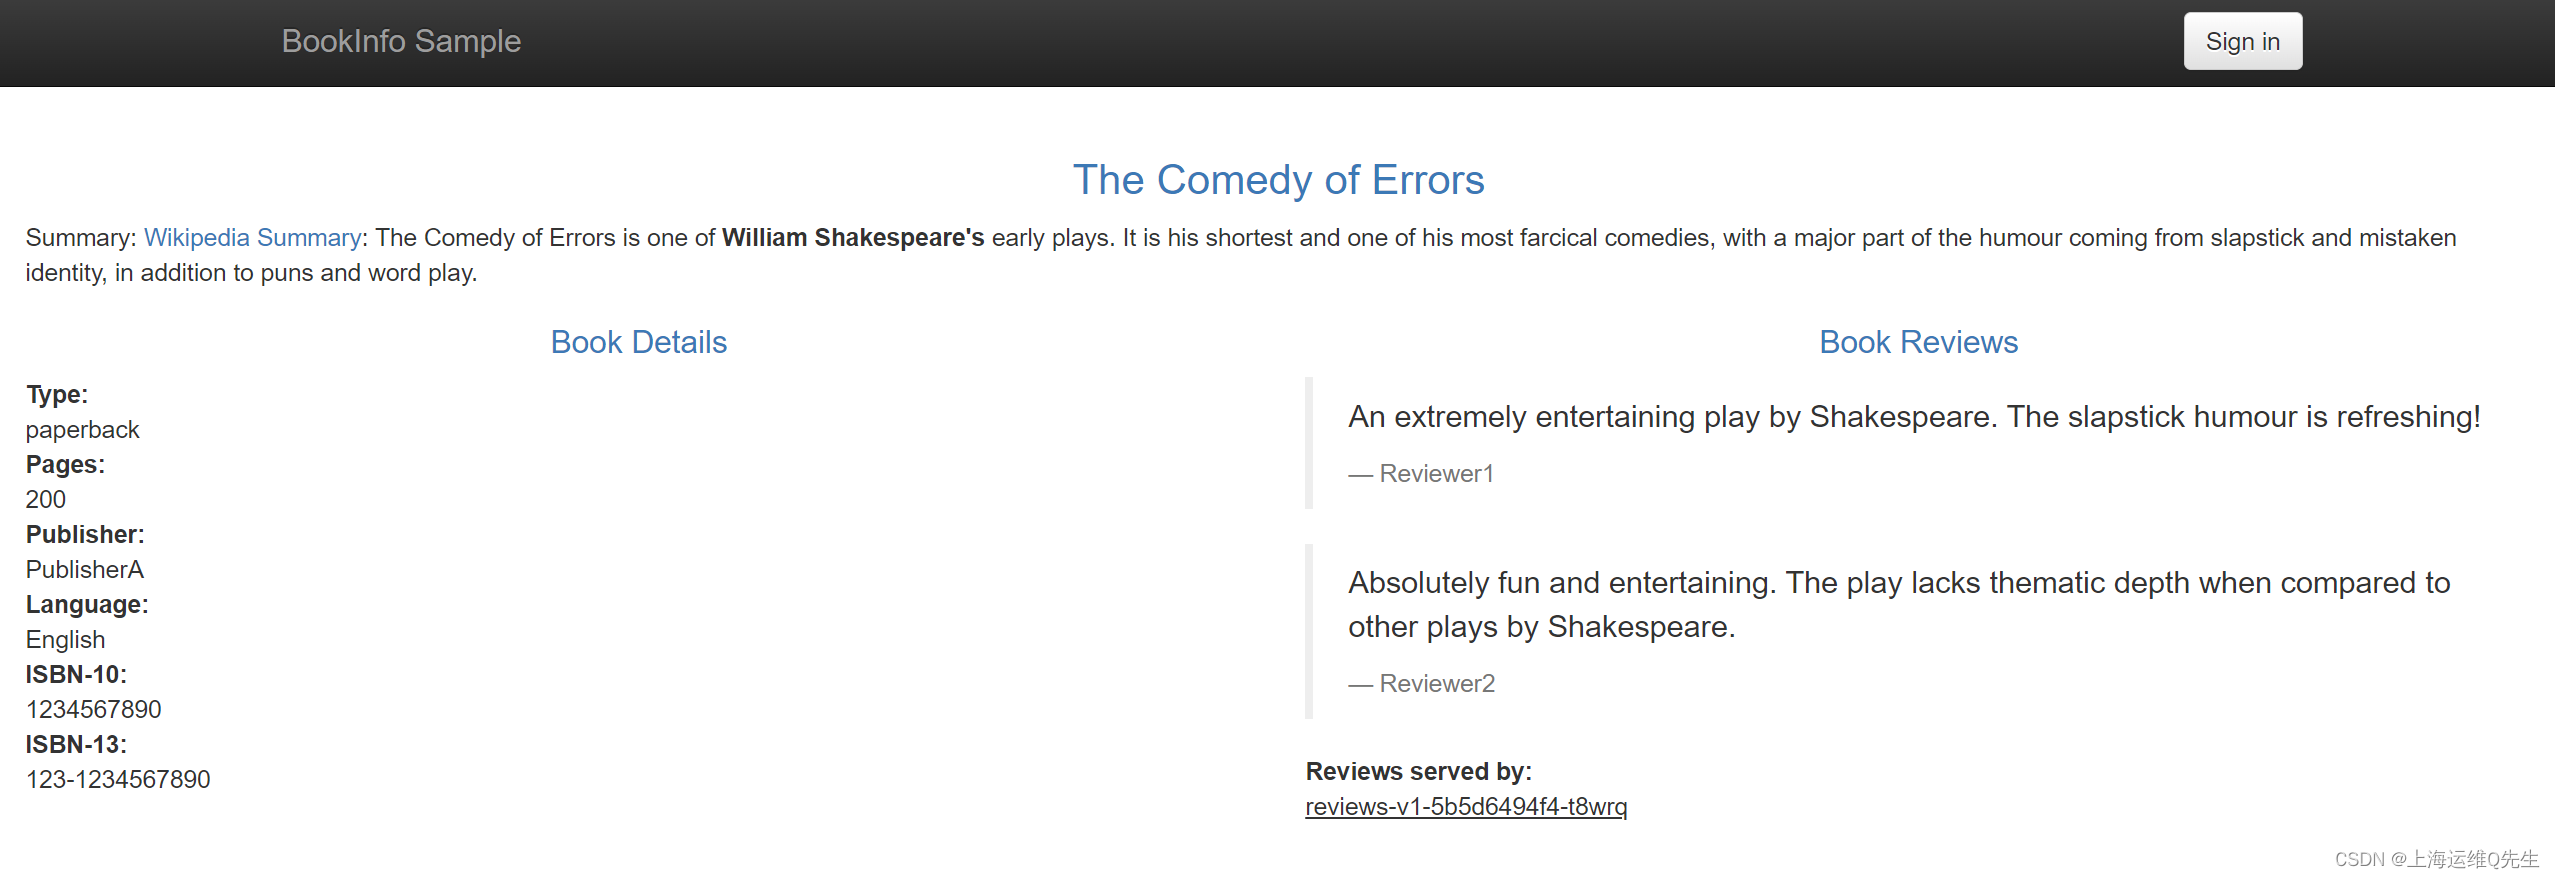
reviews:v2
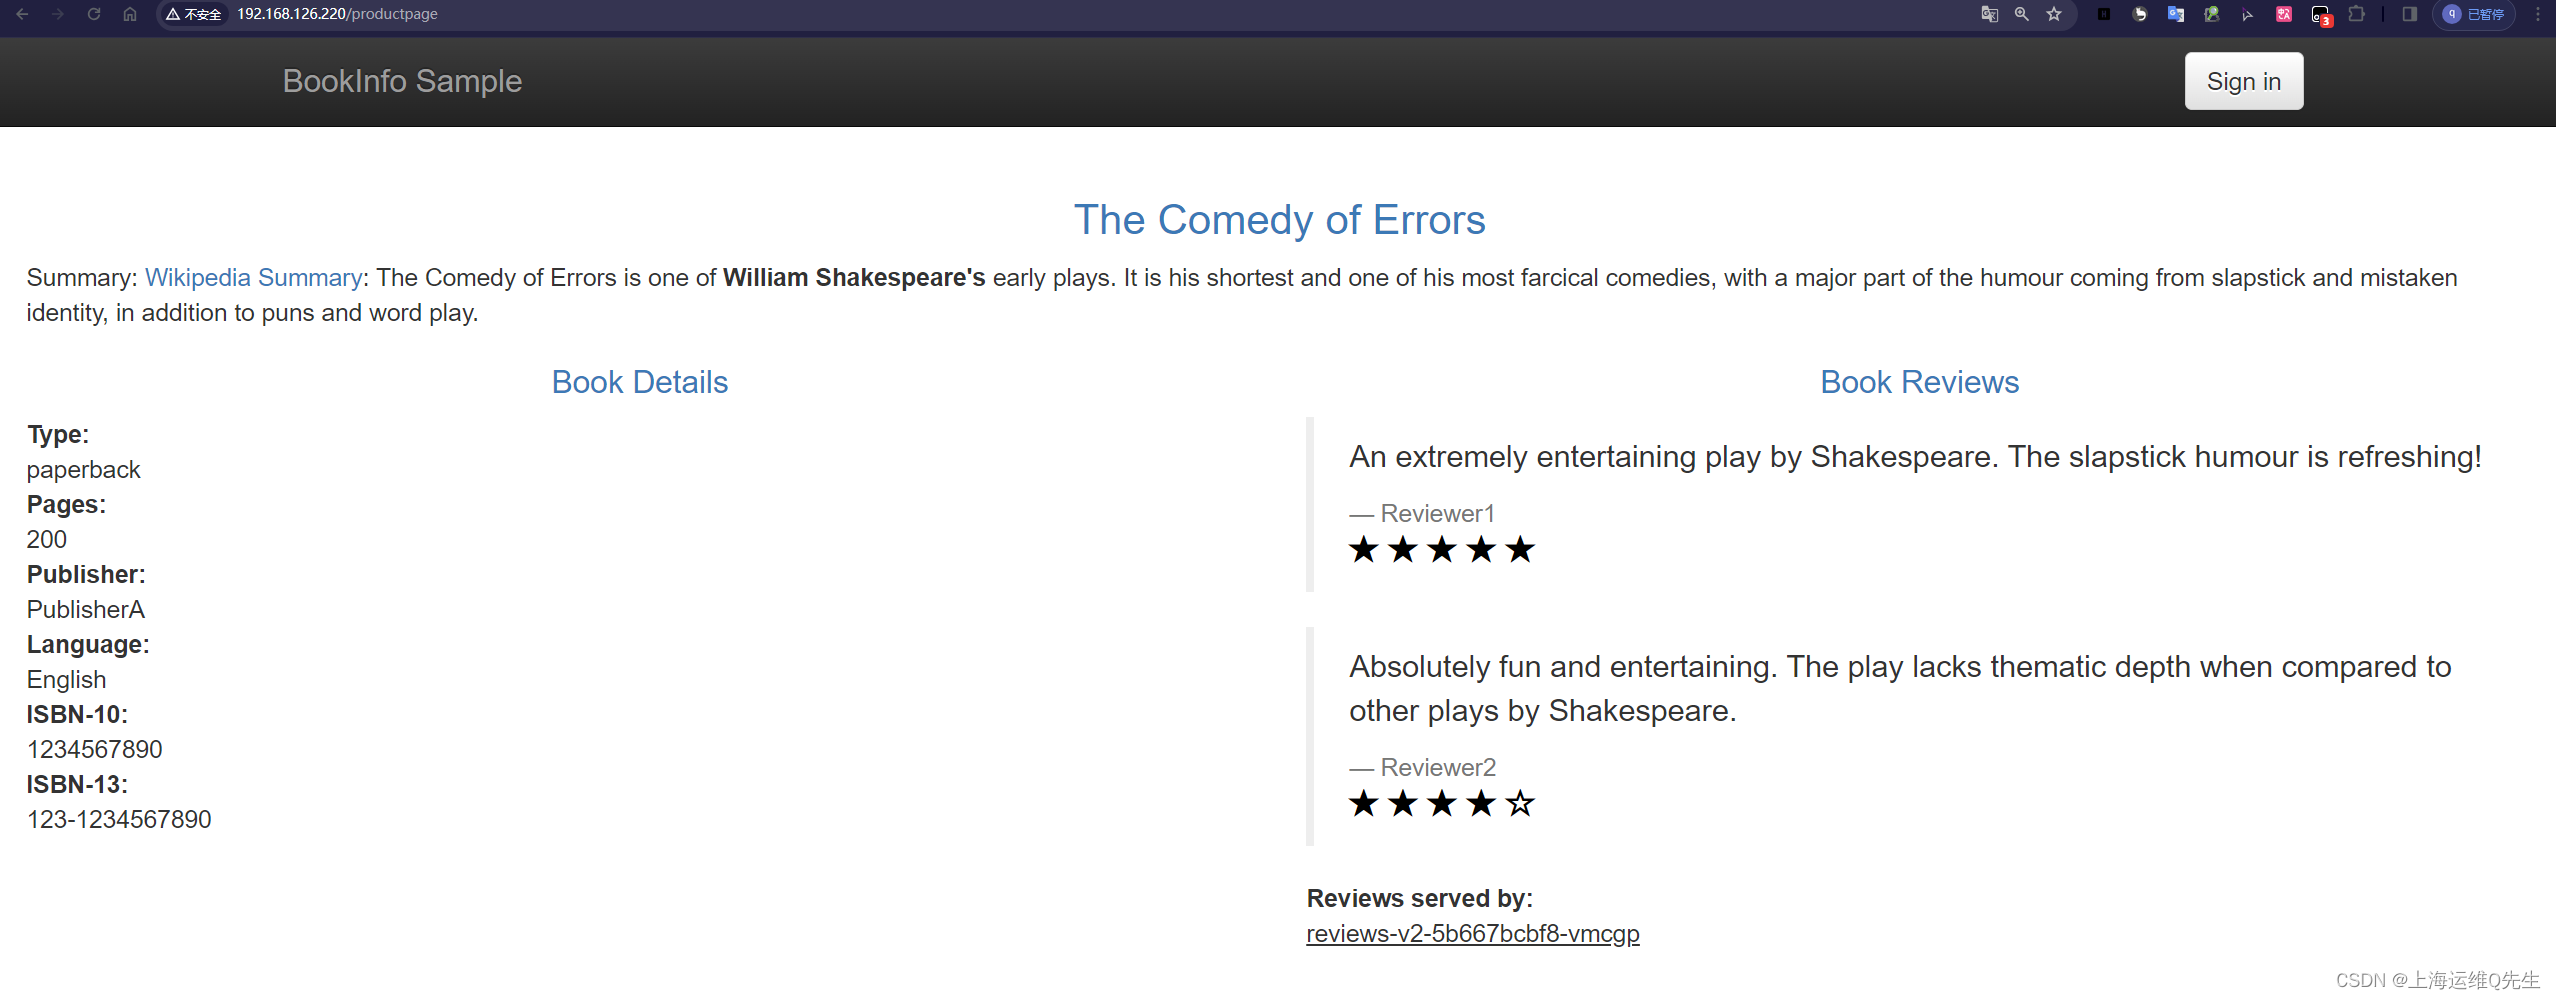
reviews:v3

3. 安装Istio第三方工具
由于loki需要用到共享存储这里没有配置就先删除了
kubectl apply -f istio/samples/addons/
kubectl delete -f istio/samples/addons/loki.yaml
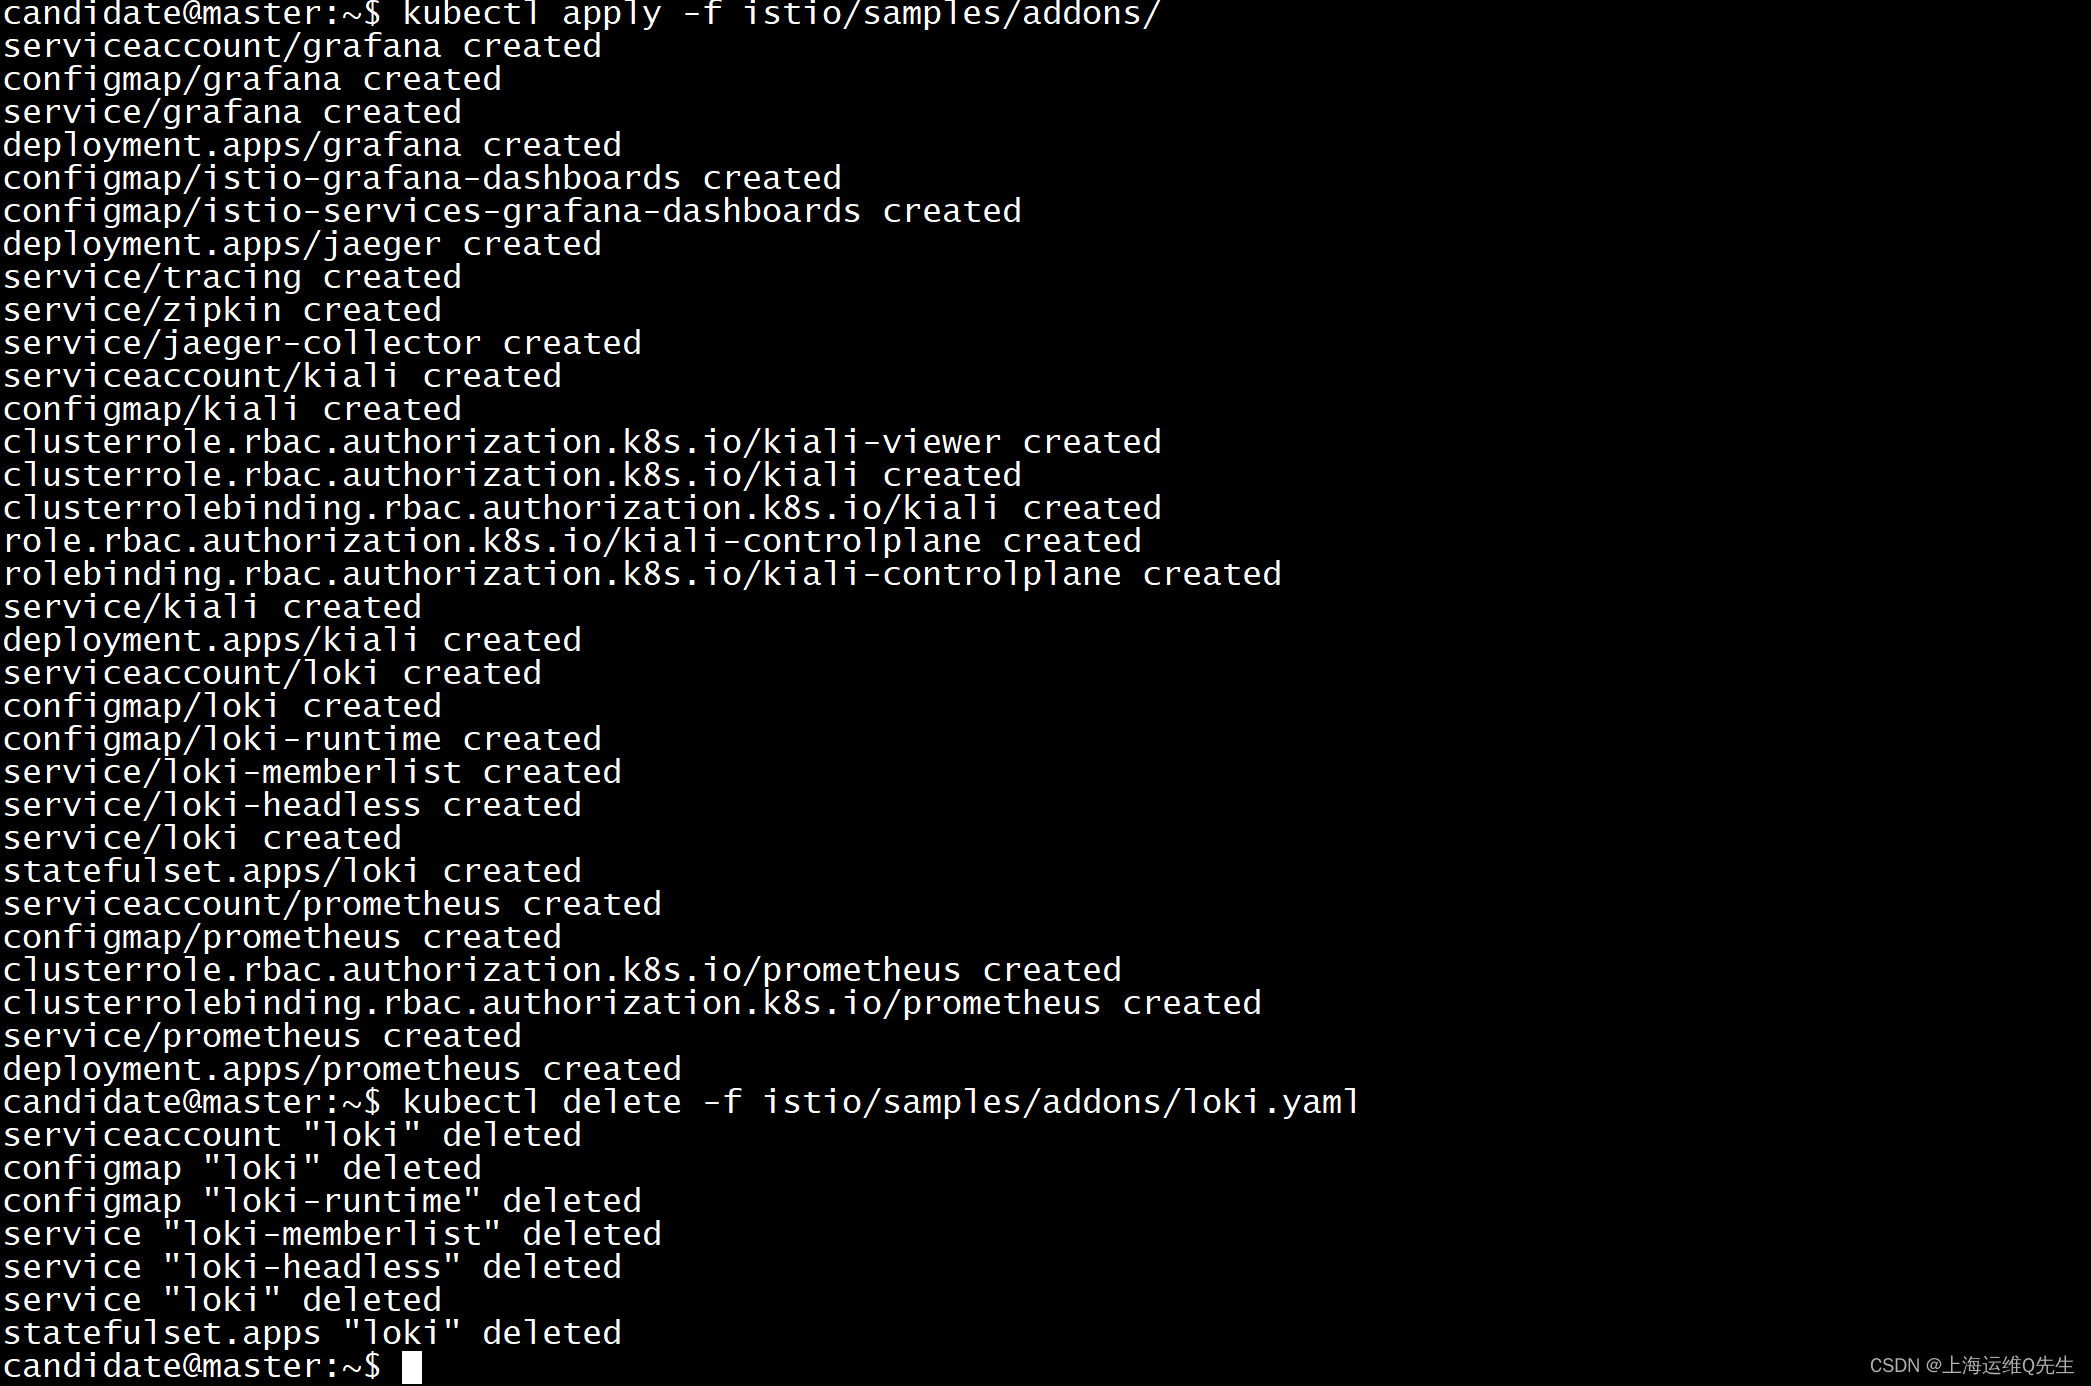
kubectl get pods,svc -n istio-system

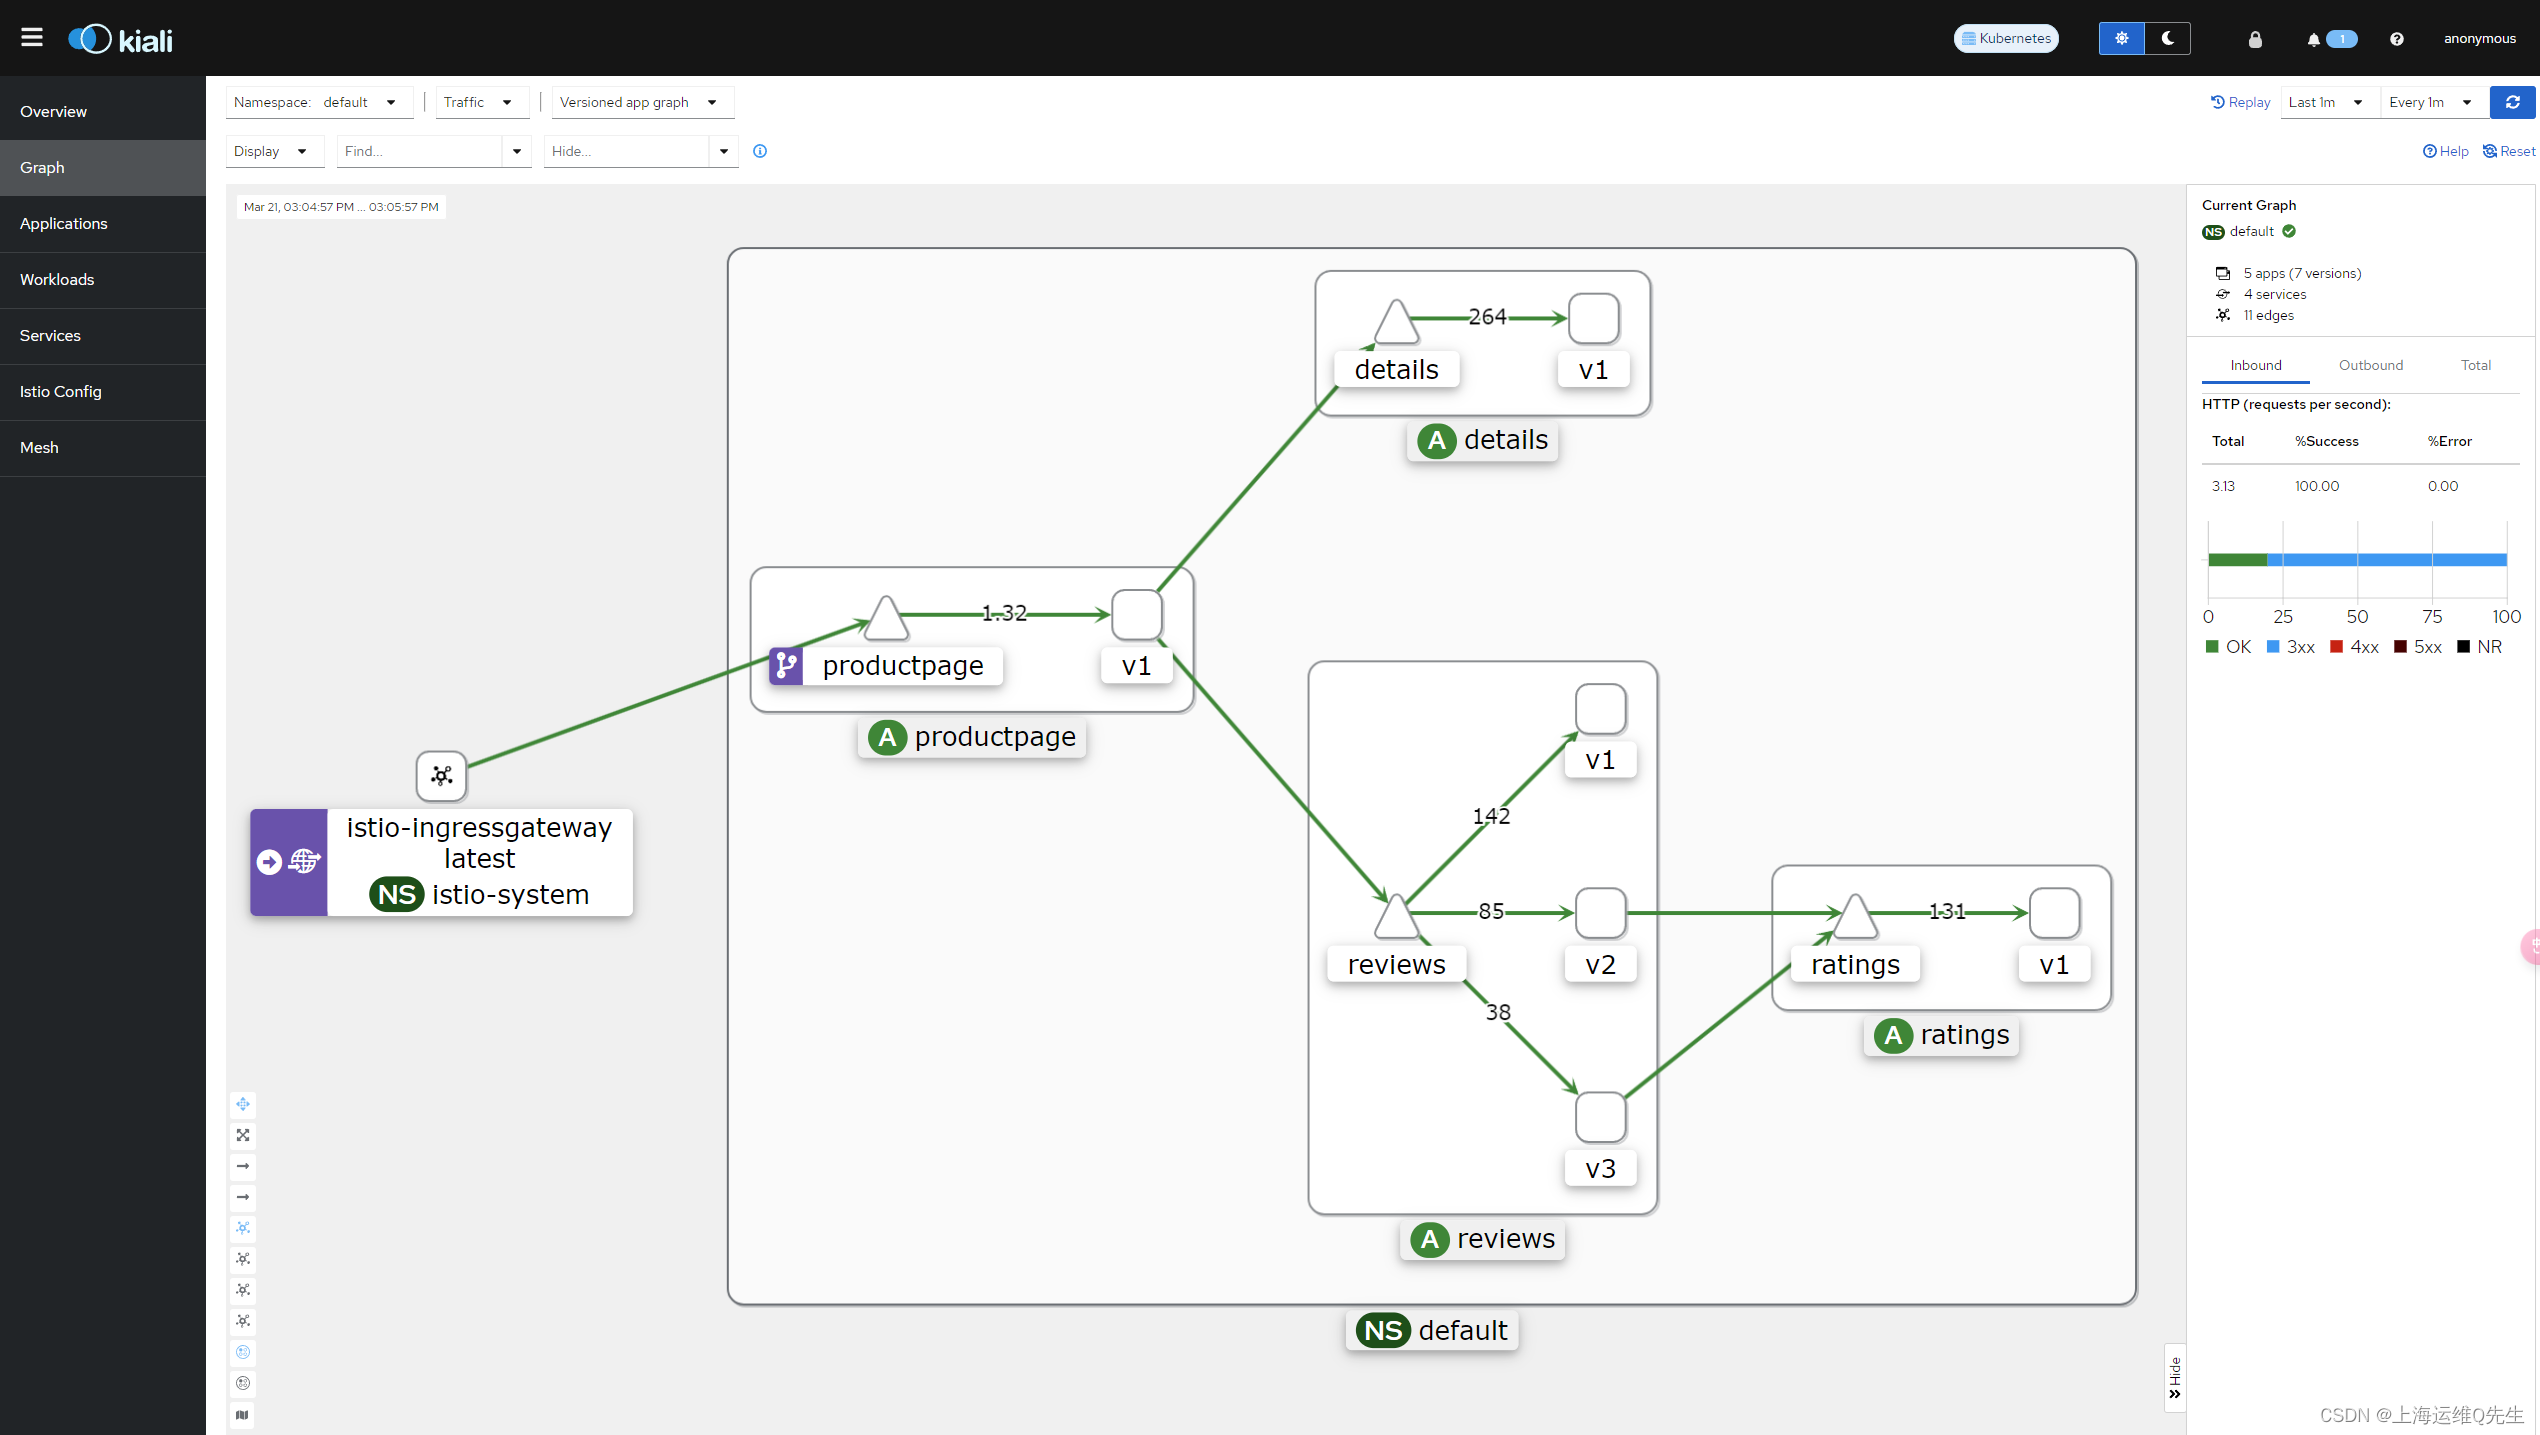
3.1 Kiali
apiVersion: networking.istio.io/v1beta1
kind: Gateway
metadata:
  name: kiali-gateway
  namespace: istio-system
spec:
  selector:
    app: istio-ingressgateway
  servers:
  - port:
      number: 80
      name: http-kiali
      protocol: HTTP
    hosts:
    - "kiali.pana.com"
---
apiVersion: networking.istio.io/v1beta1
kind: VirtualService
metadata:
  name: kiali-virtualservice
  namespace: istio-system
spec:
  hosts:
  - "kiali.pana.com"
  gateways:
  - kiali-gateway
  http:
  - match:
    - uri:
        prefix: /
    route:
    - destination:
        host: kiali
        port:
          number: 20001
kubectl apply -f kiali-gateway.yaml

hosts中解析域名后

3.2 Grafana
apiVersion: networking.istio.io/v1beta1
kind: Gateway
metadata:
  name: grafana-gateway
  namespace: istio-system
spec:
  selector:
    app: istio-ingressgateway
  servers:
  - port:
      number: 80
      name: http-grafana
      protocol: HTTP
    hosts:
    - "grafana.pana.com"
---
apiVersion: networking.istio.io/v1beta1
kind: VirtualService
metadata:
  name: grafana-virtualservice
  namespace: istio-system
spec:
  hosts:
  - "grafana.pana.com"
  gateways:
  - grafana-gateway
  http:
  - match:
    - uri:
        prefix: /
    route:
    - destination:
        host: grafana
        port:
          number: 3000
kubectl apply -f grafana-gateway.yaml

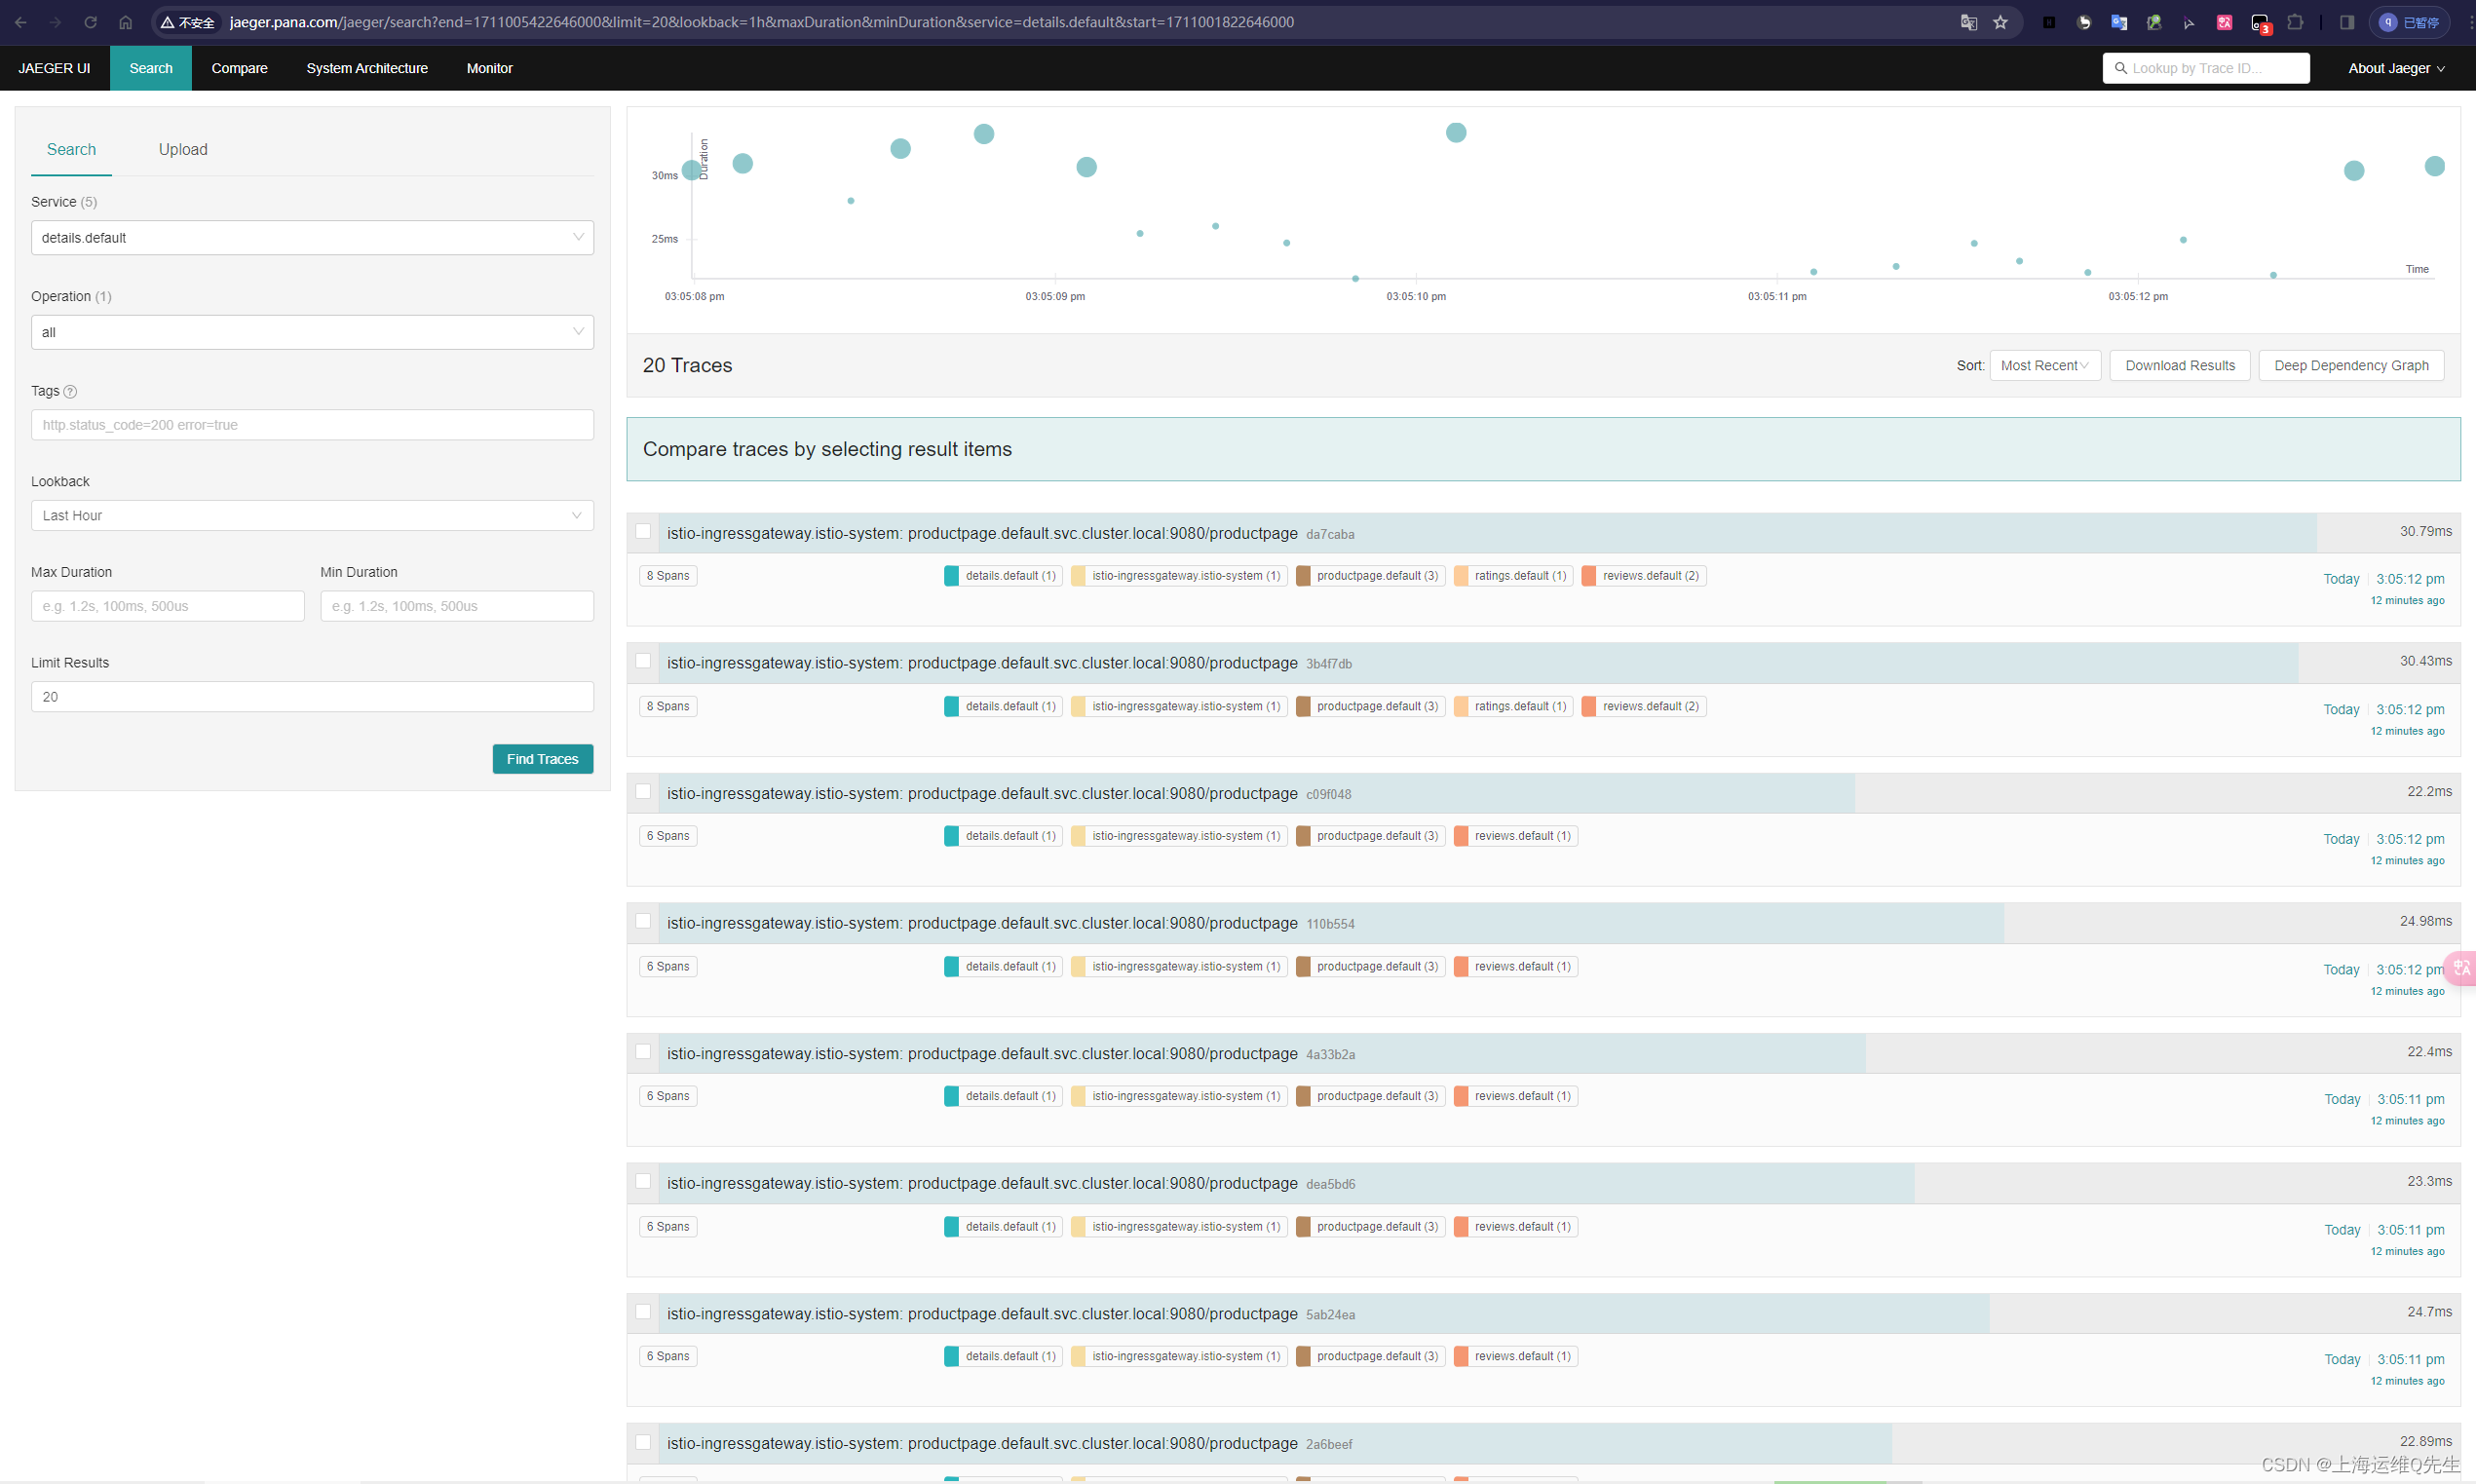
3.3 Jaeger
apiVersion: networking.istio.io/v1beta1
kind: Gateway
metadata:
  name: jaeger-gateway
  namespace: istio-system
spec:
  selector:
    app: istio-ingressgateway
  servers:
  - port:
      number: 80
      name: http-jaeger
      protocol: HTTP
    hosts:
    - "jaeger.pana.com"
---
apiVersion: networking.istio.io/v1beta1
kind: VirtualService
metadata:
  name: jaeger-virtualservice
  namespace: istio-system
spec:
  hosts:
  - "jaeger.pana.com"
  gateways:
  - jaeger-gateway
  http:
  - match:
    - uri:
        prefix: /
    route:
    - destination:
        host: tracing
        port:
          number: 80
kubectl apply -f jaeger-gateway.yaml
至此第一个实验完成,Bookinfo和一部分第三方组件都能正常访问


