环境搭建
参考的这篇帖子点我
2.3 基于pytorch2.0的图像去噪
疑问:
1、莫非是我输出图像错了,总感觉这一章使用的训练集,训练的图像没有噪点。。。
2、归一化处理测试样本,应该除以255吧?文心也说应该除以255,不知道源码里的512有什么含义。
x_train = np.reshape(x_train_batch, [-1, 1, 28, 28])  #修正数据输入维度:([30596, 28, 28])
#  归一化处理测试样本?????????
x_train /= 512.
解决的问题:
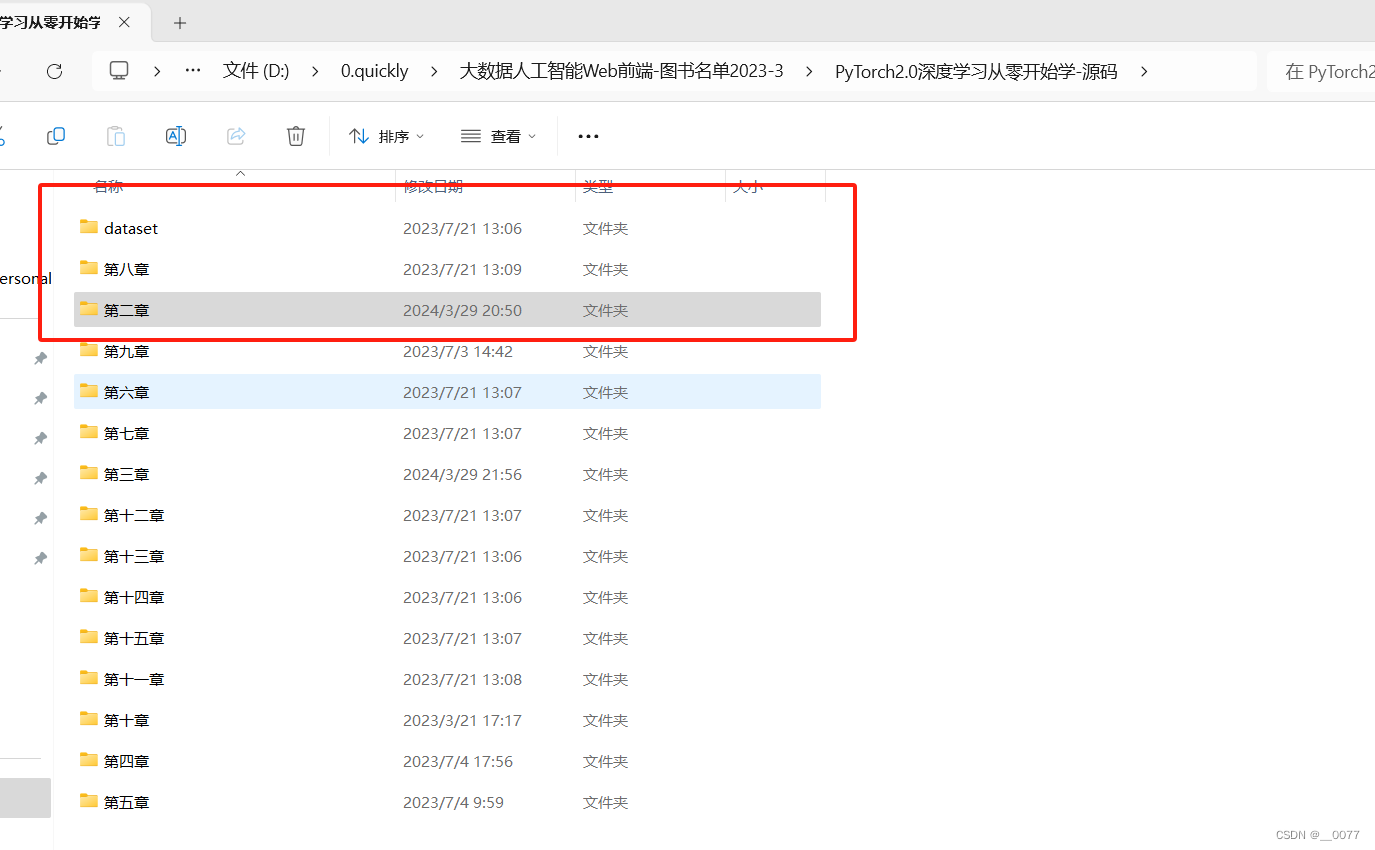
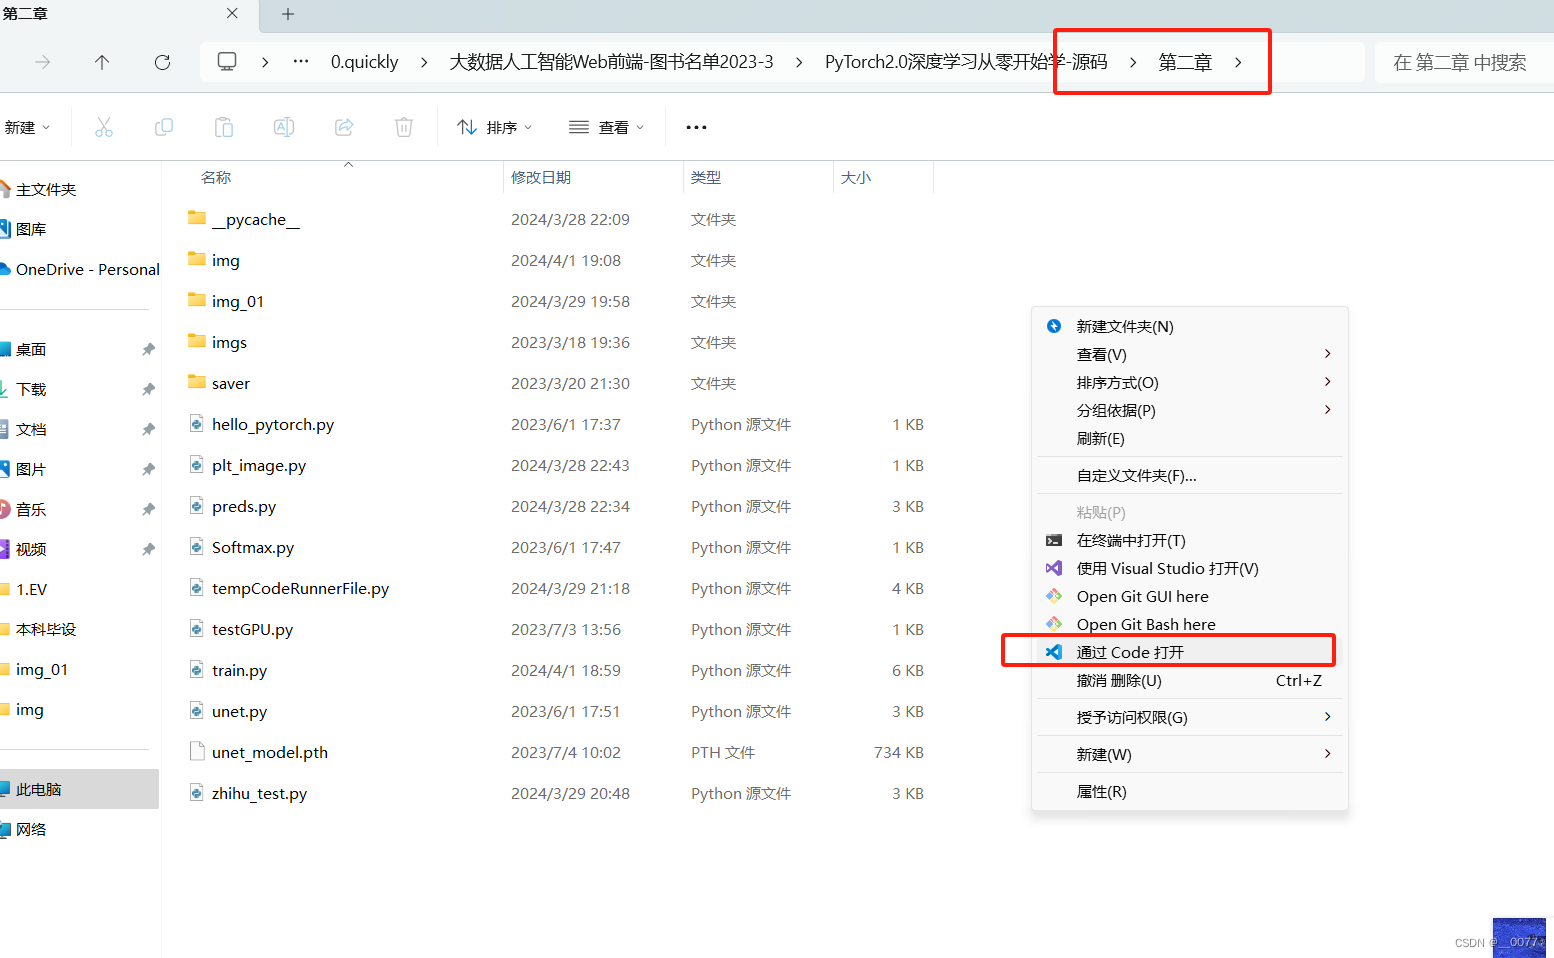
下面这行代码 ,"…“表示父目录,“…/ ” 表示返回上一级目录,【dataset】文件夹跟【第二章】文件夹并列,当我们在【第二章】文件夹下打开IDE,执行train.py 文件时,”…"便等同于“源码\第二章”,再执行以下语句,便可以找到【dataset】文件夹。
x_train = np.load("../dataset/mnist/x_train.npy")
import os
os.environ['CUDA_VISIBLE_DEVICES'] = '0' #指定GPU编号
import torch
import numpy as np
import unet
import matplotlib.pyplot as plt
from tqdm import tqdm
batch_size = 320 #设定每次训练的批次数
epochs = 1024 #设定训练次数
#device = "cpu" #Pytorch的特性,需要指定计算的硬件,如果没有GPU的存在,就使用CPU进行计算
device = "cuda" #在这里读者默认使用GPU,如果读者出现运行问题可以将其改成cpu模式
device = torch.device("cuda" if torch.cuda.is_available() else "cpu")
model = unet.Unet() #导入Unet模型
model = model.to(device) #将计算模型传入GPU硬件等待计算
#model = torch.compile(model) #Pytorch2.0的特性,加速计算速度
optimizer = torch.optim.Adam(model.parameters(), lr=2e-5) #设定优化函数/器【Adam】 梯度下降。。。的
#载入数据
x_train = np.load("../dataset/mnist/x_train.npy")
y_train_label = np.load("../dataset/mnist/y_train_label.npy")
x_train_batch = x_train
x_train2=x_train
# x_train_batch = []
# for i in range(len(y_train_label)):
# if y_train_label[i] <= 10: #为了加速演示作者只对数据集中的小于2的数字,也就是0和1进行运行,读者可以自行增加训练个数
# x_train_batch.append(x_train[i])
x_train = np.reshape(x_train_batch, [-1, 1, 28, 28]) #修正数据输入维度:([30596, 28, 28])
# 归一化处理测试样本?????????
x_train /= 512.
train_length = len(x_train) * 20 #增加数据的单次循环次数
state_dict = torch.load("./saver/unet.pth")
model.load_state_dict(state_dict)
for epoch in range(epochs):
train_num = train_length // batch_size #计算有多少批次数
train_loss = 0 #用于损失函数的统计
optimizer.zero_grad() #对导数进行清零!!!!!!!!!!!
for i in tqdm(range(train_num)): #开始循环训练
x_imgs_batch = [] #创建数据的临时存储位置
x_step_batch = []
y_batch = []
# 对每个批次内的数据进行处理
for b in range(batch_size):
img = x_train[np.random.randint(x_train.shape[0])] #提取单个图片内容
x = img
y = img
x_imgs_batch.append(x)
y_batch.append(y)
#将批次数据转化为Pytorch对应的tensor格式并将其传入GPU中
x_imgs_batch = torch.tensor(x_imgs_batch).float().to(device)
y_batch = torch.tensor(y_batch).float().to(device)
pred = model(x_imgs_batch) #对模型进行正向计算
loss = torch.nn.MSELoss(reduction="sum")(pred, y_batch)*100. #使用损失函数进行计算
#这里读者记住下面就是固定格式,一般而言这样使用即可
###########################################3
loss.backward() #损失值的反向传播
optimizer.step() #对参数进行更新
train_loss += loss.item() #记录每个批次的损失值
#计算并打印损失值
train_loss /= train_num
print("train_loss:", train_loss)
if epoch%6 == 0:
torch.save(model.state_dict(),"./saver/unet.pth")#要么存这里,要么存内存里了,类里面了
#下面是对数据进行打印
ran_img=np.random.randint(x_train.shape[0])
image = x_train[ran_img] #随机挑选一条数据进行计算
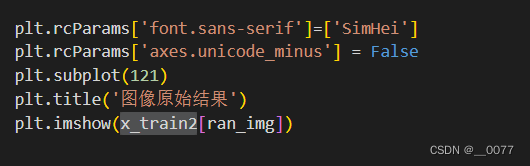
plt.rcParams['font.sans-serif']=['SimHei']
plt.rcParams['axes.unicode_minus'] = False
plt.subplot(121)
plt.title('图像原始结果')
plt.imshow(x_train2[ran_img])
image = np.reshape(image,[1,1,28,28]) #修正数据维度
image = torch.tensor(image).float().to(device) #挑选的数据传入硬件中等待计算
image = model(image) #使用模型对数据进行计算
image = torch.reshape(image, shape=[28,28]) #修正模型输出结果
image = image.detach().cpu().numpy() #将计算结果导入CPU中进行后续计算或者展示
#展示或计算数据结果
plt.subplot(122)
plt.rcParams['font.sans-serif']=['SimHei']
plt.rcParams['axes.unicode_minus'] = False
plt.title('消除噪声后的结果')
plt.imshow(image)
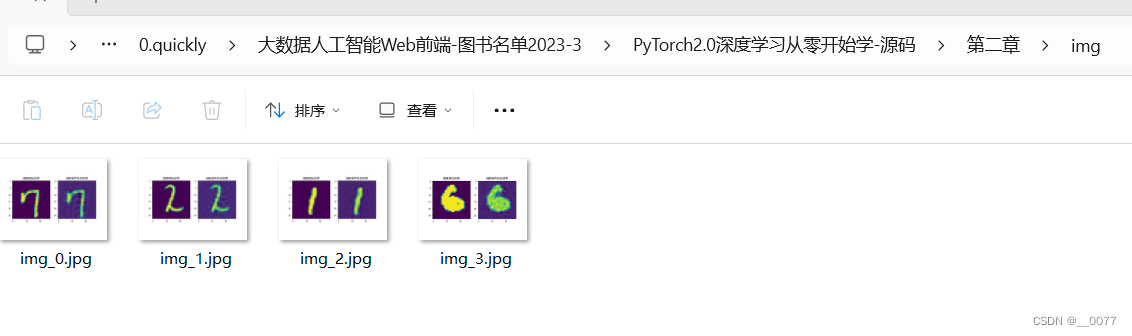
plt.savefig(f"./img/img_{epoch}.jpg")
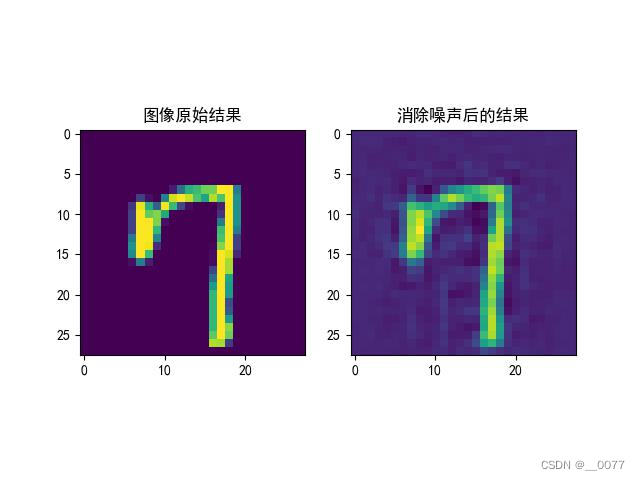
plt.show()
结果:只训练了几次,左边是直接输出的训练集原始图像,这样输出的,不知道对不对