个人简介
| 内容 | 参考链接 |
|---|---|
| WebGL专栏 | WebGL 入门 |
| Three.js(一) | 创建场景、渲染三维对象、添加灯光、添加阴影、添加雾化 |
文章目录
前言
大家好,这里是前端杂货铺。
上篇文章我们学习了 创建场景、渲染三维对象、添加灯光、添加阴影、添加雾化,接下来继续我们 three.js 的学习!
在学习的过程中,如若需要深入了解或扩展某些知识,可以自行查阅 => three.js官方文档
一、scene 场景
在上篇文章中,我们已经使用过它,scene 场景能够让我们在什么地方、摆放什么东西来交给 three.js 来渲染,这是我们放置物体、灯光和摄像机的地方。
接下来,我们熟悉几个 scene 的常用 方法和属性。
| 方法名 | 用途 |
|---|---|
| add() | 向场景中添加对象 |
| getObjectByName() | 通过命名获取对象 |
| remove() | 从场景中移除对象 |
| 属性名 | 用途 |
|---|---|
| children | 返回场景中所有对象的列表 |
| fog | 设置场景中的雾化效果 |
| overrideMaterial | 强制场景中所有对象使用相同材质 |
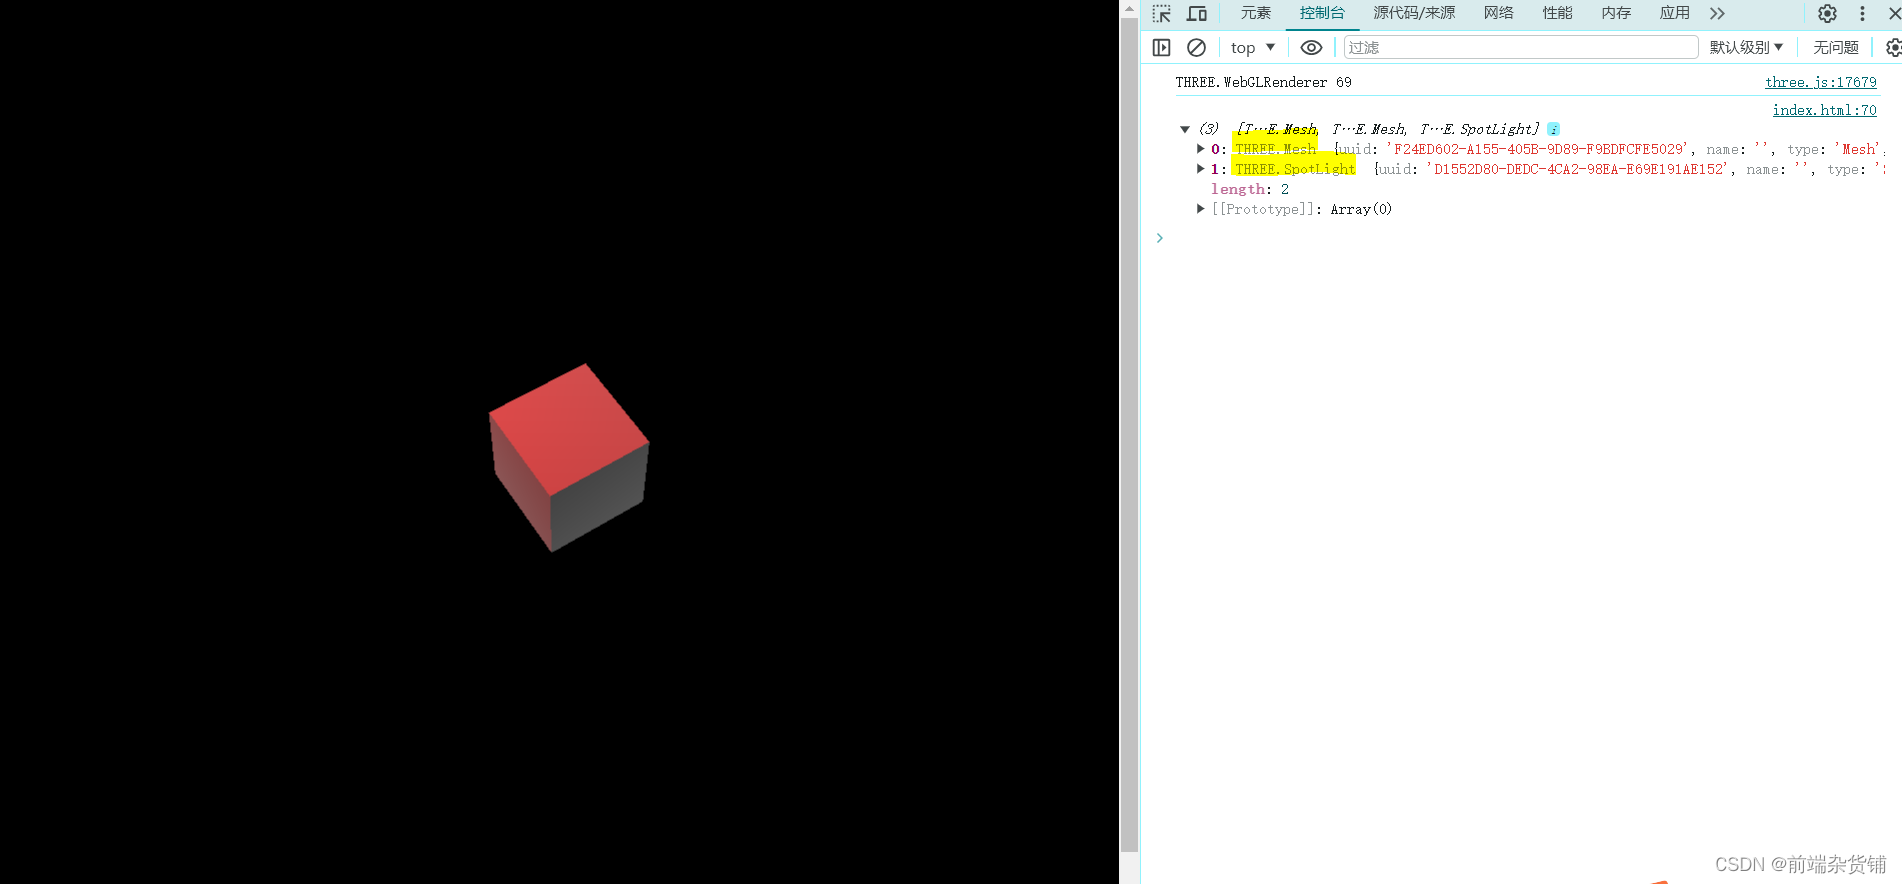
下面代码的场景中,我们添加了两个物体:立方体和球体。
我们使用 getObjectByName() 方法实现获取球体并放大球体为原来的两倍。使用 remove 方法移除了球体。
我们使用 chidren 属性查看场景中的对象列表(由于我们删除了球体,所有只有立方体和聚光灯)。使用 fog 属性在场景中添加雾化效果。使用 overrideMaterial 强制场景中所有对象使用同一材质。
<!DOCTYPE html>
<html lang="en">

<head>
    <meta charset="UTF-8">
    <meta http-equiv="X-UA-Compatible" content="IE=edge">
    <meta name="viewport" content="width=device-width, initial-scale=1.0">
    <title>Document</title>
    <script src="../lib/three/three.js"></script>
    <style>
        * {
            margin: 0;
            padding: 0;
        }
    </style>
</head>

<body>
    <script>
        // 创建场景
        const scene = new THREE.Scene();
        // 创建相机 视野角度FOV、长宽比、近截面、远截面
        const camera = new THREE.PerspectiveCamera(45, window.innerWidth / window.innerHeight, 1, 1000);
        // 设置相机位置
        camera.position.set(0, 0, 20);

        // 创建渲染器
        const renderer = new THREE.WebGLRenderer();
        // 设置渲染器尺寸
        renderer.setSize(window.innerWidth, window.innerHeight);
        document.body.appendChild(renderer.domElement);

        // 添加立方体
        const cubeGeometry = new THREE.BoxGeometry(2, 2, 2);
        // 创建立方体材质
        const cubeMaterial = new THREE.MeshBasicMaterial({
            color: 0xff0000,
            wireframe: false
        });

        const cube = new THREE.Mesh(cubeGeometry, cubeMaterial);

        // 添加到场景
        scene.add(cube);

        // 添加球体
        const sphereGeometry = new THREE.SphereGeometry(1, 10, 10);
        // 创建球体材质
        const sphereMatrial = new THREE.MeshBasicMaterial({
            color: 0x00ff00,
            wireframe: true
        })
        const sphere = new THREE.Mesh(sphereGeometry, sphereMatrial);

        // 给球体命名
        sphere.name = 'sphere';

        // 添加到场景
        scene.add(sphere);

        // 通过命名放大球体为原来的两倍
        scene.getObjectByName("sphere").scale.set(2, 2, 2);

        // 添加灯光
        const spotLight = new THREE.SpotLight(0xffffff);
        spotLight.position.set(-10, 10, 10);
        scene.add(spotLight);

        // 查看场景中所有对象列表
        console.log(scene.children);

        // 设置场景中的雾化效果
        scene.fog = new THREE.Fog(0xffffff, 1, 50);

        // 移除立方体
        scene.remove(sphere);

        // 强制场景中所有对象使用相同材质
        scene.overrideMaterial = new THREE.MeshLambertMaterial({ color: 0xff0000});

        const animation = () => {
            cube.rotation.x += 0.01;
            cube.rotation.y += 0.01;

            sphere.rotation.x += 0.01;
            sphere.rotation.y += 0.01;
            // 渲染
            renderer.render(scene, camera);
            requestAnimationFrame(animation);
        }

        animation();
    </script>
</body>

</html>
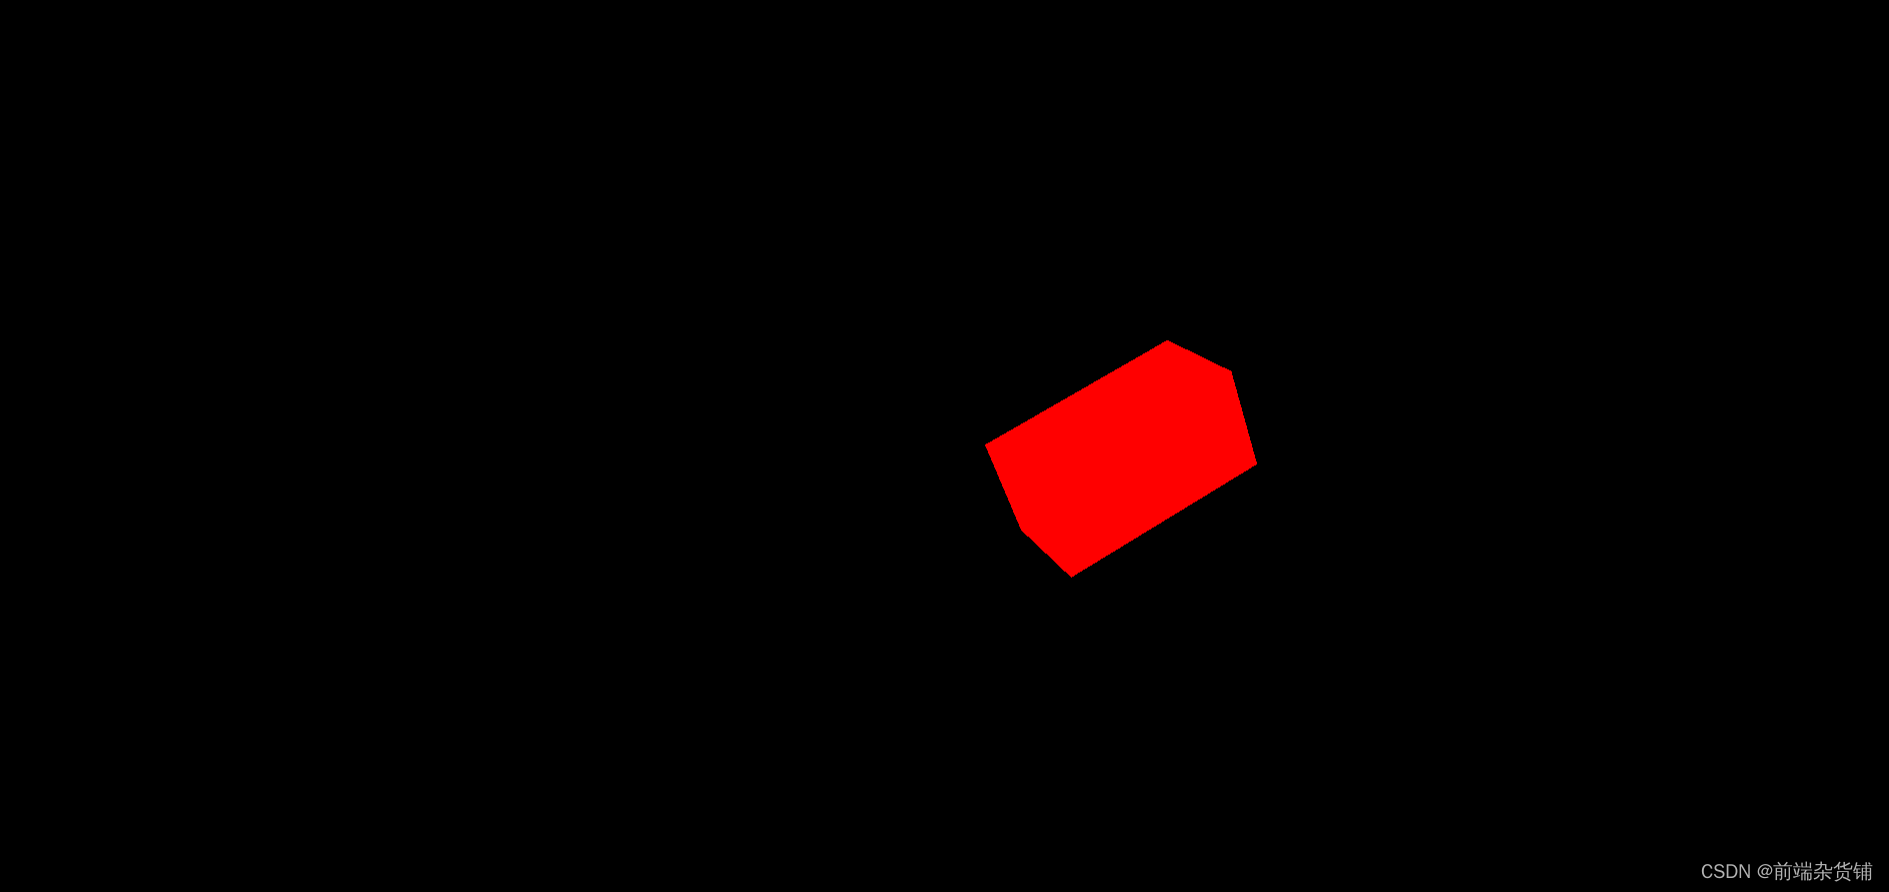
二、几何体位置、旋转、缩放
position 控制物体的位置、rotation 控制物体的旋转、scale 控制物体的缩放。
下面的代码,我们使用 单个赋值 和 方法赋值 的方式来操作几何体。
<!DOCTYPE html>
<html lang="en">

<head>
    <meta charset="UTF-8">
    <meta http-equiv="X-UA-Compatible" content="IE=edge">
    <meta name="viewport" content="width=device-width, initial-scale=1.0">
    <title>Document</title>
    <script src="../lib/three/three.js"></script>
    <style>
        * {
            margin: 0;
            padding: 0;
        }
    </style>
</head>

<body>
    <script>
        // 创建场景
        const scene = new THREE.Scene();
        // 创建相机 视野角度FOV、长宽比、近截面、远截面
        const camera = new THREE.PerspectiveCamera(45, window.innerWidth / window.innerHeight, 1, 1000);
        // 设置相机位置
        camera.position.set(0, 0, 20);

        // 创建渲染器
        const renderer = new THREE.WebGLRenderer();
        // 设置渲染器尺寸
        renderer.setSize(window.innerWidth, window.innerHeight);
        document.body.appendChild(renderer.domElement);

        // 添加立方体
        const cubeGeometry = new THREE.BoxGeometry(2, 2, 2);
        // 创建立方体材质
        const cubeMaterial = new THREE.MeshBasicMaterial({
            color: 0xff0000,
            wireframe: false
        });

        const cube = new THREE.Mesh(cubeGeometry, cubeMaterial);

        // 单个赋值 效果同下
        // // 位置 x => 3
        // cube.position.x = 3;
        // // 旋转 45 度
        // cube.rotation.x = 0.125 * Math.PI;
        // cube.rotation.y = 0.125 * Math.PI;
        // cube.rotation.z = 0.125 * Math.PI;
        // // x 放大 2 倍
        // cube.scale.x = 2;

        // 通过方法赋值
        cube.position.set(3, 0, 0);
        cube.rotation.set(0.125 * Math.PI, 0.125 * Math.PI, 0.125 * Math.PI);
        cube.scale.set(2, 1, 1);

        // 添加到场景
        scene.add(cube);

        // 渲染
        renderer.render(scene, camera);
    </script>
</body>

</html>
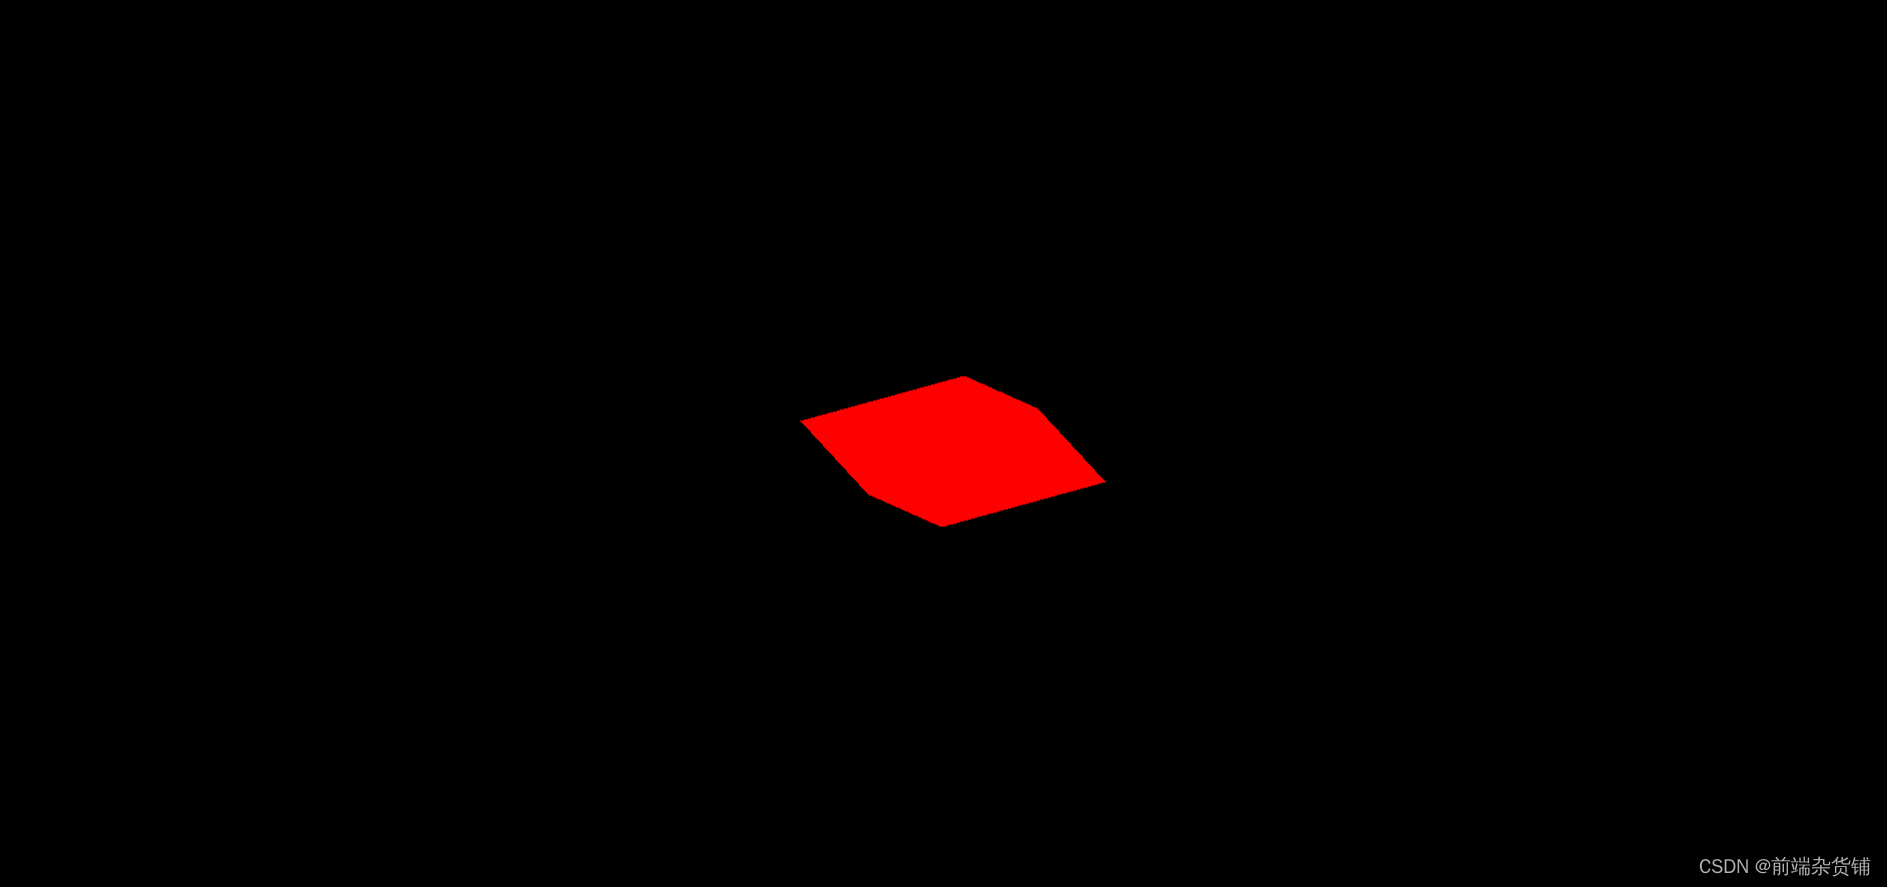
三、正射投影相机
正射投影相机 new THREE.OrthographicCamera(渲染的图片中物体的大小都保持不变),它接收六个参数:
- left:左边界
- right:右边界
- top:上边界
- bottom:下边界
- near:近面
- far:远面
<!DOCTYPE html>
<html lang="en">

<head>
    <meta charset="UTF-8">
    <meta http-equiv="X-UA-Compatible" content="IE=edge">
    <meta name="viewport" content="width=device-width, initial-scale=1.0">
    <title>Document</title>
    <script src="../lib/three/three.js"></script>
    <style>
        * {
            margin: 0;
            padding: 0;
        }
    </style>
</head>

<body>
    <script>
        // 创建场景
        const scene = new THREE.Scene();
	 	// 正射投影相机
        const camera = new THREE.OrthographicCamera(-10, 10, 10, -10, 1, 1000)
        // 设置相机位置
        camera.position.set(0, 0, 20);

        // 创建渲染器
        const renderer = new THREE.WebGLRenderer();
        // 设置渲染器尺寸
        renderer.setSize(window.innerWidth, window.innerHeight);
        document.body.appendChild(renderer.domElement);

        // 添加立方体
        const cubeGeometry = new THREE.BoxGeometry(2, 2, 2);
        // 创建立方体材质
        const cubeMaterial = new THREE.MeshBasicMaterial({
            color: 0xff0000,
            wireframe: false
        });

        const cube = new THREE.Mesh(cubeGeometry, cubeMaterial);

        cube.rotation.set(0.125 * Math.PI, 0.125 * Math.PI, 0.125 * Math.PI);

        // 添加到场景
        scene.add(cube);

        // 渲染
        renderer.render(scene, camera);
    </script>
</body>

</html>
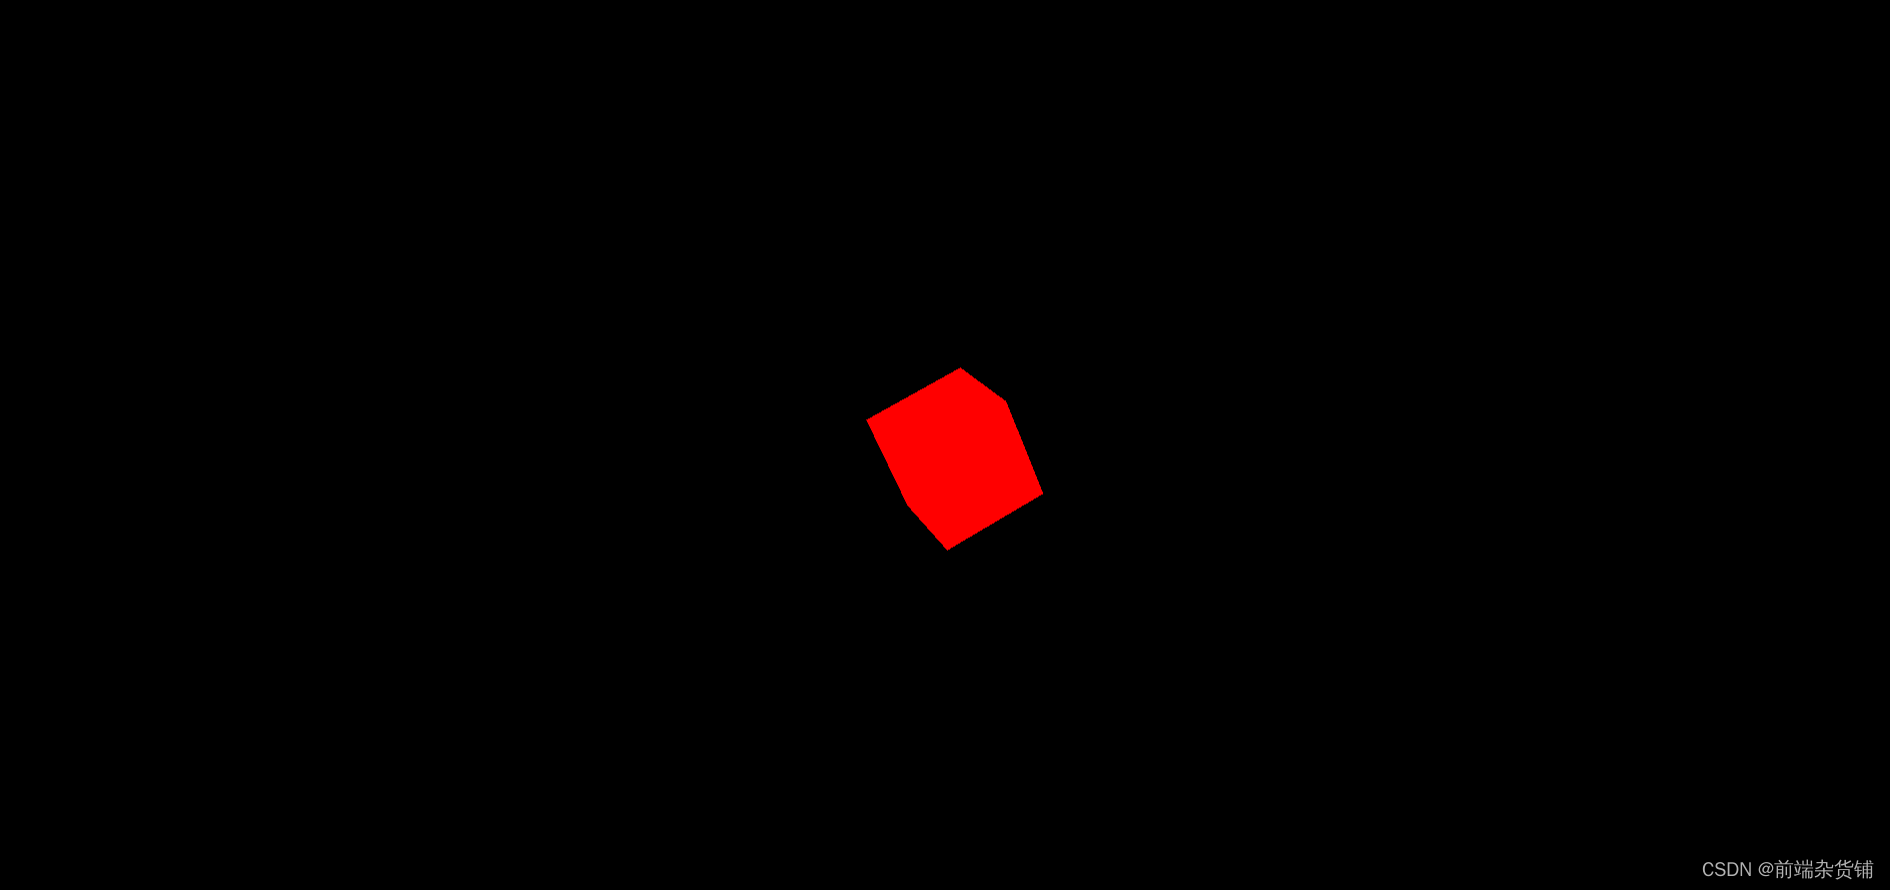
四、透视投影相机
正射投影相机 new THREE.PerspectiveCamera (用来模拟人眼所看到的景象,近大远小),它接收四个参数:
- fov:视角
- aspect:宽高比
- near:近面
- far:远面
<!DOCTYPE html>
<html lang="en">

<head>
    <meta charset="UTF-8">
    <meta http-equiv="X-UA-Compatible" content="IE=edge">
    <meta name="viewport" content="width=device-width, initial-scale=1.0">
    <title>Document</title>
    <script src="../lib/three/three.js"></script>
    <style>
        * {
            margin: 0;
            padding: 0;
        }
    </style>
</head>

<body>
    <script>
        // 创建场景
        const scene = new THREE.Scene();
        // 透视投影相机 视野角度FOV、长宽比、近截面、远截面
        const camera = new THREE.PerspectiveCamera(45, window.innerWidth / window.innerHeight, 1, 1000);
        // 设置相机位置
        camera.position.set(0, 0, 20);

        // 创建渲染器
        const renderer = new THREE.WebGLRenderer();
        // 设置渲染器尺寸
        renderer.setSize(window.innerWidth, window.innerHeight);
        document.body.appendChild(renderer.domElement);

        // 添加立方体
        const cubeGeometry = new THREE.BoxGeometry(2, 2, 2);
        // 创建立方体材质
        const cubeMaterial = new THREE.MeshBasicMaterial({
            color: 0xff0000,
            wireframe: false
        });

        const cube = new THREE.Mesh(cubeGeometry, cubeMaterial);

        cube.rotation.set(0.125 * Math.PI, 0.125 * Math.PI, 0.125 * Math.PI);

        // 添加到场景
        scene.add(cube);

        // 渲染
        renderer.render(scene, camera);
    </script>
</body>

</html>
总结
本篇文章我们熟悉了scene场景的一些方法和属性的使用,认识了如何对几何体进行位置、选择和缩放的操作,并简单了解了正射投影相机和透视投影相机。
更多内容扩展请大家自行查阅 => three.js官方文档,真心推荐读一读!!
好啦,本篇文章到这里就要和大家说再见啦,祝你这篇文章阅读愉快,你下篇文章的阅读愉快留着我下篇文章再祝!