文章目录
工程效果
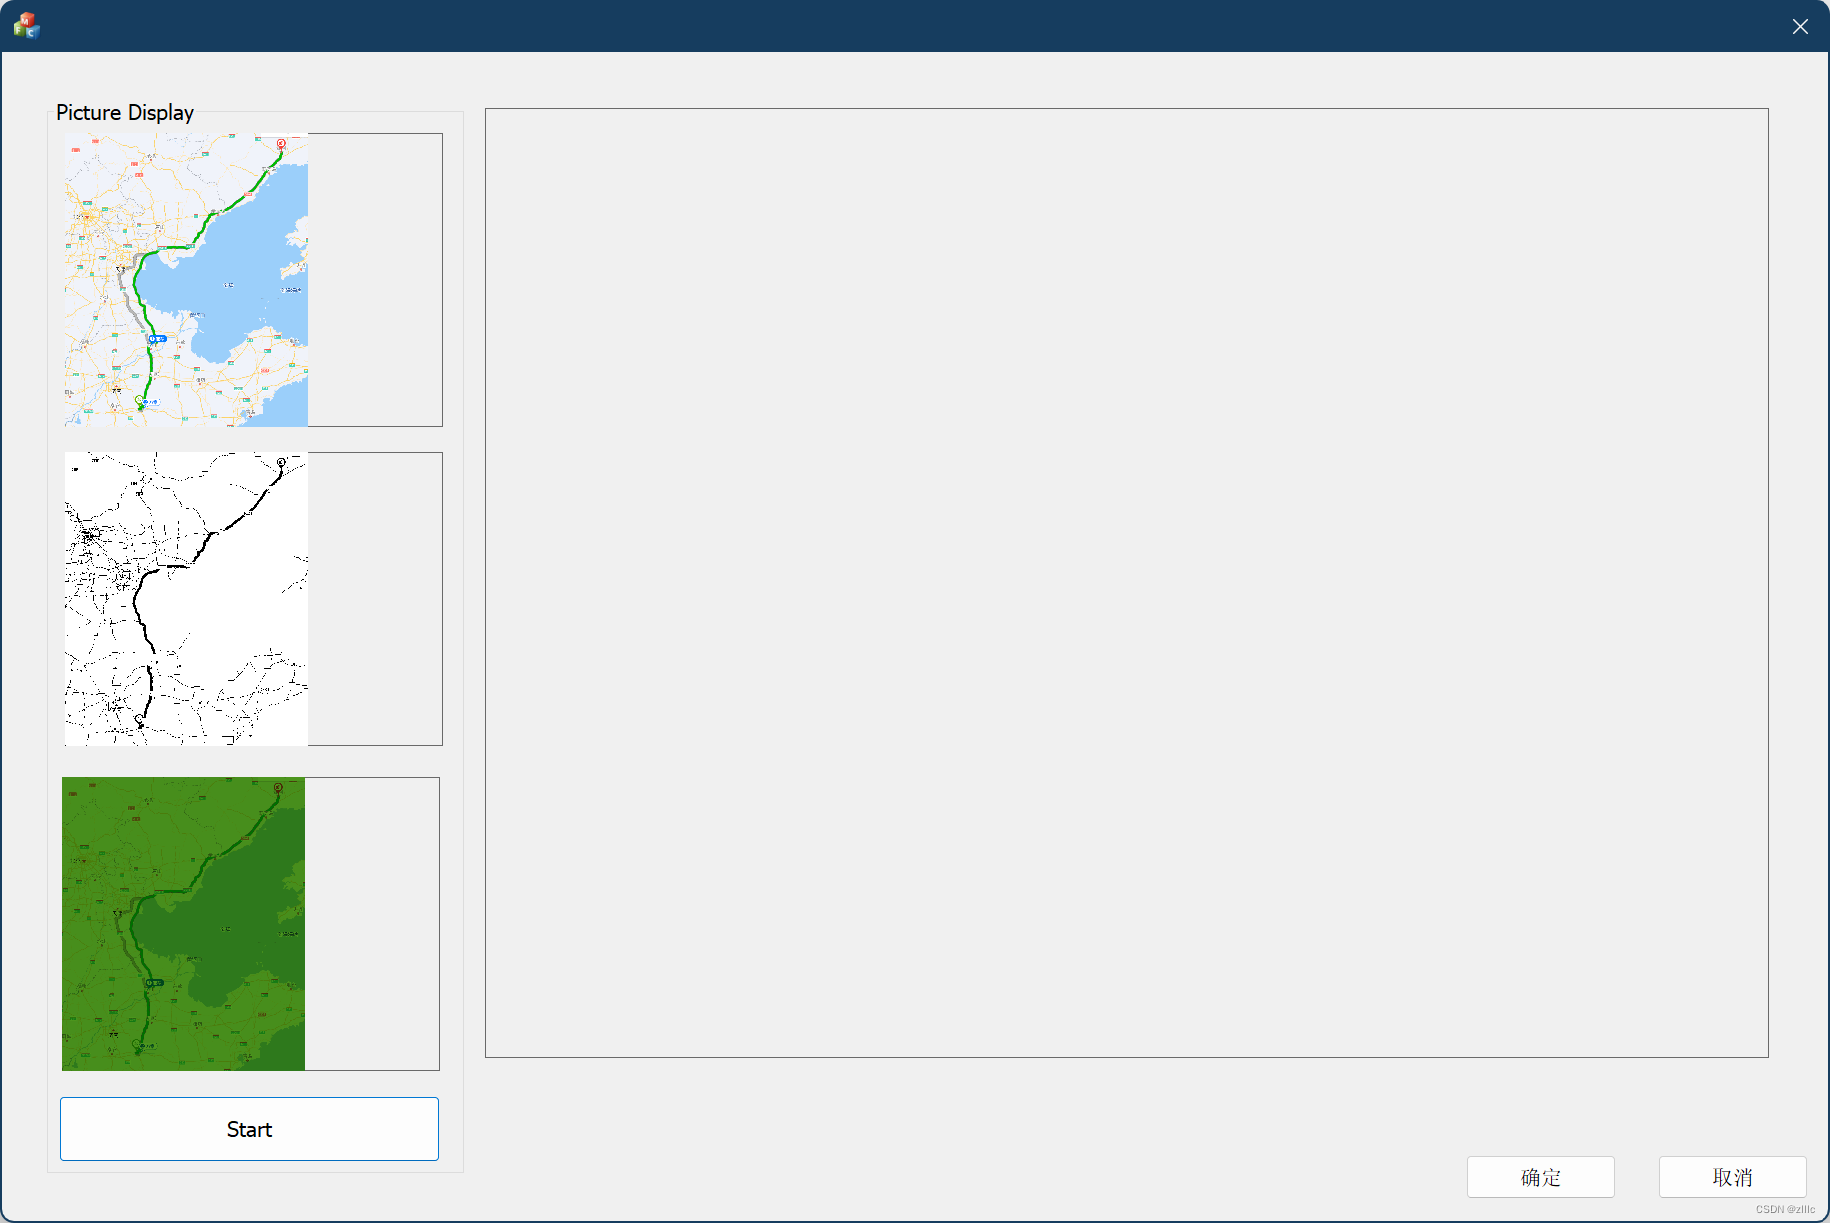
载入图片,并在左侧显示原始图片、二值化图片和灰度图片。
双击左侧的图片控件,可以在右侧的大控件中,显示双击的图片。
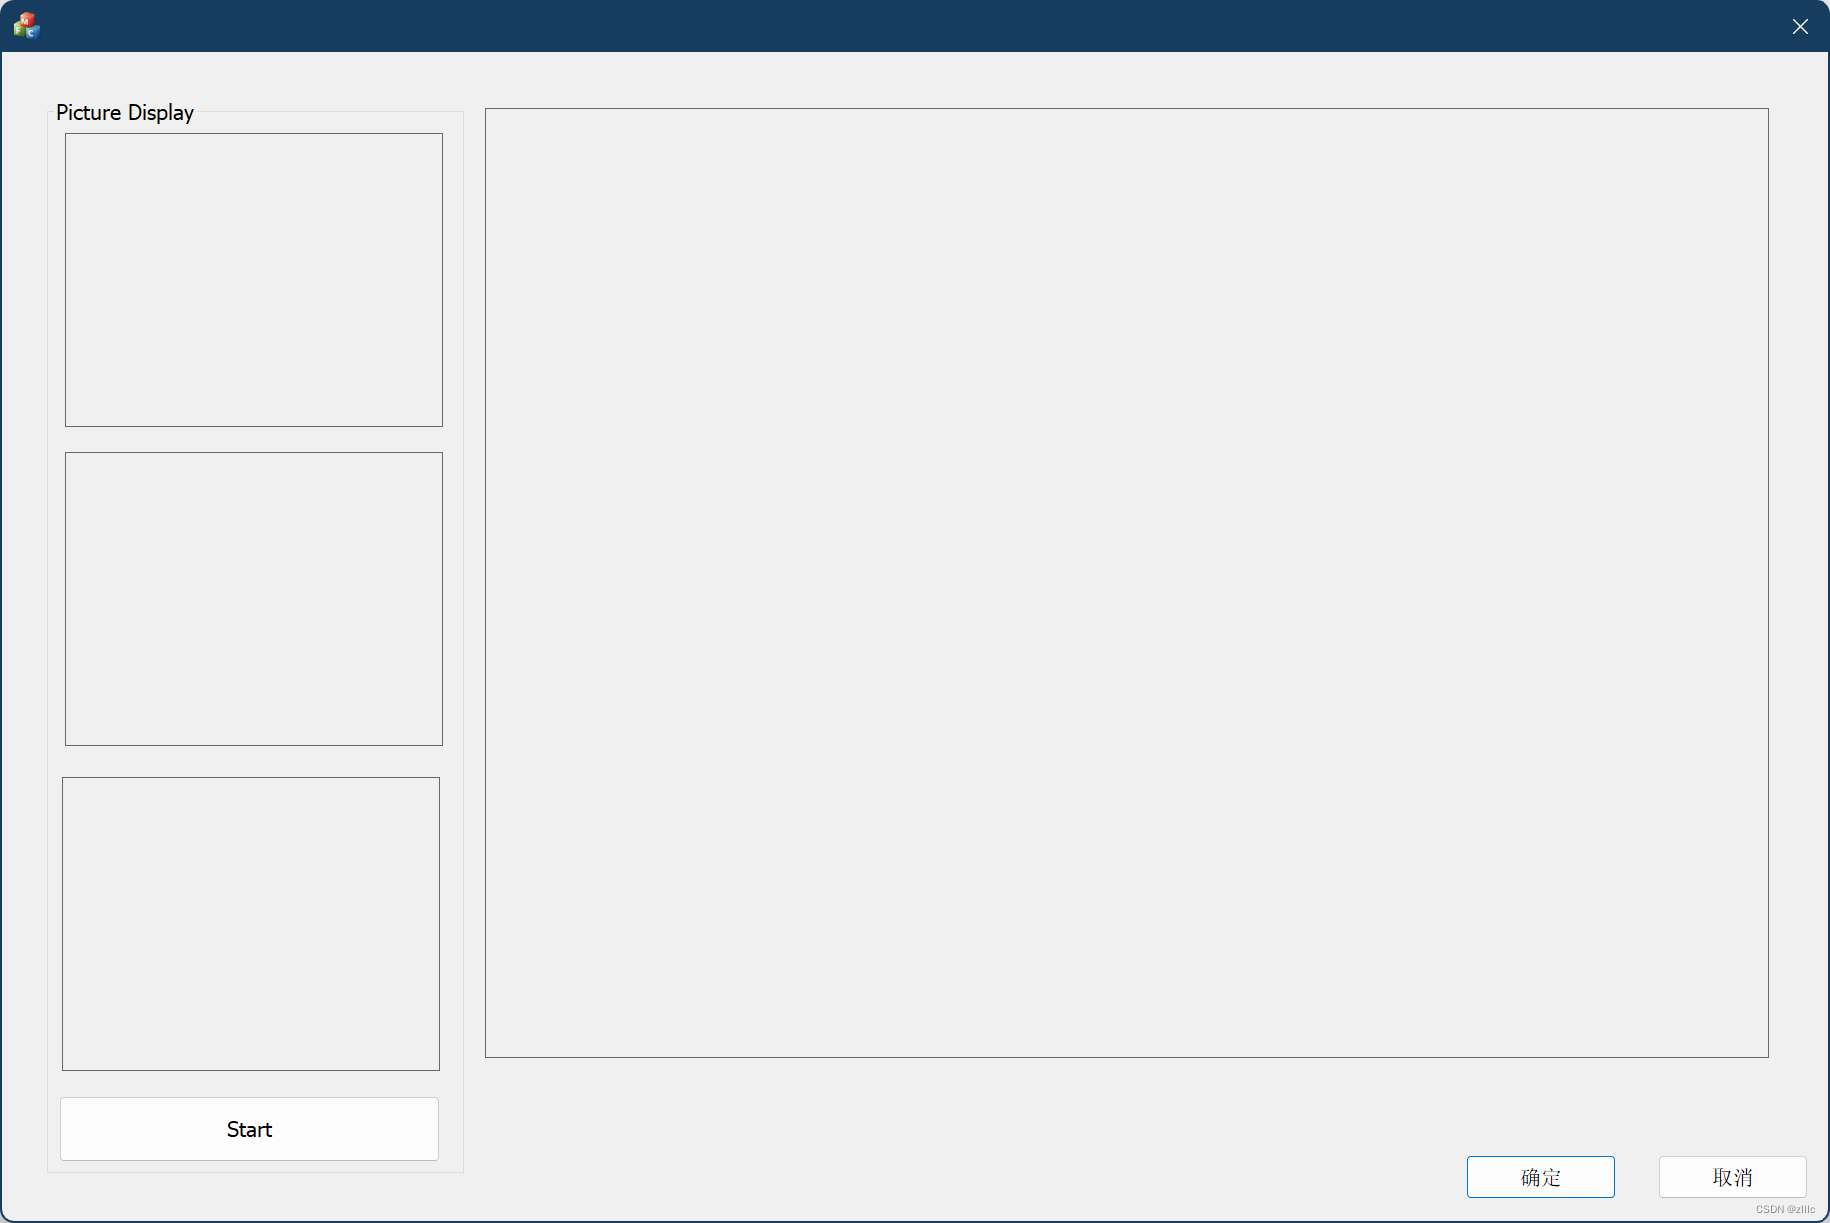
初始画面:
载入图片:
双击左侧的第二个控件,显示图片:
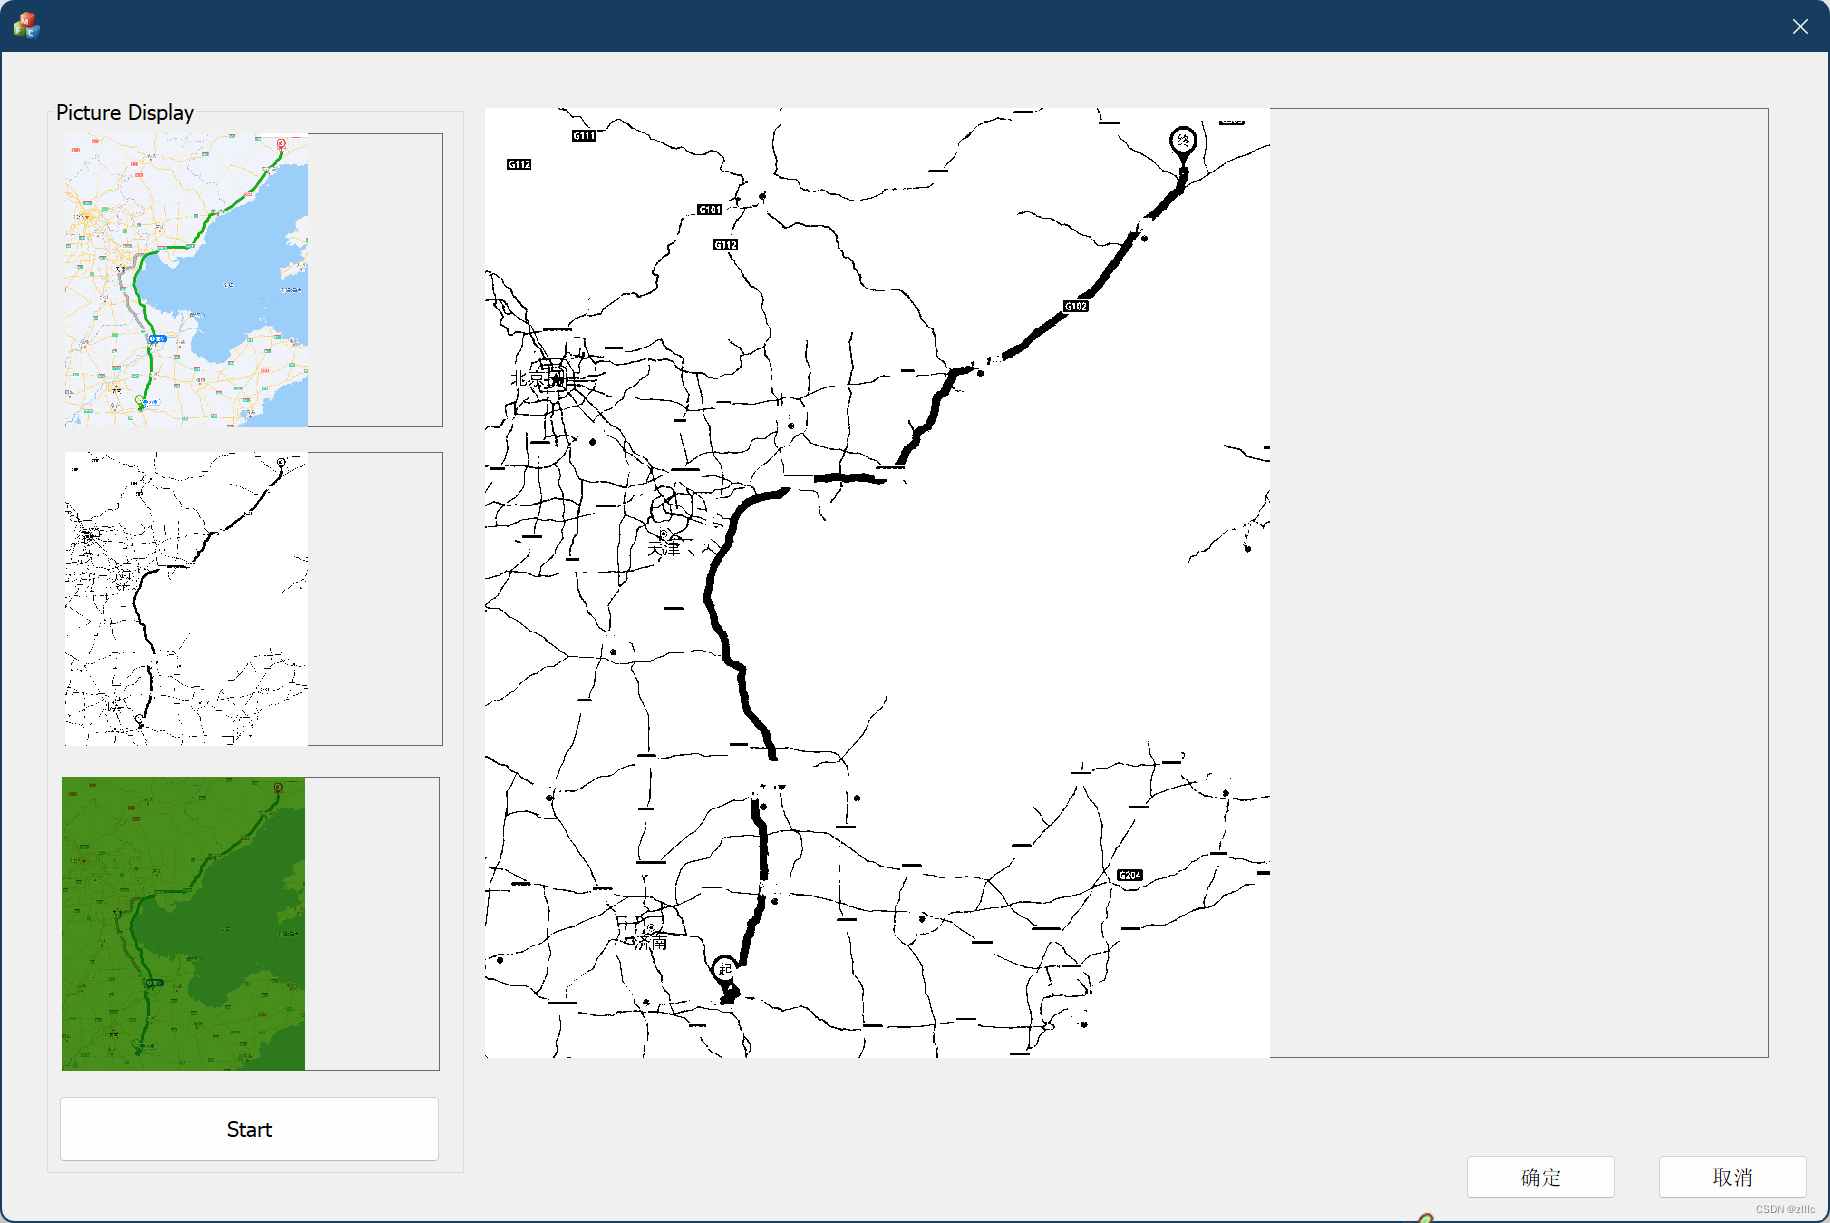
//对图片显示在控件中的位置没有进行优化。
重要代码
主要是用的MFC Image控件。
载入图片:
void CGDITESTDlg::OnBnClickedBtnStart()
{
	//获取图像文件
	CFileDialog filedlg(
		TRUE,
		_T("png"),
		NULL,
		0,
		TEXT("image Files(*.bmp;*.jpg;*.png)|*.bmp;*.jpg;*.png|all files(*.*)|(*.*)||"),
		this);
	filedlg.DoModal();
	m_cstr_filepath = filedlg.GetPathName();
	m_cstr_filename = filedlg.GetFileName();
	if (m_cstr_filepath.IsEmpty() || m_cstr_filename.IsEmpty())
	{
		AfxMessageBox(TEXT("打开文件失败"));
		return ;
	}
	image_origin.Load(m_cstr_filepath);
	image_binarization.Load(m_cstr_filepath);
	image_grey.Load(m_cstr_filepath);

	//获取图像尺寸
	imgw = image_origin.GetWidth();
	imgh = image_origin.GetHeight();
	img_t = imgw / imgh;

	//根据图像尺寸,调整控件客户区尺寸比例
	CRect rect_ctl;
	m_ctl_pic_origin.GetClientRect(&rect_ctl);
	float rectw = rect_ctl.Width();
	float recth = rect_ctl.Height();
	float rect_t = rectw / recth;
	if(rect_t < img_t)
	{
		rect_ctl = CRect(rect_ctl.TopLeft(), CSize(rect_ctl.Width(), rect_ctl.Width() / img_t ));
	}
	else
	{
		rect_ctl = CRect(rect_ctl.TopLeft(), CSize(rect_ctl.Height() * img_t, rect_ctl.Height()));
	}
	//显示图像到控件客户区
	CDC* pdc = m_ctl_pic_origin.GetDC();
	m_ctl_pic_origin.SetBitmap(NULL);
	image_origin.Draw(pdc->m_hDC, rect_ctl);

	//图像二值化处理
	ImageBinarizationProcess(image_binarization);
	//根据图像尺寸,调整控件客户区尺寸比例
	CRect rect_ctl_binarization;
	m_ctl_pic_binarization.GetClientRect(&rect_ctl_binarization);
	float rectw_ = rect_ctl_binarization.Width();
	float recth_ = rect_ctl_binarization.Height();
	float rect_t_ = rectw / recth;
	if (rect_t_ < img_t)
	{
		rect_ctl_binarization = CRect(rect_ctl_binarization.TopLeft(), CSize(rect_ctl_binarization.Width(), rect_ctl_binarization.Width() / img_t));
	}
	else
	{
		rect_ctl_binarization = CRect(rect_ctl_binarization.TopLeft(), CSize(rect_ctl_binarization.Height() * img_t, rect_ctl_binarization.Height()));
	}
	//显示图像到控件客户区
	CDC* pdc_ = m_ctl_pic_binarization.GetDC();
	m_ctl_pic_binarization.SetBitmap(NULL);
	image_binarization.Draw(pdc_->m_hDC, rect_ctl_binarization);

	//图像灰度处理
	ImageGreyProcess(image_grey);
	//根据图像尺寸,调整控件客户区尺寸比例
	CRect rect_ctl_grey;
	m_ctl_pic_grey.GetClientRect(&rect_ctl_grey);
	float rectw__ = rect_ctl_grey.Width();
	float recth__ = rect_ctl_grey.Height();
	float rect_t__ = rectw / recth;
	if (rect_t__ < img_t)
	{
		rect_ctl_grey = CRect(rect_ctl_grey.TopLeft(), CSize(rect_ctl_grey.Width(), rect_ctl_grey.Width() / img_t));
	}
	else
	{
		rect_ctl_grey = CRect(rect_ctl_grey.TopLeft(), CSize(rect_ctl_grey.Height() * img_t, rect_ctl_grey.Height()));
	}
	//显示图像到控件客户区
	CDC* pdc__ = m_ctl_pic_grey.GetDC();
	m_ctl_pic_grey.SetBitmap(NULL);
	image_grey.Draw(pdc__->m_hDC, rect_ctl_grey);

	isLoadedImage = true;

	m_ctl_pic_origin.ReleaseDC(pdc);
	m_ctl_pic_binarization.ReleaseDC(pdc);
	m_ctl_pic_grey.ReleaseDC(pdc);
}
图像二值化处理:
算法来源:C++MFC打开图片、彩图,以及对图像进行简单算法处理
void CGDITESTDlg::ImageBinarizationProcess(CImage &image)
{
	BYTE* pimagedata = (BYTE*)image.GetBits();	//获取到图片内存点的位置
	int width = image.GetWidth();
	int height = image.GetHeight();
	int pit = image.GetPitch();//图像每行字节数
	int bytes_per_pixel = image.GetBPP() / 8; //获取每像素的位数除以8得到每个像素占的字节数
	std::vector<int> gray(256); //初始化时自动存0,用来存放256种颜色出现的次数
	for (int i = 0; i < height; i++)
	{
		for (int j = 0; j < width; j++)
		{
			gray.at((int)*(pimagedata + pit * i + bytes_per_pixel * j)) += 1;
		}
	}

	int max = 0;
	int sec = 0;
	int localmax = 0;
	int localsec = 0;

	for (int i = 0; i < 256; i++)
	{
		if (gray[i] > max)
		{
			max = gray[i];
			localmax = i;
		}
	}
	for (int i = 0; i < 256; i++)
	{
		if (gray[i] > sec && abs(i - localmax) > 10)
		{
			sec = gray[i];
			localsec = i;
		}
	}
	int mid = (localmax + localsec) / 2;
	for (int i = 0; i < height; i++)
	{
		for (int j = 0; j < width; j++)
		{
			if ((int)(*(pimagedata + pit * i + j * bytes_per_pixel)) < mid)
			{
				*(pimagedata + pit * i + j * bytes_per_pixel) = 0;
				*(pimagedata + pit * i + j * bytes_per_pixel + 1) = 0;
				*(pimagedata + pit * i + j * bytes_per_pixel + 2) = 0;
			}
			else
			{
				*(pimagedata + pit * i + j * bytes_per_pixel) = 255;
				*(pimagedata + pit * i + j * bytes_per_pixel + 1) = 255;
				*(pimagedata + pit * i + j * bytes_per_pixel + 2) = 255;
			}
		}
	}
}
灰度处理:
算法来源:C++MFC打开图片、彩图,以及对图像进行简单算法处理
void CGDITESTDlg::ImageGreyProcess(CImage& image)
{
	BYTE* pimagedata = (BYTE*)image.GetBits();	//获取到图片内存点的位置
	int width = image.GetWidth();
	int height = image.GetHeight();
	int pit = image.GetPitch();//图像每行字节数
	int bytes_per_pixel = image.GetBPP() / 8; //获取每像素的位数除以8得到每个像素占的字节数
	for (int i = 0; i < height; i++)
	{
		for (int j = 0; j < width; j++)
		{
			*(pimagedata + pit * i + j * bytes_per_pixel) *= 0.114;
			*(pimagedata + pit * i + j * bytes_per_pixel + 1) *= 0.587;
			*(pimagedata + pit * i + j * bytes_per_pixel + 2) *= 0.299;
		}
	}

}
双击左侧控件的响应:
void CGDITESTDlg::OnLButtonDblClk(UINT nFlags, CPoint point)
{
	if (!isLoadedImage) //如果没有加载图片,则不会执行后续代码
		return;
	//未使用,仅测试
	CPoint ptCursor;
	GetCursorPos(&ptCursor);//获取执行此函数时的鼠标位置,屏幕坐标

	ClientToScreen(&point); //point是双击时的鼠标位置,坐标系是窗口客户区,所以要转换成屏幕坐标

	//未使用,仅测试
	CPoint ptCursor1(GetCurrentMessage()->pt); //双击时的鼠标位置,屏幕坐标

	GetDlgItem(IDC_PIC_ORIGIN)->GetWindowRect(&rc_origin);//控件的rect,屏幕坐标
	if (rc_origin.PtInRect(point))//如果右键在picture control区域抬起则放大显示灰度图片
	{
		CRect rect_ctl;
		m_ctl_pic_dsp.GetClientRect(&rect_ctl);
		float rectw = rect_ctl.Width();
		float recth = rect_ctl.Height();
		float rect_t = rectw / recth;

		if (rect_t < img_t)
		{
			rect_ctl = CRect(rect_ctl.TopLeft(), CSize(rect_ctl.Width(), rect_ctl.Width() / img_t));
		}
		else
		{
			rect_ctl = CRect(rect_ctl.TopLeft(), CSize(rect_ctl.Height() * img_t, rect_ctl.Height()));
		}

		CDC* pdc = m_ctl_pic_dsp.GetDC();
		m_ctl_pic_dsp.SetBitmap(NULL);
		image_origin.Draw(pdc->m_hDC, rect_ctl);
		m_ctl_pic_dsp.ReleaseDC(pdc);
		return;
	}

	GetDlgItem(IDC_PIC_PROCESS)->GetWindowRect(&rc_binarization);
	if (rc_binarization.PtInRect(point))//如果右键在picture control区域抬起则放大显示灰度图片
	{
		CRect rect_ctl;
		m_ctl_pic_dsp.GetClientRect(&rect_ctl);
		float rectw = rect_ctl.Width();
		float recth = rect_ctl.Height();
		float rect_t = rectw / recth;

		if (rect_t < img_t)
		{
			rect_ctl = CRect(rect_ctl.TopLeft(), CSize(rect_ctl.Width(), rect_ctl.Width() / img_t));
		}
		else
		{
			rect_ctl = CRect(rect_ctl.TopLeft(), CSize(rect_ctl.Height() * img_t, rect_ctl.Height()));
		}
		CDC* pdc = m_ctl_pic_dsp.GetDC();
		m_ctl_pic_dsp.SetBitmap(NULL);
		image_binarization.Draw(pdc->m_hDC, rect_ctl);
		m_ctl_pic_dsp.ReleaseDC(pdc);
		return;
	}

	GetDlgItem(IDC_PIC_PROCESS2)->GetWindowRect(&rc_grey);
	if (rc_grey.PtInRect(point))//如果右键在picture control区域抬起则放大显示灰度图片
	{
		CRect rect_ctl;
		m_ctl_pic_dsp.GetClientRect(&rect_ctl);
		float rectw = rect_ctl.Width();
		float recth = rect_ctl.Height();
		float rect_t = rectw / recth;

		if (rect_t < img_t)
		{
			rect_ctl = CRect(rect_ctl.TopLeft(), CSize(rect_ctl.Width(), rect_ctl.Width() / img_t));
		}
		else
		{
			rect_ctl = CRect(rect_ctl.TopLeft(), CSize(rect_ctl.Height() * img_t, rect_ctl.Height()));
		}
		CDC* pdc = m_ctl_pic_dsp.GetDC();
		m_ctl_pic_dsp.SetBitmap(NULL);
		image_grey.Draw(pdc->m_hDC, rect_ctl);
		m_ctl_pic_dsp.ReleaseDC(pdc);
		return;
	}

	CDialogEx::OnLButtonDblClk(nFlags, point);
}
以上是通过窗口的双击时间回调函数,判断双击时鼠标的坐标,是否在控件的坐标Rect中,如果是,则执行对应代码。
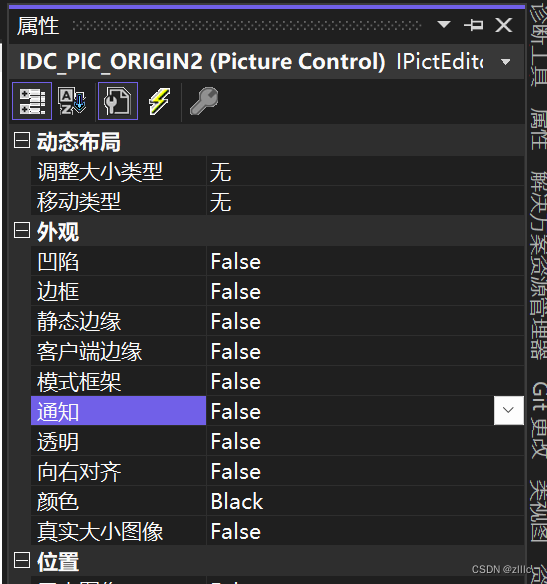
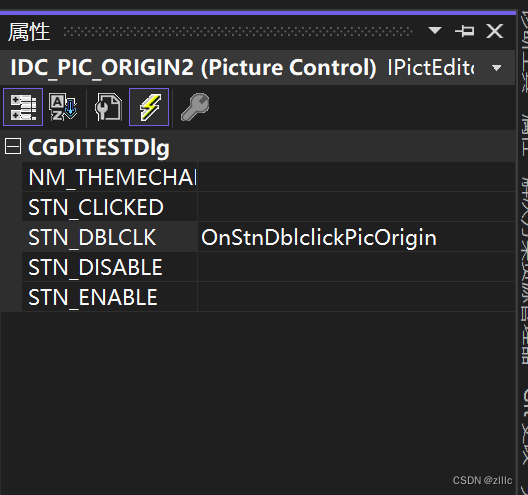
也可以把双击的空间的notify属性设置为true,然后再时间中设置双击消息回调函数。
完整代码
MFC简单的图片处理工程-Gitee
参考
C++MFC打开图片、彩图,以及对图像进行简单算法处理


