CSS 使用 SVG 绘制动态皮筋与小球交互动画
效果展示

CSS 知识点
- 使用
animation控制 SVG 的path属性执行动画 - 使用 CSS 设置 SVG 部分属性
整体页面布局
<div class="elasic">
  <!-- 小球 -->
  <div class="ball"></div>
  <!-- 皮筋的阴影部分 -->
  <svg>
    <path></path>
  </svg>
  <!-- 皮筋部分 -->
  <svg>
    <path></path>
  </svg>
</div>
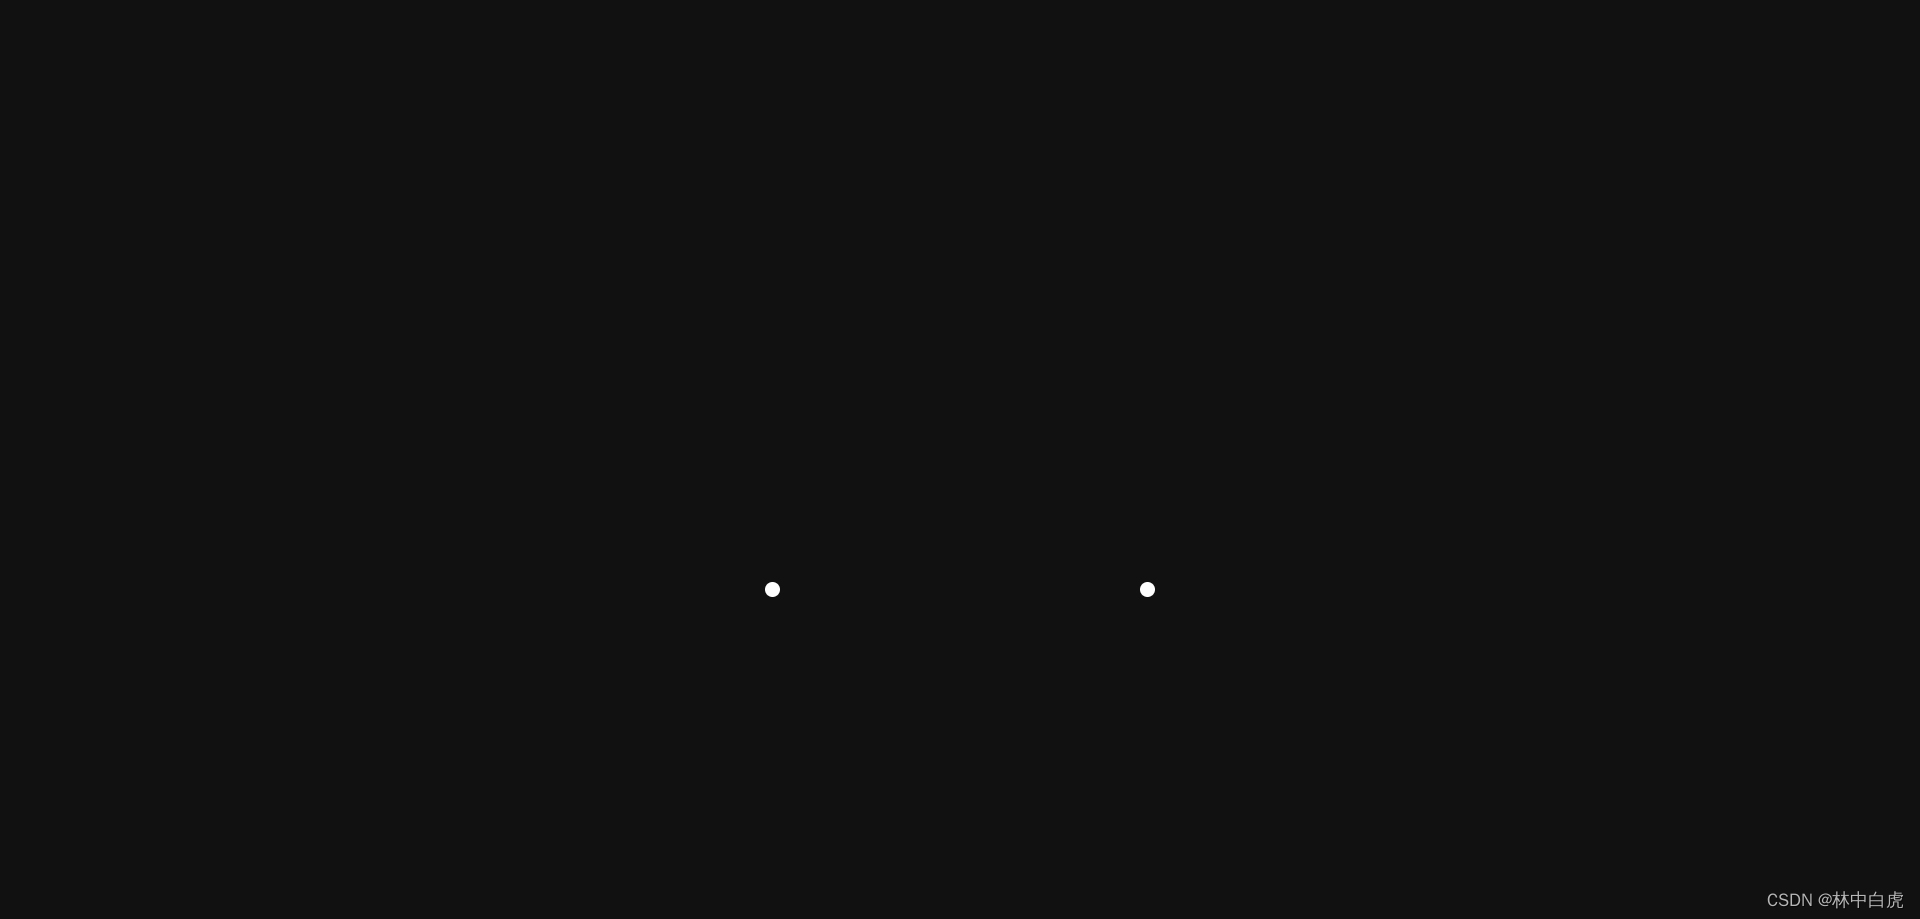
绘制固定皮筋的两个小点
.elasic {
  position: relative;
  width: 400px;
  height: 400px;
  display: flex;
  justify-content: center;
  align-items: flex-end;
}

.elasic::before {
  content: "";
  position: absolute;
  bottom: 62.5px;
  left: 5px;
  width: 15px;
  height: 15px;
  background: #fff;
  border-radius: 50%;
  z-index: 2;
}

.elasic::after {
  content: "";
  position: absolute;
  bottom: 62.5px;
  right: 5px;
  width: 15px;
  height: 15px;
  background: #fff;
  border-radius: 50%;
  z-index: 2;
}
实现上述代码后,页面效果如下:
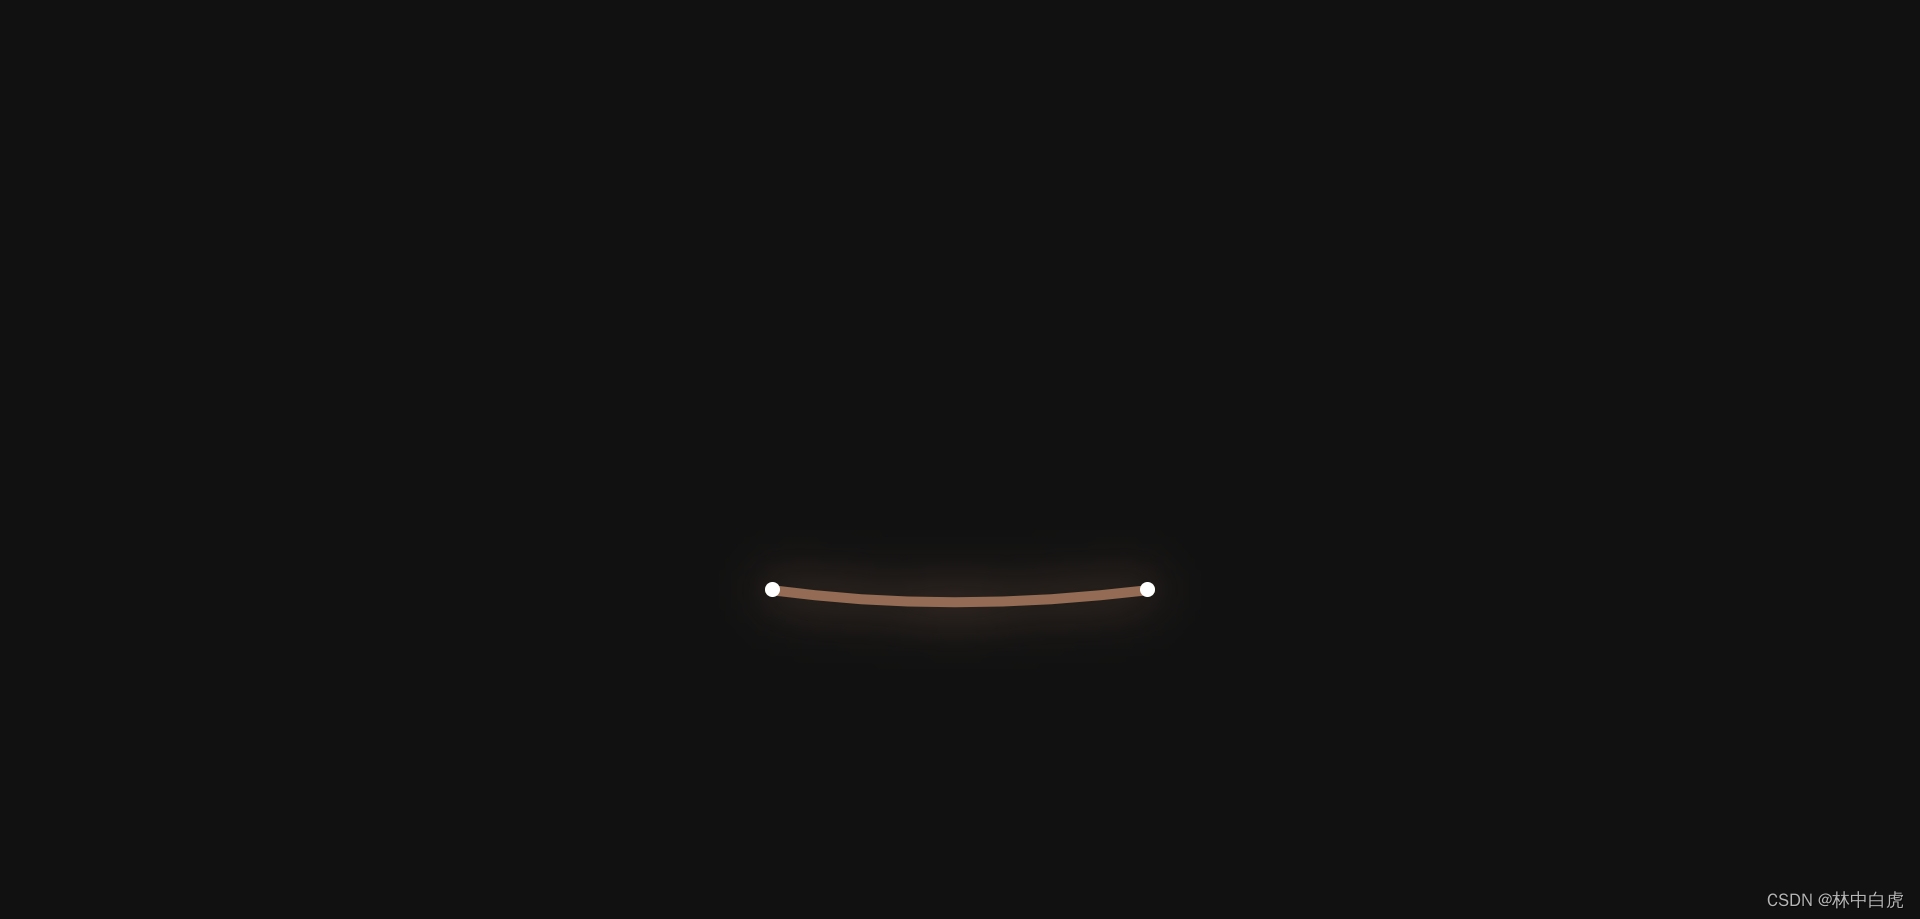
绘制 SVG 皮筋
.elasic svg {
  position: absolute;
  width: 400px;
  height: 150px;
  fill: none;
}

.elasic svg:nth-child(2) {
  filter: blur(25px);
}

.elasic svg path {
  width: 100%;
  stroke: #ff0092;
  stroke-width: 10;
  stroke-linecap: round;
  /* 设置SVG的形状 */
  d: path("M 10 80 Q 190 80 390 80");
}
实现 SVG 皮筋动画
.elasic svg path {
  /* 添加动画 */
  animation: animate 2.5s linear infinite, animateColor 2.5s linear infinite;
}

@keyframes animate {
  /* 这里我只是会绘制了0~60%的动画,正在动画执行时效果不是很好,可以自行补充剩余的动画步骤 */
  /* 因为我们只是简单绘制了一个矩形,所以我们要呈现皮筋的运动效果的话,只要修改 path 属性中的对应属性就可以(简单来说就是修改倒数第三个和第二个参数就可以形成上下运动的皮筋效果) */
  0% {
    d: path("M 10 80 Q 190 80 390 80");
  }
  10% {
    d: path("M 10 80 Q 190 160 390 80");
  }
  20% {
    d: path("M 10 80 Q 190 20 390 80");
  }
  30% {
    d: path("M 10 80 Q 190 120 390 80");
  }
  35% {
    d: path("M 10 80 Q 190 100 390 80");
  }
  40% {
    d: path("M 10 80 Q 190 80 390 80");
  }
  50% {
    d: path("M 10 80 Q 190 100 390 80");
  }
  55% {
    d: path("M 10 80 Q 190 90 390 80");
  }
  60% {
    d: path("M 10 80 Q 190 80 390 80");
  }
}

/* 改变皮筋的颜色的动画 */
@keyframes animateColor {
  0%,
  100% {
    stroke: #ff0092;
  }
  33.33% {
    stroke: #0f0;
  }
  66.66% {
    stroke: #ff0;
  }
}
完成上述代码后,皮筋就可以开始运动,效果图如下:
绘制小球和小球动画
.ball {
  position: relative;
  width: 60px;
  height: 60px;
  background-color: #fff;
  border-radius: 50%;
  box-shadow: inset 0 -15px 20px rgba(0, 0, 0, 0.5);
  animation: animateBall 2.5s linear infinite;
}

@keyframes animateBall {
  0%,
  100% {
    /* 控制小球的动画起始位置和结束位置,必须和皮筋开始时的位置保持一致,具体可以调整参数来实现 */
    transform: translateY(-72.5px);
  }
  10%,
  11.5% {
    transform: translateY(-40px);
  }
  50% {
    transform: translateY(-350px);
  }
}
完成上述代码后就可以完成所有效果。
完整代码下载
完整代码下载


