Nginx动静分离和资源分离
动静分离
什么是静态资源
类似于.jpg、.png、.css、.js....不需要访问数据库的资源,属于静态资源。
什么是动态资源
需要访问数据库的代码文件,.php、.jsp、.py...
什么是静态请求
用户发起的请求只访问前段资源,不访问数据库
什么是动态请求
用户发起的请求访问后端资源,访问数据库
注意:不是页面会动,就一定是动态请求
什么是动静分离
又叫做前后端分离,将前端代码和后端代码区分开,前段代码,前端开发人员来写,后端代码,后端的开发人员来写,前端和后端建立连接使用AJAX
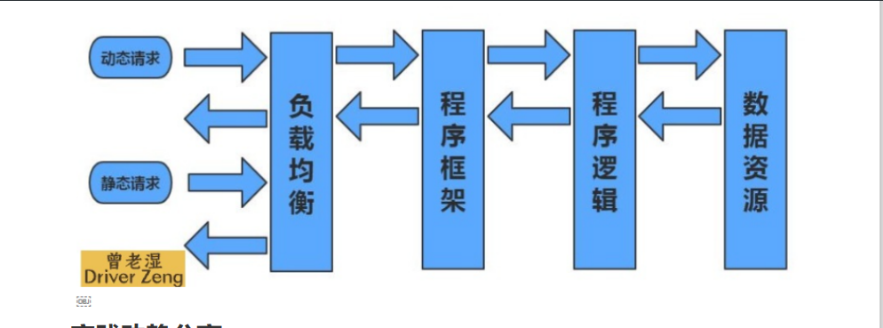
实践动静分离
主机 | WanIP | LanIp | 角色 | 应用 |
web01 | 10.0.0.7 | 172.16.1.7 | 静态服务器 | nginx |
web02 | 10.0.0.8 | 172.16.1.8 | 动态服务器 | tomcat |
web03 | 10.0.0.9 | 172.16.1.9 | 代理 | nginx |
部署前端(静态页面)
# 1.安装nginx服务
[root@web01 <sub>]# vim /etc/yum.repos.d/nginx.repo
[nginx-stable]
name=nginx stable repo
baseurl=http://nginx.org/packages/centos/$releasever/$basearch/
gpgcheck=1
enabled=1
gpgkey=https://nginx.org/keys/nginx_signing.key
module_hotfixes=true

##web02
[root@web02 andorid]# vim /etc/nginx/conf.d/android.conf
[nginx-stable]
name=nginx stable repo
baseurl=http://nginx.org/packages/centos/$releasever/$basearch/
gpgcheck=1
enabled=1
gpgkey=https://nginx.org/keys/nginx_signing.key
module_hotfixes=true

# 2.配置nginx静态资源配置文件
[root@web01 code]# vim /etc/nginx/conf.d/pic.jin.com.conf
server {
        listen 80;
        server_name pic.jin.com;
        root /code;
        index index.html;
        charset utf-8;

        location ~* \.(jpg|png|gif)$ {
                root /code/images;
                }
}


# 3.检查语法,启动nginx
[root@web01 <sub>]# nginx -t
nginx: the configuration file /etc/nginx/nginx.conf syntax is ok
nginx: configuration file /etc/nginx/nginx.conf test is successful

# 4.域名解析
10.0.0.7 pic.jin.com

# 5.创建站点目录
[root@web01 </sub>]# mkdir /code/images -p

# 6.部署前端代码
echo '这是静态资源页面' > /code/index.html

# 7.访问网址:pic.jin.com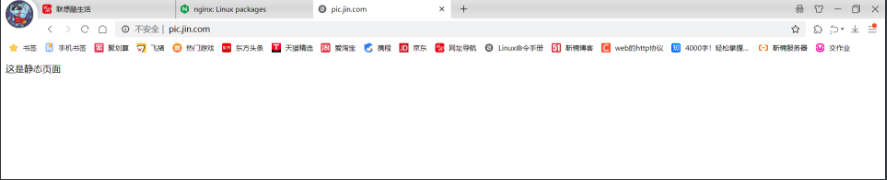
# 8.上传图片到/code/images
[root@web01 images]# rz -E
rz waiting to receive.
[root@web01 images]# ll
total 232
-rw-r--r-- 1 root root 235442 Jun 20 14:57 img.jj20.jpeg
[root@web01 images]# mv /code/images/img.jj20.jpeg /code/images/1.jpg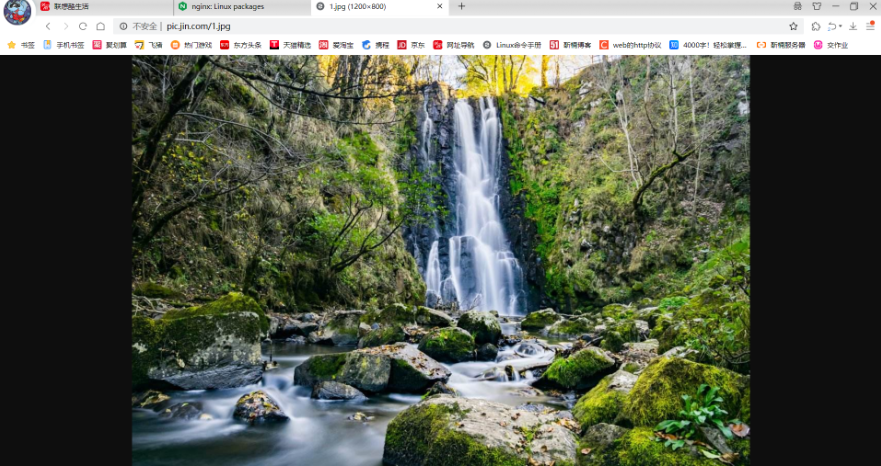
部署后端(动态页面)
# 1.安装JAVA环境
[root@web02 <sub>]# yum install -y tomcat

# 2.启动tomcat
[root@web02 </sub>]# systemctl start tomcat

# 3.查看端口
[root@web02 <sub>]# netstat -lntup|grep java

tcp6     0      0 :::8009               :::*       LISTEN      8056/java
tcp6     0      0 :::8080               :::*       LISTEN      8056/java
tcp6     0      0 127.0.0.1:8005        :::*       LISTEN      8056/java       LISTEN      8056/java

# 4.查看tomcat站点目录
[root@web02 </sub>]# rpm -ql tomcat|grep webapps
/usr/share/tomcat/webapps

# 5.部署后端代码,需要在站点目录下创建一个ROOT目录,将代码部署在ROOT目录下
[root@web02 webapps]# mkdir ROOT
[root@web02 ROOT]# vim /usr/share/tomcat/webapps/ROOT/test.jsp

<%@ page language="java" import="java.util.*" pageEncoding="utf-8"%>
<HTML>
    <HEAD>
        <TITLE>曾老湿JSP Page</TITLE>
    </HEAD>
    <BODY>
        <%
            Random rand = new Random();
            out.println("<h1>曾老湿随机数:<h1>");
            out.println(rand.nextInt(99)+100);
        %>
            </BODY>
            </HTML>
# 6.打开浏览器访问:http://10.0.0.8:8080/test.jsp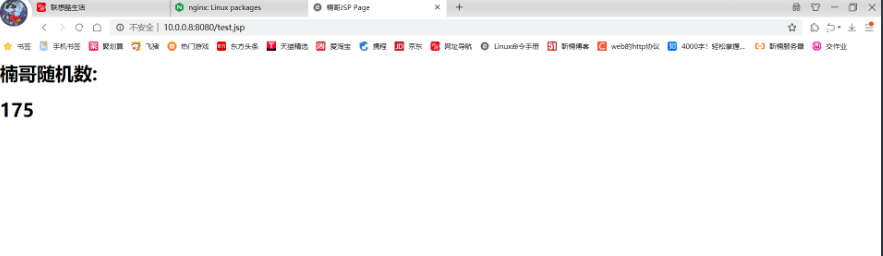
在代理上整合资源
# 1.编辑代理配置文件
[root@web03 <sub>]# cat /etc/nginx/conf.d/proxy.conf
upstream static {
server 172.16.1.7:80;
}
upstream java {
server 172.16.1.9:8080;
}
server {
listen 80;
server_name pic.jin.com;
location ~* \.(jpg|png|gif)$ {
proxy_pass http://static;
proxy_set_header Host $http_host;
}
location ~ \.jsp {
proxy_pass http://java;
proxy_set_header Host $http_host;
}
}
# 2.启动nginx
[root@web03 </sub>]# systemctl start nginx
# 3.域名解析
10.0.0.9 pic.jin.com
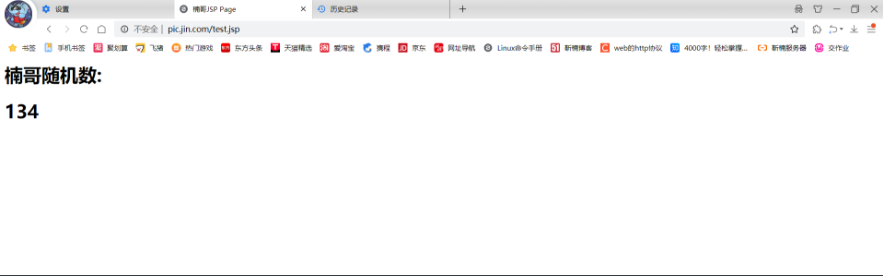
# 4.浏览器访问:http://pic.jin.com/1.jpg
http://pic.jin.com/test.jsp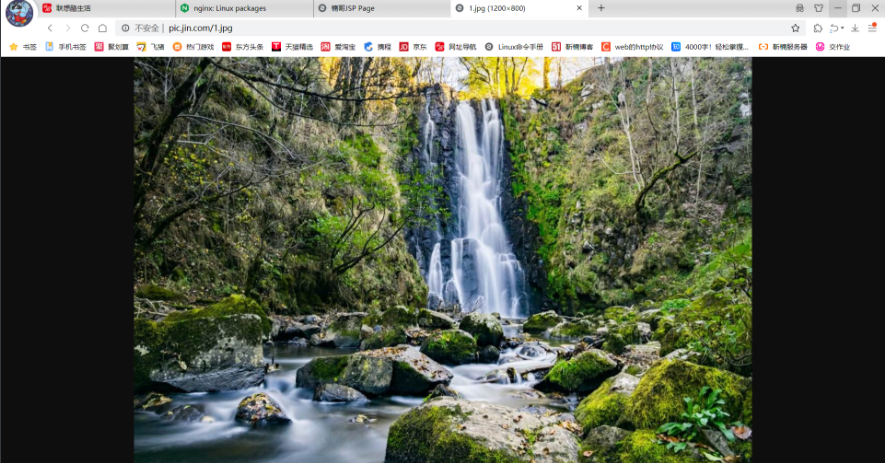
# 1.修改nginx代理配置文件 加 location /
[root@web03 <sub>]# cat /etc/nginx/conf.d/proxy.conf
upstream static {
  server 172.16.1.7:80;
}

upstream java {
  server 172.16.1.8:8080;
}

server {
  listen 80;
  server_name pic.jin.com;

  location / {
    root /code;
    index index.html;
  }


  location ~* \.(jpg|png|gif)$ {
    proxy_pass http://static;
    proxy_set_header Host $http_host;
  }

  location ~ \.jsp {
    proxy_pass http://java;
    proxy_set_header Host $http_host;
  }
}

# 2.创建站点目录
[root@web03 </sub>]# mkdir /code

# 3.编写资源整合代码
[root@web03 code]# cat index.html
<html lang="en">
<head>
        <meta charset="UTF-8" />
        <title>楠哥测试ajax和跨域访问</title>
        <script src="http://libs.baidu.com/jquery/2.1.4/jquery.min.js"></script>
</head>
<script type="text/javascript">
$(document).ready(function(){
        $.ajax({
        type: "GET",
        url: "http://pic.jin.com/test.jsp",
        success: function(data){
                $("#get_data").html(data)
        },
        error: function() {
                alert("哎呦喂,失败了,回去检查你服务去~");
        }
        });
});
</script>
        <body>
                <h1>楠哥带你测试动静分离</h1>
                <img src="http://pic.jin.com/1.jpg">
                <div id="get_data"></div>
        </body>
</html>

# 4.重启nginx
[root@web03 code]# systemctl reload nginx

# 5.打开浏览器访问:http://pic.jin.com/
nginx实现资源分离
环境准备
主机名 | WanIp | LanIp | 角色 | 应用 |
lb01 | 10.0.0.5 | 172.16.1.5 | 代理 | nginx |
web01 | 10.0.0.7 | 172.16.1.7 | PC端页面 | nginx、PC端的代码 |
web02 | 10.0.0.8 | 172.16.1.8 | 安卓端页面 | nginx、安卓端的代码 |
web03 | 10.0.0.9 | 172.16.1.9 | IOS端页面 | nginx、IOS端的代码 |
部署PC端
# 1.编写PC端nginx配置文件
[root@web01 images]# vim /etc/nginx/conf.d/pc.jin.com.conf
server {
        listen 9090;
        server_name pc.jin.com;
        charset utf-8;

        location / {
                root /code/pc;
                index index.html;
        }
}

# 2.创建站点目录
[root@web01 images]# mkdir /code/pc

# 3.部署pc端代码
[root@web01 images]# echo '这里是pc端页面' > /code/pc/index.html

# 4.重新加载nginx
[root@web01 images]# nginx -t
nginx: the configuration file /etc/nginx/nginx.conf syntax is ok
nginx: configuration file /etc/nginx/nginx.conf test is successful
[root@web01 images]# systemctl reload nginx

# 5.域名解析
10.0.0.7 pc.jin.com

# 6.访问域名:htttp://pc.jin.com:9090
部署安卓端代码
# 1.编写安卓端nginx配置文件
[root@web02 <sub>]# vim /etc/nginx/conf.d/android.com.conf
server {
        listen 9091;
        server_name android.jin.com;
        charset utf-8;

        location / {
                root /code/android;
                index index.html;
        }
}

# 2.创建站点目录
[root@web02 </sub>]# mkdir /code/android -p

# 3.部署安卓端代码
[root@web02 <sub>]# echo '这里是android端页面' > /code/android/index.html

# 4.重新加载nginx
[root@web02 </sub>]# nginx -t
nginx: the configuration file /etc/nginx/nginx.conf syntax is ok
nginx: configuration file /etc/nginx/nginx.conf test is successful
[root@web02 ~]# systemctl reload nginx

# 5.域名解析
10.0.0.8 android.com

# 6.浏览器访问:http://android.jin.com:9091
部署IOS端代码
# 1.编写IOS端nginx配置文件
[root@web03 code]# vim /etc/nginx/conf.d/ios.jin.com.conf
server {
        listen 9092;
        server_name ios.jin.com
        charset utf-8;

        location / {
                root /code/ios;
                index index.html;
        }
}

# 2.创建站点目录
[root@web03 code]# mkdir /code/ios

# 3.部署ios端代码
[root@web03 code]# echo '这里是ios端页面' > /code/ios/index.html

# 4.重新加载nginx
[root@web03 code]# nginx -t
nginx: the configuration file /etc/nginx/nginx.conf syntax is ok
nginx: configuration file /etc/nginx/nginx.conf test is successful
[root@web03 code]# systemctl reload nginx

# 5.域名解析
10.0.0.9 ios.jin.com

# 6.浏览器访问:http://ios.jin.com:9092
资源分离配置
# 1.配置lb01代理端代码
[root@lb01 <sub>]# cat /etc/nginx/conf.d/proxy.conf
upstream pc {
server 172.16.1.7:9090;
}
upstream android {
server 172.16.1.8:9091;
}
upstream ios {
server 172.16.1.9:9092;
}
server {
listen 80;
server_name www.jin.com;
charset 'utf-8';
location / {
#如果客户端来源是Android则跳转到Android的资源;
if ($http_user_agent ~* "Android") {
proxy_pass http://android;
}
#如果客户端来源是Iphone则跳转到Iphone的资源;
if ($http_user_agent ~* "Iphone") {
proxy_pass http://ios;
}
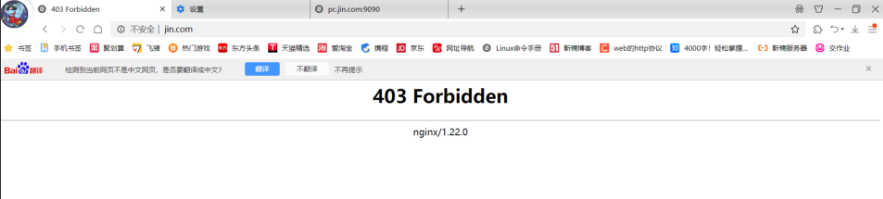
#如果客户端是IE浏览器则返回403错误;
if ($http_user_agent ~* "(MSIE|WOW64)") {
return 403;
}
#默认跳转pc资源;
proxy_pass http://pc;
}
}
# 2。启动nginx
[root@lb01 <sub>]# nginx -t
nginx: the configuration file /etc/nginx/nginx.conf syntax is ok
nginx: configuration file /etc/nginx/nginx.conf test is successful
[root@lb01 </sub>]# systemctl start nginx
# 3.域名解析
10.0.0.5 www.jin.com
# 4.浏览器测试访问pc端访问结果

android端访问结果

IOS端访问结果
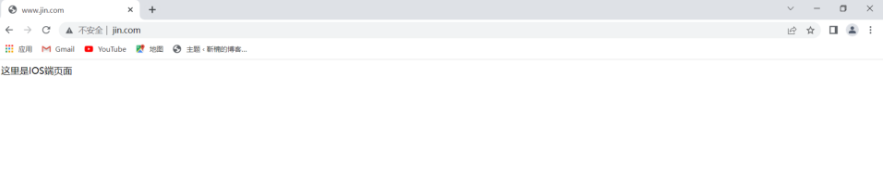
IE浏览器访问结果