业务开发Day1-01-本章内容介绍
项目效果展示
登录界面

登录成功界面

管理界面展示
- 员工管理
- 分类管理
- 菜品管理
- 套餐管理
- 订单明细

前端开发使用HTML5技术(自适应屏幕大小功能)

目录
- 软件开发整体介绍
- 瑞吉外卖项目介绍
- 开发环境搭建
业务开发Day1-02-软件开发整体介绍
- 软件开发流程
- 角色分工
- 软件环境
软件开发流程
需求分析->设计->编码->测试->上线运维

角色分工
- 项目经理
- 产品经理
- UI设计师
- 架构师
- 开发工程师
- 测试工程师
- 运维工程师

软件环境
- 开发环境
- 测试环境
- 生产环境

业务开发Day1-03-瑞吉外卖项目整体介绍
目录
- 项目介绍
- 产品原型展示
- 技术选型
- 功能架构
- 角色

项目介绍
本项目是专门为餐饮企业(餐厅、饭店)定制的一款软件产品,包括系统管理后台和移动端应用两部分。
- 系统管理后台主要提功给餐饮企业内部员工使用(功能:对餐厅的菜品、套餐、订单等进行管理维护等)
- 移动端应用主要提供给消费者使用(功能:在线浏览菜品、添加购物车、下单等)
产品原型展示
![L]$77P(OFP8FKN]19J0A0ER.png](https://img-blog.csdnimg.cn/img_convert/fae97d597e66c0708a177d84c7b8244a.png#clientId=u16973528-691f-4&crop=0&crop=0&crop=1&crop=1&from=drop&id=u418479fd&margin=[object Object]&name=L]$77P(OFP8FKN]19J0A0ER.png&originHeight=958&originWidth=1842&originalType=binary&ratio=1&rotation=0&showTitle=false&size=303805&status=done&style=none&taskId=u10b5b0da-8b85-4590-9315-428ff7919c1&title=)
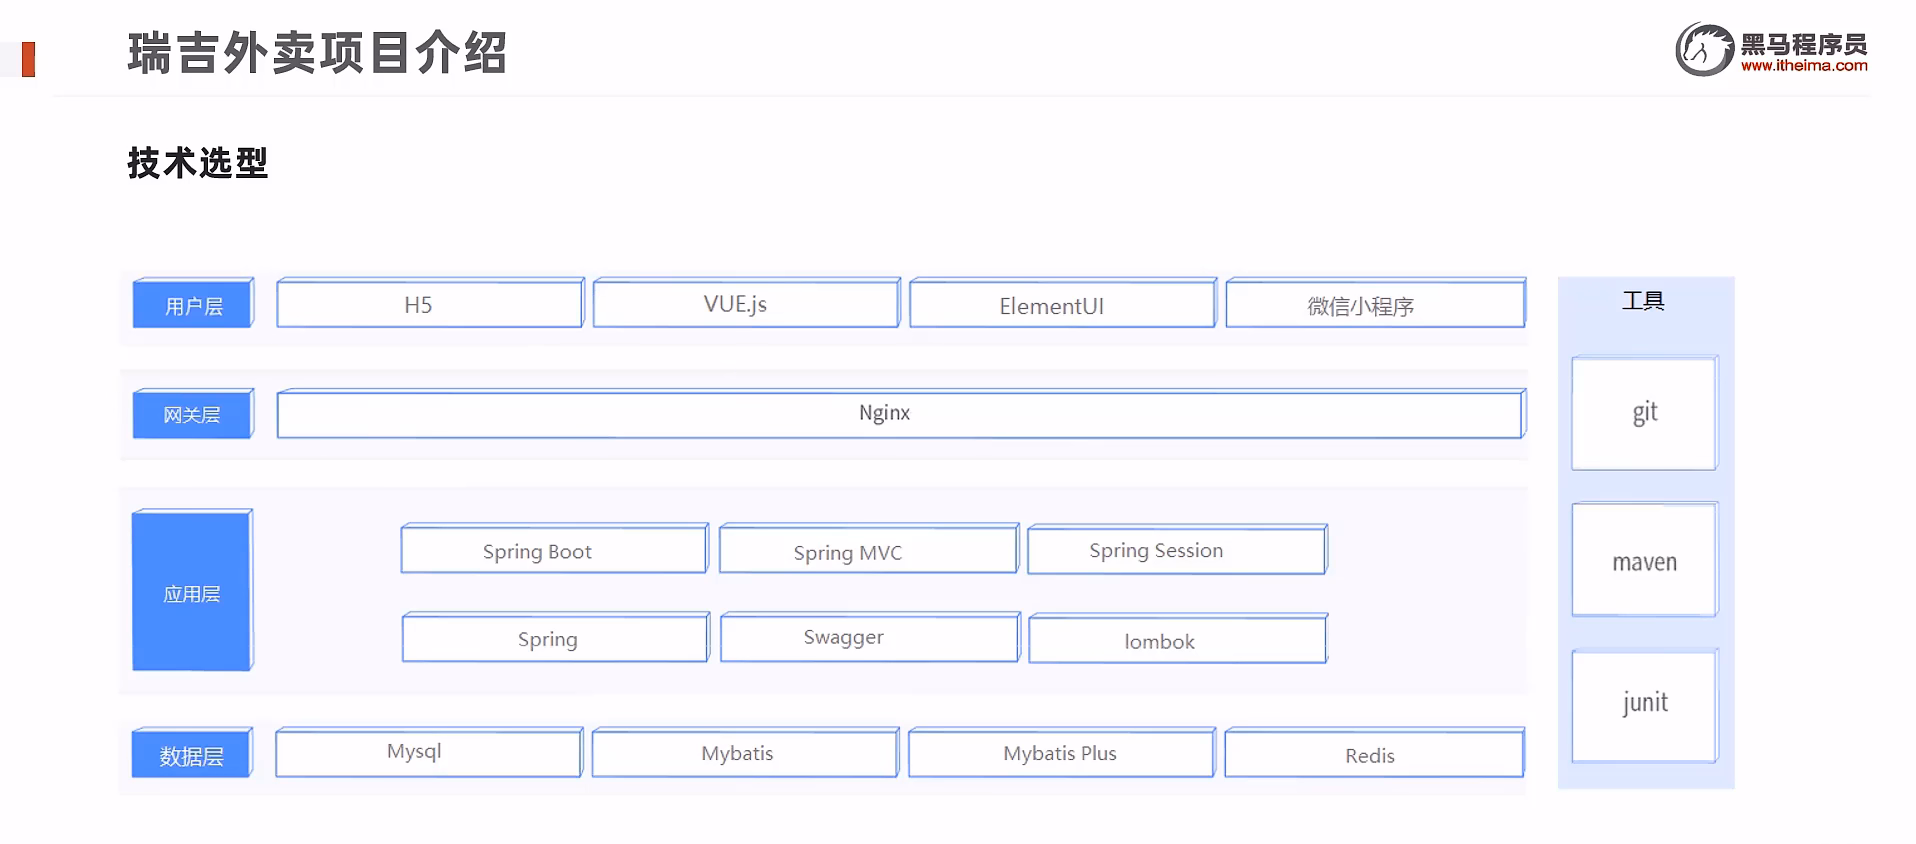
技术选型
- 用户层
- 网关层
- 应用层
- 数据层
- 以及使用到的工具
功能架构
- 移动端前台
- 系统管理后台

角色
- 后台系统管理员
- 后台系统普通员工
- C端用户
![{]0@A7JB82JH32~L3SK]9QJ.png](https://img-blog.csdnimg.cn/img_convert/68a29329629490a404e712a0b13f5005.png#clientId=u16973528-691f-4&crop=0&crop=0&crop=1&crop=1&from=drop&id=u3e5fa0d9&margin=[object Object]&name={]0@A7JB82JH32~L3SK]9QJ.png&originHeight=840&originWidth=1920&originalType=binary&ratio=1&rotation=0&showTitle=false&size=384007&status=done&style=none&taskId=u1f354c1e-7539-47f6-a470-8da09282cfd&title=)
业务开发Day1-04-开发环境搭建-数据库环境搭建
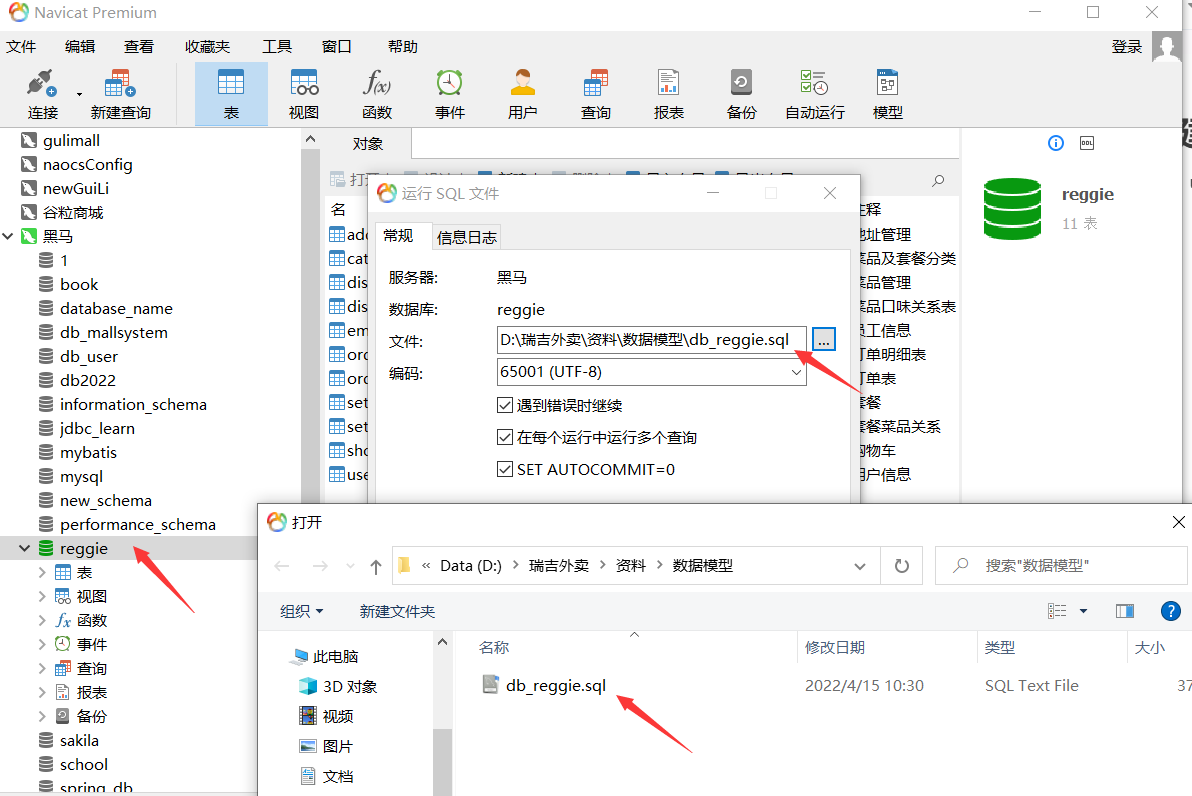
- 使用navicat(数据库可视化界面)创建对应的数据库,数据库名:reggie,字符集:utf8mb4

- 操作步骤
- 第一步:右键点击数据库再点击运行sql文件
- 第二步:选择资料下载的位置,我的资料存储在D:\瑞吉外卖\资料\数据模型\db_reggie.sql,点击开始即可
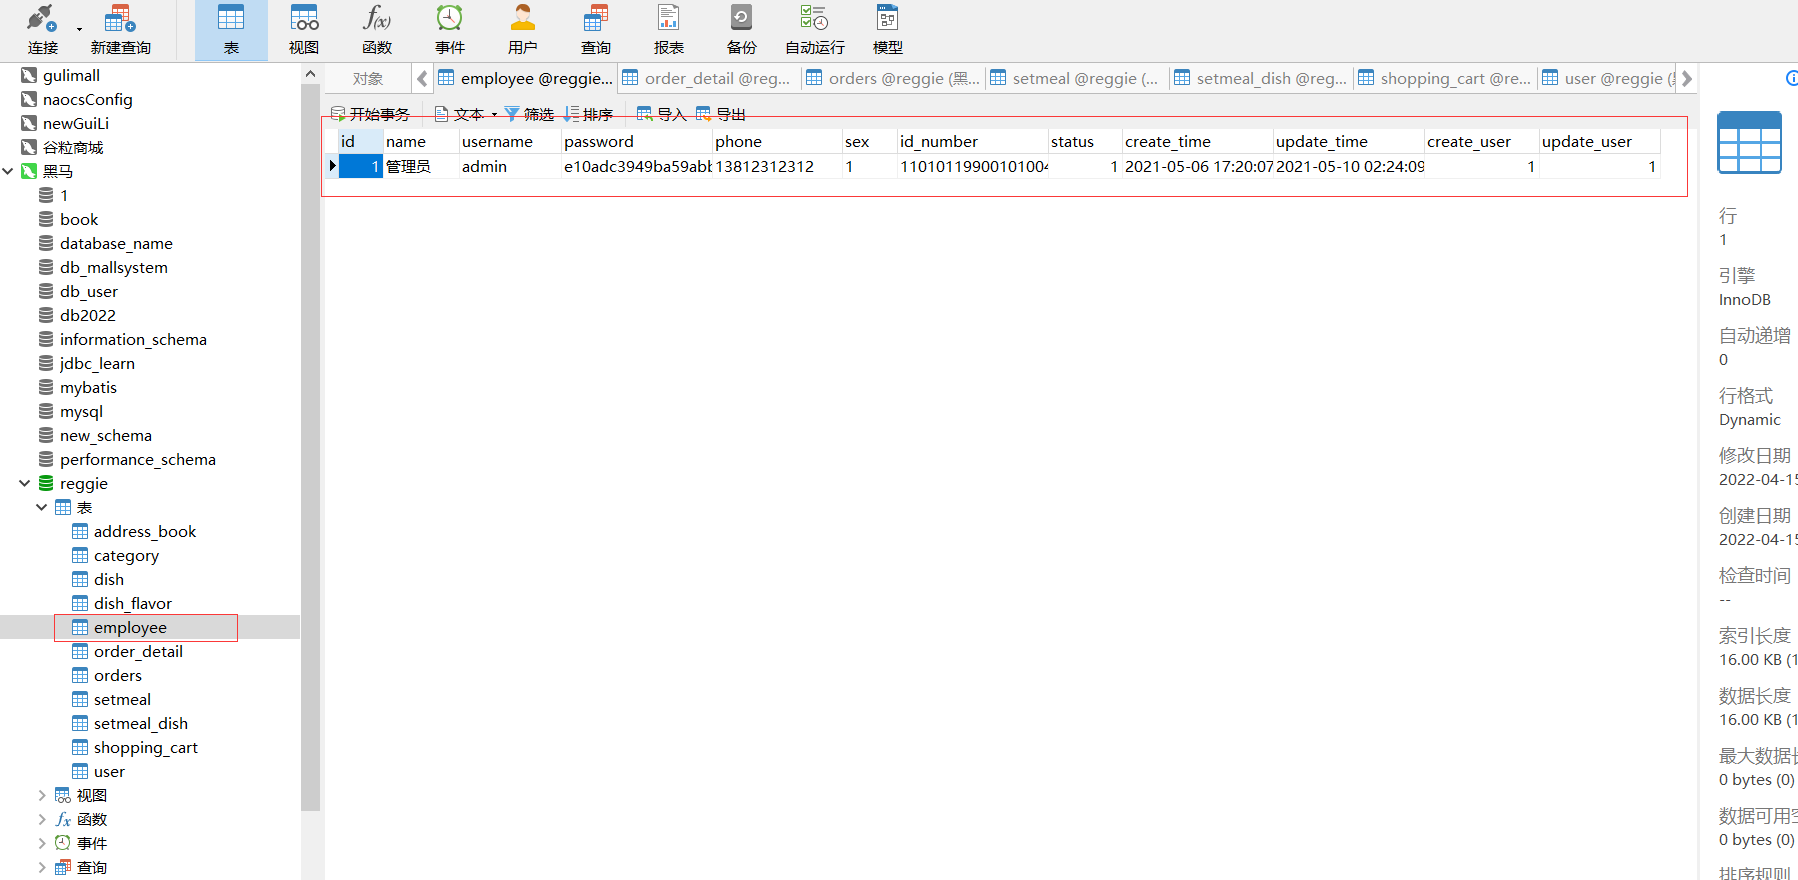
- 第三步:打开表,即可查看数据库中执行完sql文件的所有信息
执行完sql文件对应的对象信息
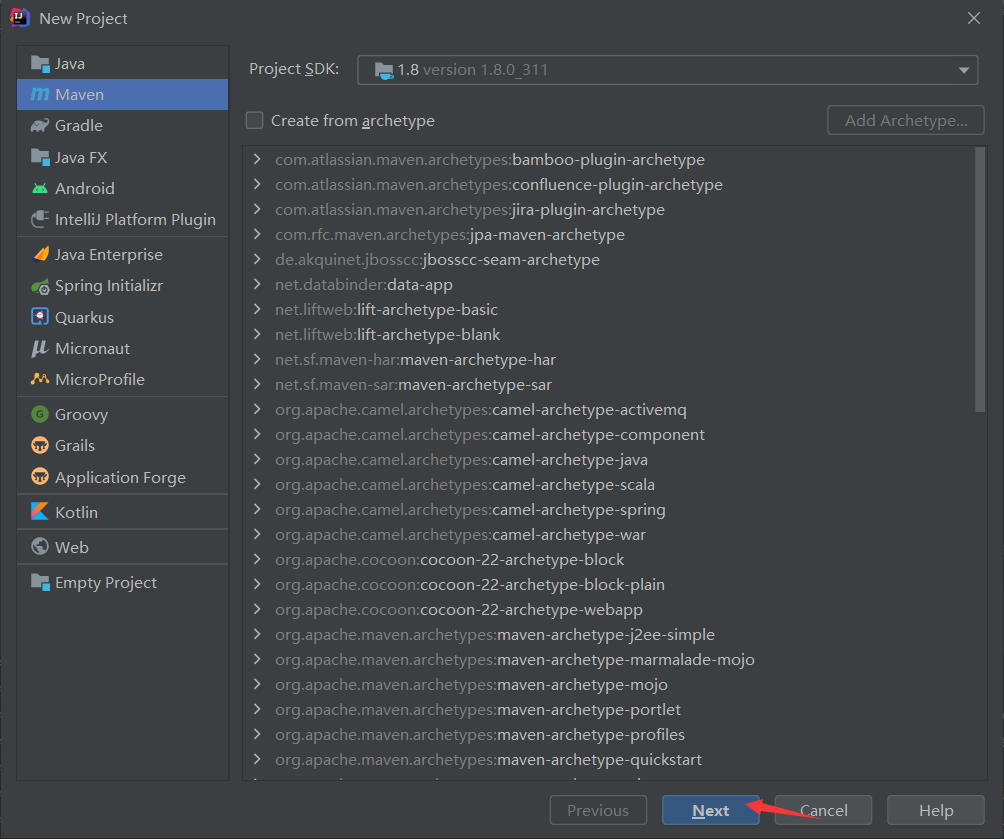
业务开发Day1-05-开发环境搭建-maven项目环境搭建
创建maven项目
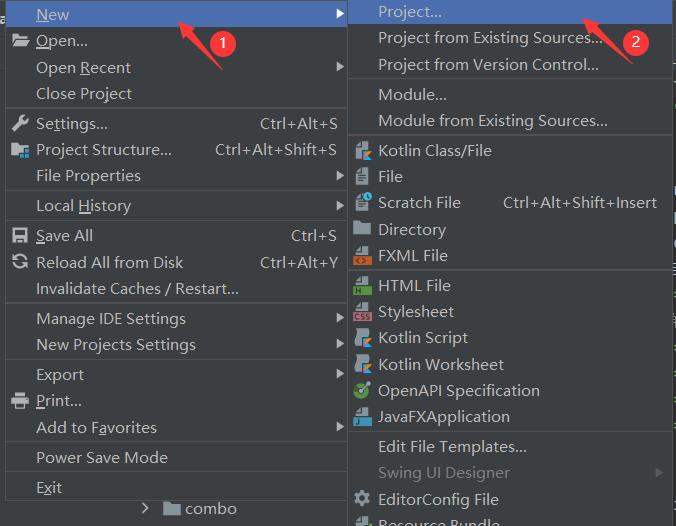
-
点击next
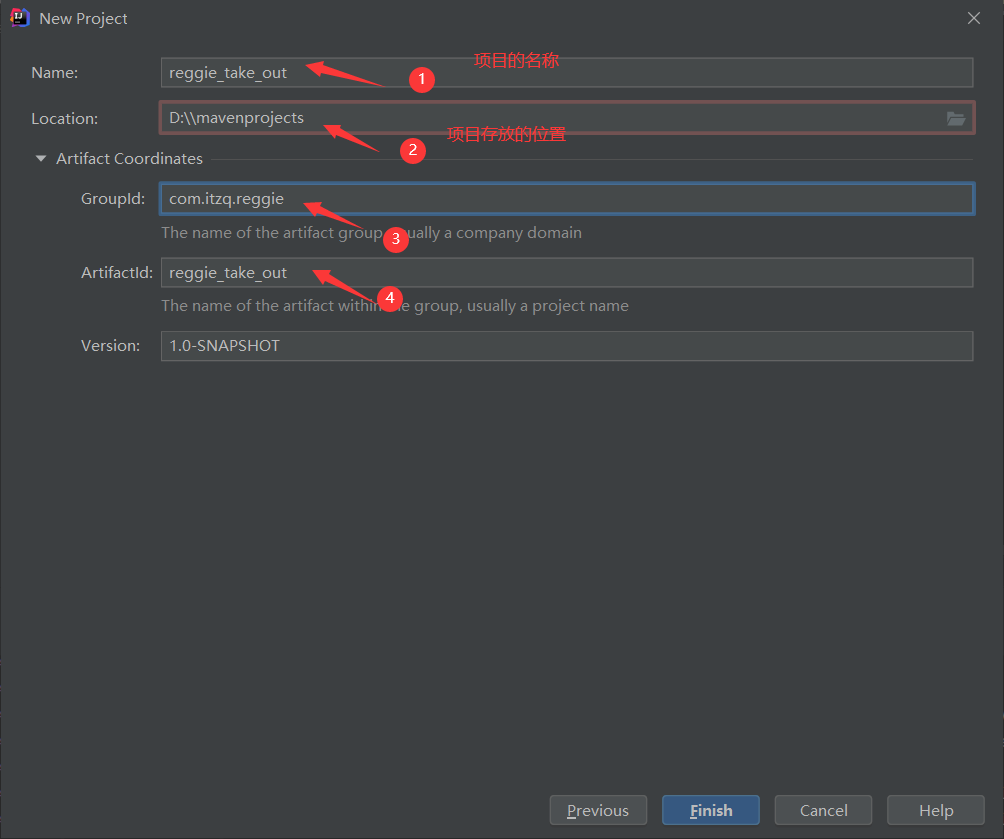
 -
填写好项目相关信息后,点击finish
改pom文件
<?xml version="1.0" encoding="UTF-8"?>
<project xmlns="http://maven.apache.org/POM/4.0.0"
         xmlns:xsi="http://www.w3.org/2001/XMLSchema-instance"
         xsi:schemaLocation="http://maven.apache.org/POM/4.0.0 http://maven.apache.org/xsd/maven-4.0.0.xsd">
  <modelVersion>4.0.0</modelVersion>

  <groupId>com.itzq</groupId>
  <artifactId>reggie_take_out</artifactId>
  <version>1.0-SNAPSHOT</version>
  <!--  lookup parent from repository  -->
  <parent>
    <groupId>org.springframework.boot</groupId>
    <artifactId>spring-boot-starter-parent</artifactId>
    <version>2.4.5</version>
    <relativePath/>
  </parent>
  <properties>
    <maven.compiler.source>8</maven.compiler.source>
    <maven.compiler.target>8</maven.compiler.target>
  </properties>

  <!--  注入依赖  -->
  <dependencies>
    <dependency>
      <groupId>org.springframework.boot</groupId>
      <artifactId>spring-boot-starter</artifactId>
    </dependency>
    <dependency>
      <groupId>org.springframework.boot</groupId>
      <artifactId>spring-boot-starter-test</artifactId>
      <scope>test</scope>
    </dependency>
    <dependency>
      <groupId>org.springframework.boot</groupId>
      <artifactId>spring-boot-starter-web</artifactId>
      <scope>compile</scope>
    </dependency>
    <!--   mybatis依赖     -->
    <dependency>
      <groupId>com.baomidou</groupId>
      <artifactId>mybatis-plus-boot-starter</artifactId>
      <version>3.4.2</version>
    </dependency>
    <!--   lombok     -->
    <dependency>
      <groupId>org.projectlombok</groupId>
      <artifactId>lombok</artifactId>
      <version>1.18.20</version>
    </dependency>
    <!--    将数据转为json对象    -->
    <dependency>
      <groupId>com.alibaba</groupId>
      <artifactId>fastjson</artifactId>
      <version>1.2.76</version>
    </dependency>
    <!--    common-lang    -->
    <dependency>
      <groupId>commons-lang</groupId>
      <artifactId>commons-lang</artifactId>
      <version>2.6</version>
    </dependency>
    <!--    连接数据库依赖    -->
    <dependency>
      <groupId>mysql</groupId>
      <artifactId>mysql-connector-java</artifactId>
      <scope>runtime</scope>
    </dependency>
    <!--    druid数据库连接池    -->
    <dependency>
      <groupId>com.alibaba</groupId>
      <artifactId>druid-spring-boot-starter</artifactId>
      <version>1.1.23</version>
    </dependency>
  </dependencies>
  <build>
    <plugins>
      <plugin>
        <groupId>org.springframework.boot</groupId>
        <artifactId>spring-boot-maven-plugin</artifactId>
        <version>2.4.5</version>
      </plugin>
    </plugins>
  </build>
</project>
写YML
#端口号
server:
  port: 8080
spring:
  application:
    #服务名称
    name: reggie_take_out
  datasource:
    druid:
      driver-class-name: com.mysql.cj.jdbc.Driver
      url: jdbc:mysql://localhost:3306/reggie?serverTimezone=Asia/Shanghai&useUnicode=true&characterEncoding=utf-8&zeroDateTimeBehavior=convertToNull&useSSL=false&allowPublicKeyRetrieval=true
      username: root
      password: root
mybatis-plus:
  configuration:
    #在映射实体或者属性时,将数据库中表名和字段名中的下划线去掉,按照驼峰命名法映射
    map-underscore-to-camel-case: true
    log-impl: org.apache.ibatis.logging.stdout.StdOutImpl
  global-config:
    db-config:
      #主键策略:ASSIGN_ID(雪花算法)
      id-type: ASSIGN_ID
主启动
在java下新建主启动类,带上包名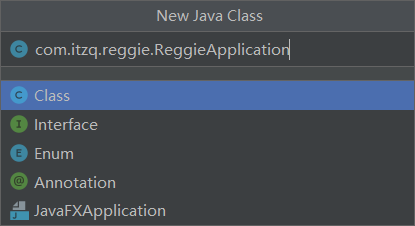
package com.itzq.reggie;

import lombok.extern.slf4j.Slf4j;
import org.springframework.boot.SpringApplication;
import org.springframework.boot.autoconfigure.SpringBootApplication;

@Slf4j
@SpringBootApplication
public class ReggieApplication {
    public static void main(String[] args) {
        SpringApplication.run(ReggieApplication.class,args);
        log.info("项目启动成功。。。");
    }
}
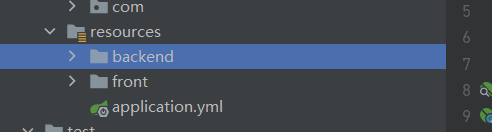
将前端资源放入resources下
在磁盘中找到前端资源下的目录
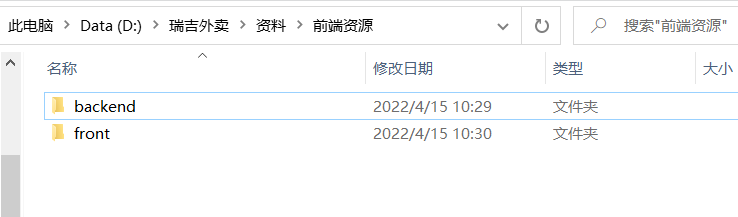
将目录放入resources下
启动工程
项目启动成功
访问路径 http://localhost:8080/backend/index.html ,出现无法访问,默认情况下我们只能访问static、template静态目录下的静态资源,此时我们可以通过配置类的方式来设置静态资源映射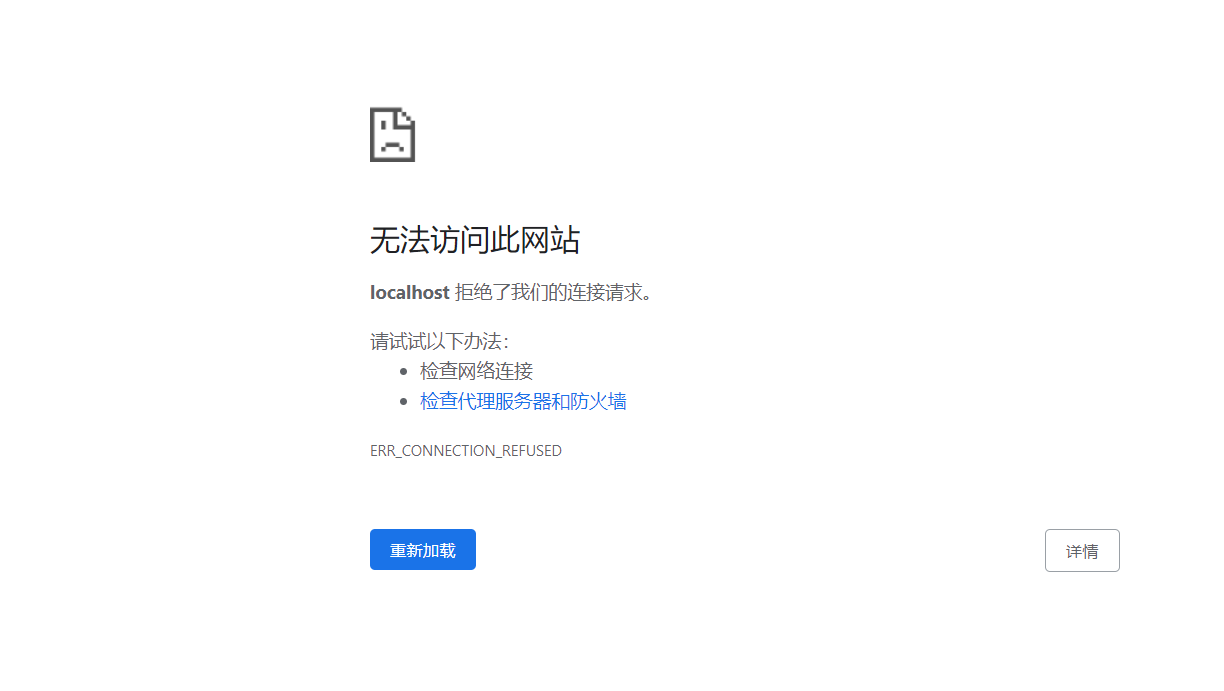
配置类设置静态资源映射
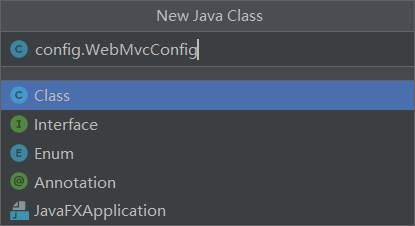
通过继承WebMvcConfigurationSupport,重写addResourceHandlers方法来实现我们想要的功能
package com.itzq.reggie.config;

import lombok.extern.slf4j.Slf4j;
import org.springframework.context.annotation.Configuration;
import org.springframework.web.servlet.config.annotation.ResourceHandlerRegistry;
import org.springframework.web.servlet.config.annotation.WebMvcConfigurationSupport;

@Slf4j
@Configuration
public class WebMvcConfig extends WebMvcConfigurationSupport {
    /**
     * 设置静态资源映射
     * @param registry
     */
    @Override
    protected void addResourceHandlers(ResourceHandlerRegistry registry) {
        log.info("开始进行静态资源映射。。。");
        //访问路径
        registry.addResourceHandler("/backend/**")
                //映射到真实的路径(映射的真实路径末尾必须添加斜杠`/`)
                .addResourceLocations("classpath:/backend/");
        registry.addResourceHandler("/front/**")
                .addResourceLocations("classpath:/front/");
    }
}
重新启动工程!
浏览器访问地址:http://localhost:8080/backend/index.html,出现以下界面即配置成功,页面中请求出错是因为前端发送了一个ajax请求,而后端还没有写东西所以页面提示请求出错。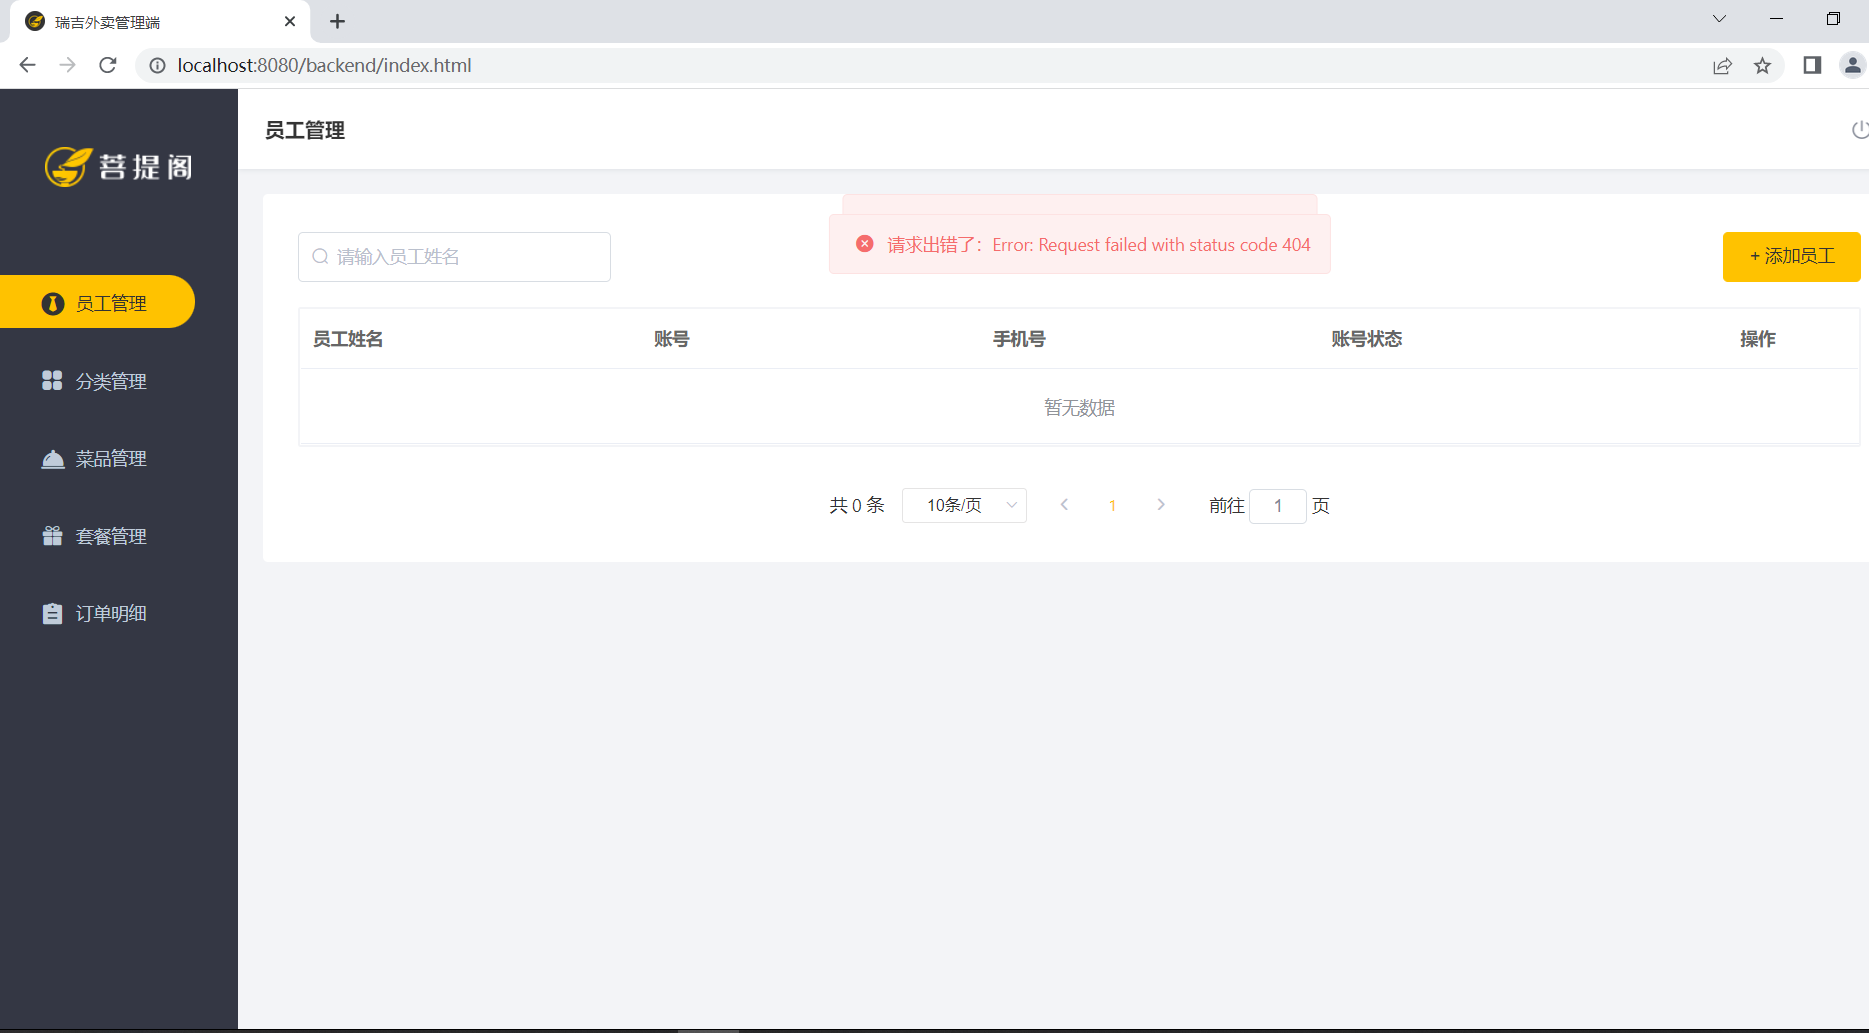
业务开发Day1-06-后台系统登录功能-需求分析
需求分析
登录页面展示
访问路径:http://localhost:8080/backend/page/login/login.html
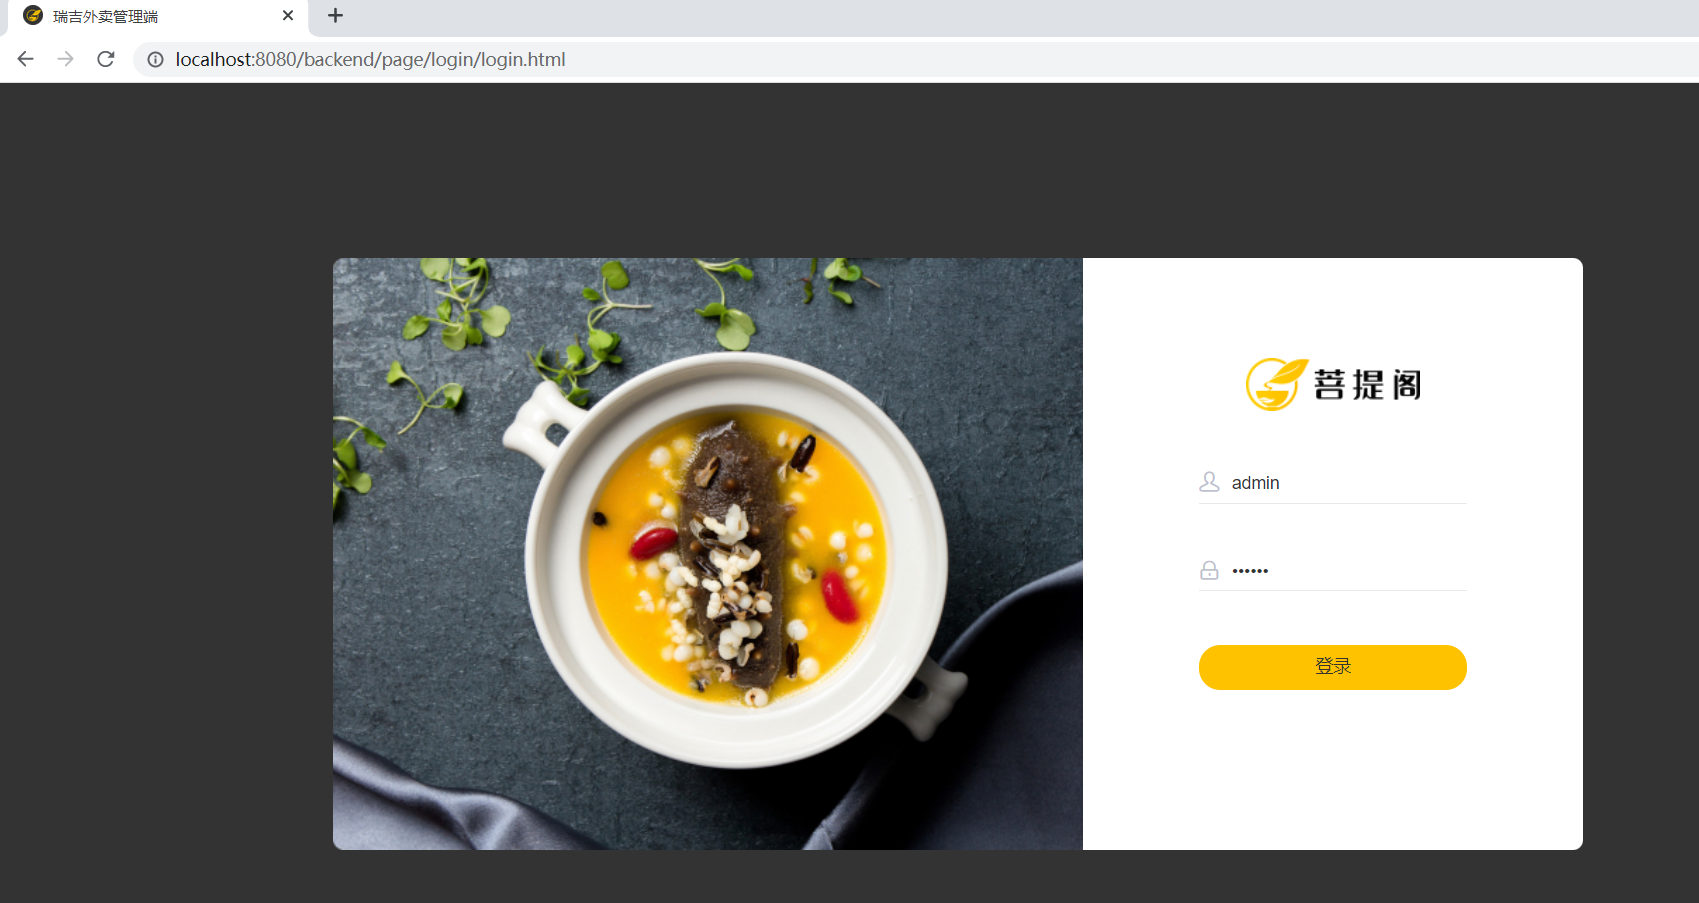
数据库的密码通过MD5加密了,它的明文密码为123456
输入正确的用户名和密码点击登录,按住f12,寻找到以下页面,可以看到请求路径跳转到地址为:localhost:8080/employee/login的页面,报404错误,因为后台系统还没有响应此请求的处理器,我们需要创建相关类来处理登录请求
业务开发Day1-07-后台系统登录功能-代码开发(创建controller,service,mapper,实体类)
代码开发
创建controller,service,mapper,实体类
- 在reggie包下分别创建controller,service(在此包下再创建一个impl包),mapper,entity包
- 在entity包下创建Employee类
package com.itzq.reggie.entity;

import com.baomidou.mybatisplus.annotation.FieldFill;
import com.baomidou.mybatisplus.annotation.TableField;
import lombok.Data;
import java.io.Serializable;
import java.time.LocalDateTime;

@Data
public class Employee implements Serializable {

    private static final long serialVersionUID = 1L;

    private Long id;

    private String username;

    private String name;

    private String password;

    private String phone;

    private String sex;

    private String idNumber;

    private Integer status;

    private LocalDateTime createTime;

    private LocalDateTime updateTime;

    @TableField(fill = FieldFill.INSERT)
    private Long createUser;

    @TableField(fill = FieldFill.INSERT_UPDATE)
    private Long updateUser;

}
- 在mapper包下创建EmployeeMapper接口,并继承BaseMapper,添加@Mapper注解在该接口上
package com.itzq.reggie.mapper;

import com.baomidou.mybatisplus.core.mapper.BaseMapper;
import com.itzq.reggie.entity.Employee;
import org.apache.ibatis.annotations.Mapper;

@Mapper
public interface EmployeeMapper extends BaseMapper<Employee> {
}
- 在service包下编写EmployeeService接口,并继承IService
package com.itzq.reggie.service;

import com.baomidou.mybatisplus.extension.service.IService;
import com.itzq.reggie.entity.Employee;

public interface EmployeeService extends IService<Employee> {
}
- 在Impl包下编写EmployeeServiceImpl类,并继承ServiceImpl类,实现EmployeeService接口
package com.itzq.reggie.service.Impl;

import com.baomidou.mybatisplus.extension.service.impl.ServiceImpl;
import com.itzq.reggie.entity.Employee;
import com.itzq.reggie.mapper.EmployeeMapper;
import com.itzq.reggie.service.EmployeeService;
import org.springframework.stereotype.Service;

@Service
public class EmployeeServiceImpl extends ServiceImpl<EmployeeMapper, Employee> implements EmployeeService {
}
- 在controller包下编写EmployeeController类
package com.itzq.reggie.controller;

import lombok.extern.slf4j.Slf4j;
import org.springframework.beans.factory.annotation.Autowired;
import org.springframework.web.bind.annotation.RequestMapping;
import org.springframework.web.bind.annotation.RestController;

@Slf4j
@RestController
@RequestMapping("/employee")
public class EmployeeController {

    @Autowired
    private EmployeeService employeeService;

}
业务开发Day1-08-后台系统登录功能-代码开发(导入通用返回结果类)
导入通用结果类

在reggie包下创建一个子包为common,再在common包下创建一个R类
package com.itzq.reggie.common;

import lombok.Data;
import java.util.HashMap;
import java.util.Map;

/**
 * 通用返回结果,服务器响应的数据最终都会封装成此对象
 * @param <T>
 */
@Data
public class R<T> {

    private Integer code; //编码:1成功,0和其它数字为失败

    private String msg; //错误信息

    private T data; //数据

    private Map map = new HashMap(); //动态数据

    public static <T> R<T> success(T object) {
        R<T> r = new R<T>();
        r.data = object;
        r.code = 1;
        return r;
    }

    public static <T> R<T> error(String msg) {
        R r = new R();
        r.msg = msg;
        r.code = 0;
        return r;
    }

    public R<T> add(String key, Object value) {
        this.map.put(key, value);
        return this;
    }

}
业务开发Day1-09-后台系统登录功能-代码开发(梳理登录方法处理逻辑)
代码开发以及梳理
给EmployeeController类添加一个login方法
- @RequestBody 主要用于接收前端传递给后端的json字符串(请求体中的数据)
- HttpServletRequest request作用:如果登录成功,将员工对应的id存到session一份,这样想获取一份登录用户的信息就可以随时获取出来
package com.itzq.reggie.controller;

import com.baomidou.mybatisplus.core.conditions.query.LambdaQueryWrapper;
import com.itzq.reggie.common.R;
import com.itzq.reggie.entity.Employee;
import com.itzq.reggie.service.EmployeeService;
import lombok.extern.slf4j.Slf4j;
import org.springframework.beans.factory.annotation.Autowired;
import org.springframework.util.DigestUtils;
import org.springframework.web.bind.annotation.PostMapping;
import org.springframework.web.bind.annotation.RequestBody;
import org.springframework.web.bind.annotation.RequestMapping;
import org.springframework.web.bind.annotation.RestController;

import javax.servlet.http.HttpServletRequest;

@Slf4j
@RestController
@RequestMapping("/employee")
public class EmployeeController {

    @Autowired
    private EmployeeService employeeService;


    /**
     * 员工登录
     * @param request
     * @param employee
     * @return
     */
    //@RequestBody 主要用于接收前端传递给后端的json字符串(请求体中的数据)
    //HttpServletRequest request作用:如果登录成功,将员工对应的id存到session一份,这样想获取一份登录用户的信息就可以随时获取出来
    @PostMapping("/login")
    public R<Employee> login(HttpServletRequest request, @RequestBody Employee employee){
        return null;
    }
}
在controller中创建登录方法
- 将页面提交的密码进行MD5加密处理
- 根据页面提交的用户名username查询数据库
- 如果没有查询到则返回登录失败结果
- 密码比对,如果不一致则返回登录结果
- 查看员工状态,如果已为禁用状态,则返回员工已禁用结果
- 登录成功,将员工id存入session并返回登录成功结果

业务开发Day1-10-后台系统登录功能-代码开发(实现登录处理逻辑)
编写代码实现逻辑
在EmployeeController类的login方法中添加代码实现登录处理逻辑
package com.itzq.reggie.controller;

import com.baomidou.mybatisplus.core.conditions.query.LambdaQueryWrapper;
import com.itzq.reggie.common.R;
import com.itzq.reggie.entity.Employee;
import com.itzq.reggie.service.EmployeeService;
import lombok.extern.slf4j.Slf4j;
import org.springframework.beans.factory.annotation.Autowired;
import org.springframework.util.DigestUtils;
import org.springframework.web.bind.annotation.PostMapping;
import org.springframework.web.bind.annotation.RequestBody;
import org.springframework.web.bind.annotation.RequestMapping;
import org.springframework.web.bind.annotation.RestController;

import javax.servlet.http.HttpServletRequest;

@Slf4j
@RestController
@RequestMapping("/employee")
public class EmployeeController {

    @Autowired
    private EmployeeService employeeService;


    /**
     * 员工登录
     * @param request
     * @param employee
     * @return
     */
    //@RequestBody 主要用于接收前端传递给后端的json字符串(请求体中的数据)
    //HttpServletRequest request作用:如果登录成功,将员工对应的id存到session一份,这样想获取一份登录用户的信息就可以随时获取出来
    @PostMapping("/login")
    public R<Employee> login(HttpServletRequest request, @RequestBody Employee employee){
        //1.将页面提交的密码进行MD5加密处理
        String password = employee.getPassword();
        password= DigestUtils.md5DigestAsHex(password.getBytes());

        //2.根据页面提交的用户名username查询数据库
        LambdaQueryWrapper<Employee> queryWrapper = new LambdaQueryWrapper<>();
        queryWrapper.eq(Employee::getUsername,employee.getUsername());
        Employee emp = employeeService.getOne(queryWrapper);  //使用getOne:因为user_name字段有unique唯一约束,不会出现查询出多个结果

        //3.如果没有查询到则返回登录失败结果
        if (emp == null){
            return R.error("登录失败");  //因为error为静态方法,所以可以在该类中直接调用
        }

        //4.密码比对,如果不一致则返回登录结果
        if (!emp.getPassword().equals(password)) {
            return R.error("登录失败");
        }

        //5.查看员工状态,如果已为禁用状态,则返回员工已禁用结果
        if (emp.getStatus() == 0){
            return R.error("账号已禁用");
        }

        //6.登录成功,将员工id存入session并返回登录成功结果
        request.getSession().setAttribute("employee",emp.getId());
        return R.success(emp);

    }

    /**
     * 员工退出
     * @param request
     * @return
     */
    @PostMapping("/logout")
    public R<String> logout(HttpServletRequest request){
        //清理session中保存的当前登录员工的id
        request.getSession().removeAttribute("employee");
        return R.success("退出成功");
    }
}
业务开发Day1-11-后台系统登录功能-代码开发(功能测试)
测试
通过debug方式启动项目,在箭头指向位置添加断点

在浏览器上访问地址:http://localhost:8080/backend/page/login/login.html
- 输入正确的用户名和密码点击登录
- 在debug调试期间用时较长,前端在10s内得不到响应则会抛出异常,
- 为了我们可以在后端进行长时间的调试,我们需要重新设置前端页面的响应超时时间找到request.js将timeout后面的数据多添加两个0,并且清除浏览器带有的缓存
清除浏览器缓存

测试
- 输入错误的username,页面返回登录失败的信息
- 输入错误的密码,页面返回登录失败的信息
- 在数据库中将员工的status改为0,表示该员工处于被禁用状态,页面返回登录失败的信息
业务开发Day1-12-后台系统退出功能_需求分析&代码开发&功能测试
功能测试

在EmployeeController类中添加logout方法
/**
     * 员工退出
     * @param request
     * @return
     */
    @PostMapping("/logout")
    public R<String> logout(HttpServletRequest request){
        //清理session中保存的当前登录员工的id
        request.getSession().removeAttribute("employee");
        return R.success("退出成功");
    }
登录成功时退出登录后
业务开发Day1-13-分析后台系统首页构成和效果展示方式
展示效果以及分析
在index.html页面下的menuList作为数据的准备
遍历menuList的代码块,里面各个标注对应的重要含义
- 遍历menuList
- v-if,根据提供的menuList可知并不满足条件
- 标签名:通过name属性定义
- 如果v-if不满足条件,则通过v-else
- 点击菜单,会执行menuHandle方法

menuHandle方法最重要的是红框的语句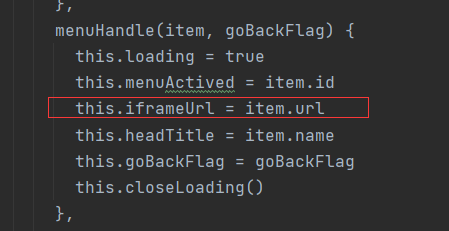
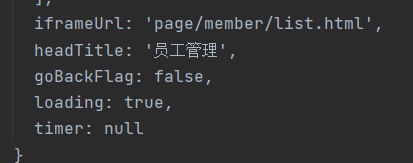
定义了一个iframe,用于展示另一个页面,这个页面从哪来?传给我什么数据,我就展示什么数据
那为什么登录成功后就是员工管理界面,因为在html中设置了初始值,当我们在点击菜单的时候,其实就是在切换url,展示一个新的界面
在html页面设置的初始界面